If you’ve ever wanted to open a card and feel like you just peeked into a real aquarium, this is the project for you. It’s a stepper card — meaning it “steps” up in layers when you open it — and today I’m walking you through exactly how I built mine, coral, jellyfish, starfish and all.
Honestly, the first time I tried a stepper fold, I fumbled it more than once. But once you get the folding sequence down, it becomes one of those techniques you’ll want to use again and again because the payoff is so worth it.
You can watch the detailed YouTube tutorial here. For your convenience I’ve gathered every supply used in today’s project and also included a detailed list of tools I use regularly at the end of the blog post for your reference:


👇 See the complete linked supply list here:

Main Products Used
- Zero-Waste Beneath the Blue Die Set
- Navy Cardstock
- Various inks
Finished Card Size
5 in. × 7 in.
Step 1: Prep Your Card Base
Start with a 7 x 10 inch piece of cardstock and score at 5 inches.
This will fold down to a standard 5×7 card for mailing, but it gives you all the “real estate” you need to build the stepper structure inside.
Step 2: Scoring & Cutting the Stepper Structure
This is the part that looks intimidating but is really just a few precise lines. Take your time here — clean cuts and scores are what make the whole mechanism work.
Partial cuts with a wire trimmer:
- Place the 7-inch edge of your cardstock along the top of your wire trimmer, lined up with the 5-inch mark.
- Position the cutting blade at the 1 ½ inch mark on the card stock and slide down to the 8 inch mark for the partial cut.
- Shift that same 7-inch edge down to the 2-inch mark.
- Make the identical cut: 1.5 inches from the left edge, down to the 8-inch mark. Don’t cut all the way through — that uncut bottom section is what holds everything together.
Note:
If you don’t have a wire trimmer, you can use a craft knife and cutting mat to make the partial cuts.
Score only between the cut lines:
- Score the at 1.5 inches from the left.
- Score again at 3 inches.
Rotate your panel 180 degrees, then score:
- At 2 inches.
- At 3 ½ inches.
This step matters more than it looks like it should — burnish each crease really well with your bone folder, going over every line two or three times.
Step 3: Fold the Stepper Structure
The folding sequence is: mountain, valley, mountain, valley, mountain. A mountain fold has a peak, a valley fold has a dip — just start with a mountain and alternate from there.
Work through each fold slowly, burnishing thoroughly before moving to the next. Once all five folds are done, close the card and give it a gentle press to set everything in place.
Step 4: Die Cut Your Underwater Elements
Die cut all your fish, seaweed, coral, and sea grass pieces. This is where the scene really starts to come to life.
Step 5: Ink-Blend for That “Underwater Fantasy” Feel
Here’s the trick that makes this card pop — go for a vibrant, storybook colour palette instead of realistic ocean tones. Think deep jewel-toned teals, vivid coral oranges, electric greens, violets, and rich sapphire blues.
Blend directly onto each individual die-cut piece before you assemble anything — it gives you way more control and keeps the colour exactly where you want it.
- Fish: Start with a base colour, then blend a slightly darker shade toward the edges for depth and a rounded look.
- Seaweed and coral: Layer two or three colours and create a blend for that organic colour shift.
Step 6: Add Depth with Negative Die Cuts (Optional but So Worth It)
This is one of those hacks I love because it costs nothing extra. Save your negative die cut from the zero-waste die.
Place one in position on your card panel, dab a little ink through the opening with a blending brush, then lift it away to reveal a soft colour shadow underneath. It instantly creates the illusion of shadows on the ocean floor or movement in the water.
Step 7: Layer with Foam Tape for the 3D Effect
This is where the “aquarium” really comes together.
- Foreground elements (closest to you): the shortest
- Mid-ground elements (like seaweed): mid-height
- Background elements: the tallest elements
Before you commit anything permanently, audition your layout on the steps using a tiny bit of temporary adhesive so you can rearrange until it feels right. Once you’re happy, go back and add the permanent adhesive for good. I like using liquid glue for this since it allows me a few seconds to slide the die-cuts in place before the glue starts to dry.
And just like that, you’ve got your own tiny underwater world in a card.
Will You Make This Card?
I’d love to know if you plan on making this card! It can be adapted to so many different themes.
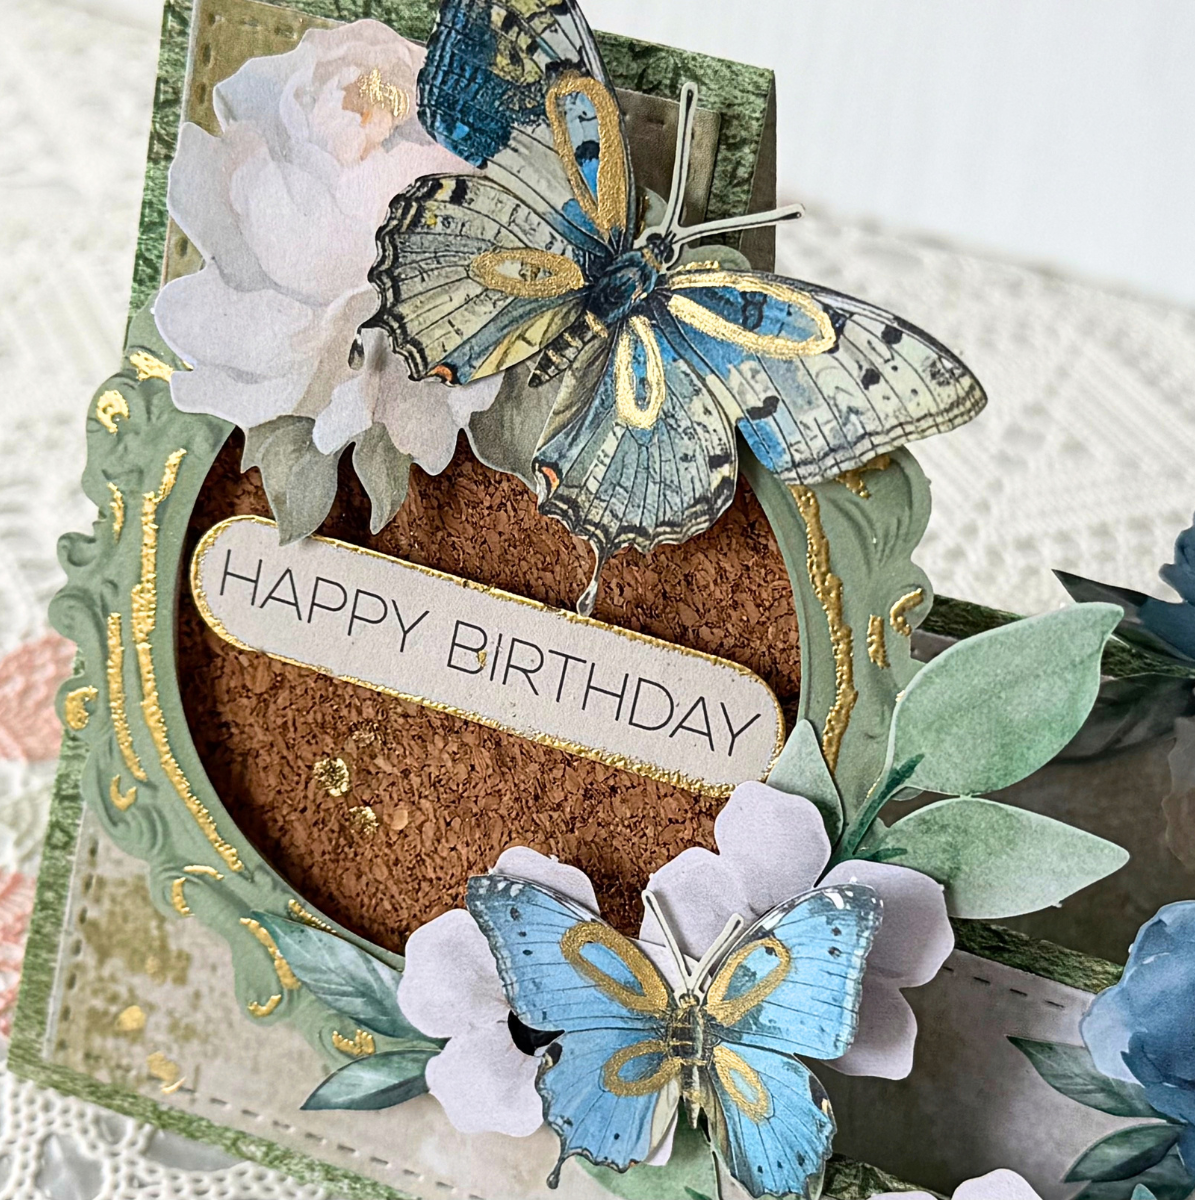
Here’s another version I made with a slightly different structure:
✂️ Want to craft along with me? Members get perks like monthly live Q&A sessions, badges, shout-outs, and Foiled Florals craft-along livestreams. Join the membership here: https://www.youtube.com/channel/UCDKhctb1ss7hbxVHivhT5YQ/join






Leave a Reply