If you love clean and simple cards with a little extra wow factor, you’re going to love these aperture cards. These designs look polished, dimensional, and beautifully finished from every angle — and the best part is that you can easily adapt them for masculine or feminine cards simply by changing the colour palette.
Today I’m sharing four different aperture card ideas featuring stamping, stencilling, acetate, vellum, and layered frames. While some of these designs look intricate, they’re surprisingly easy to create once you break them down step by step.
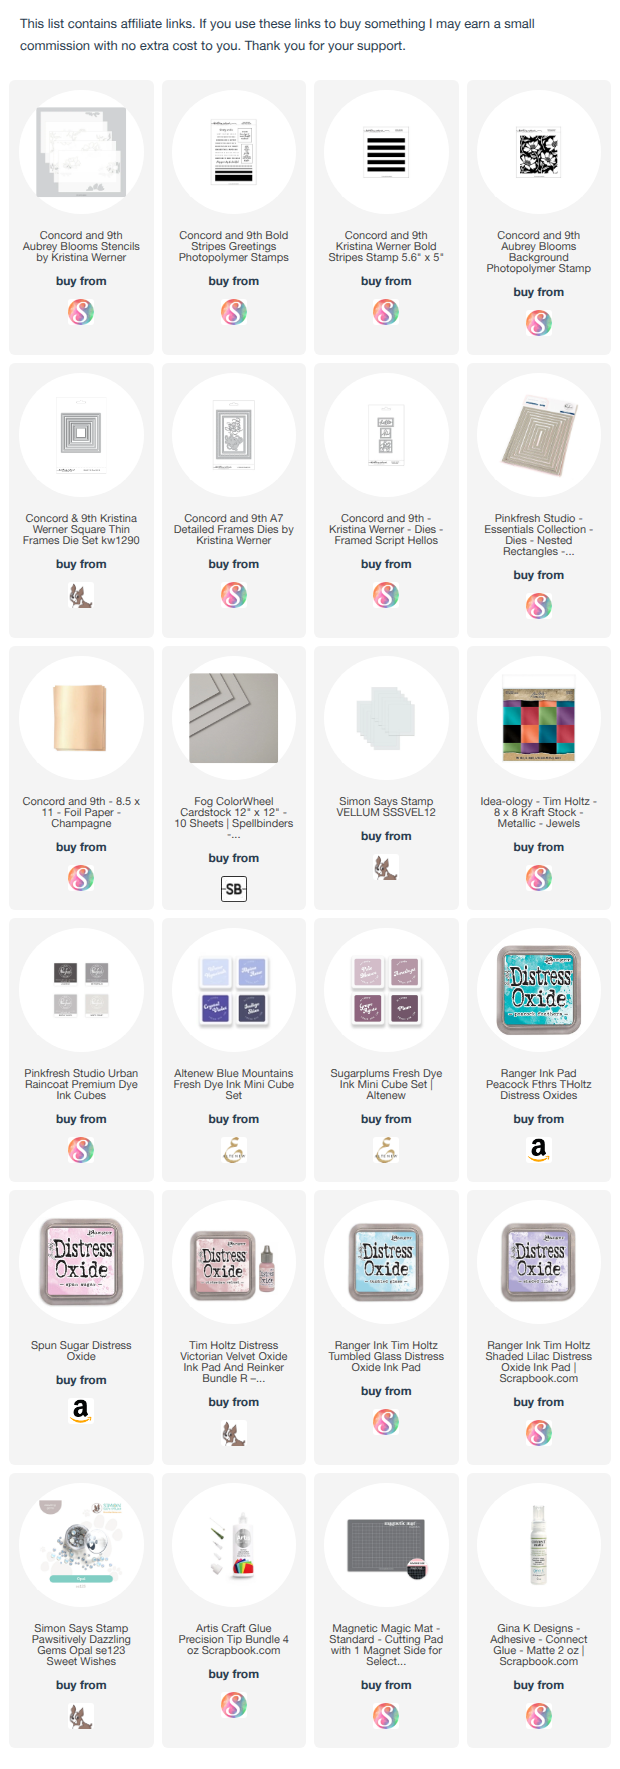
You can watch the detailed YouTube tutorial here. I’ve also included a complete visual list of the supplies and tools that are currently available at the end of the blog post for your convenience:
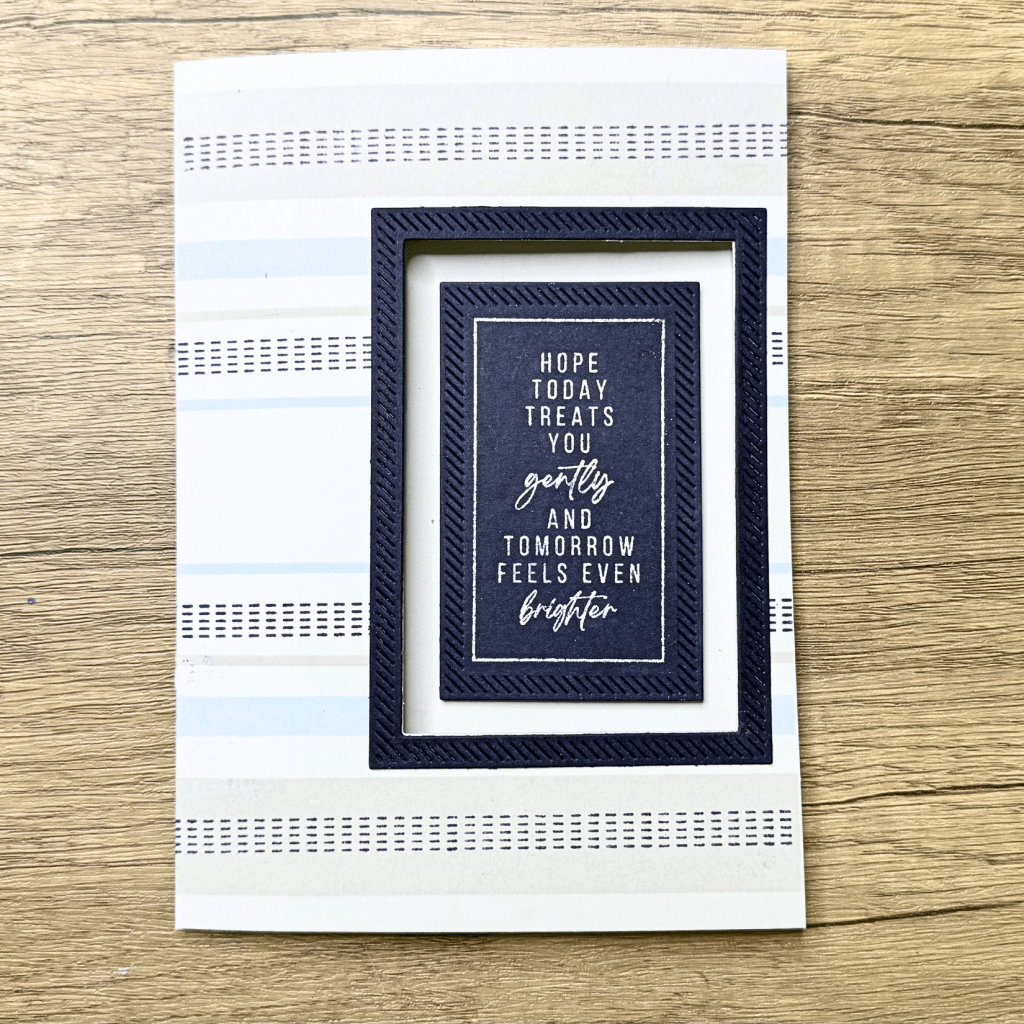
Card #1 – Masculine Striped Aperture Card
The first card is a masculine 5 x 7 aperture card using soft greys and deep blues for a modern, graphic look.
✂️ Supplies Used
Main Products
Inks Used
- Misty Coast
- Water Hyacinth
- Indigo Skies
- White pigment
Cardstock & Papers
- Spellbinders Fog cardstock – 5 in. x 7 in. cardbase
- Spellbinder Cosmic Sky cardstock – 4 ½ in. x 5 ½ in.
Tools & Adhesives
- White embossing powder
- MISTI or stamp positioning tool
- Painter’s tape
- Foam tape
- Liquid glue
- Gina K Matte Glue
- Paper trimmer
- Bone folder
- Scoring board
- Heat tool
Step-by-Step Instructions
Step 1. Create the striped background
Start with a 5 x 7 grey card base using Spellbinders Fog cardstock.
Using the individual stripe stamps from the Bold Stripes Greetings stamps set, stamp the wider stripes first with Misty Coast and Water Hyacinth inks. Use the grid lines on your MISTI to keep everything perfectly straight.
Because the stamps are very linear, alignment matters. Even a tiny shift can become noticeable.
Rotate the cardstock and repeat the stamping on the opposite side.
Step 2. Add the thinner stripes
Repeat the same process with the thinner stripe and stitched detail stamps using Indigo Skies ink. Again, use the MISTI grid lines as your guide to maintain straight spacing.
You may need multiple stamp impressions to build up even ink coverage.
Step 3. Create the sentiment panel
Die cut a sentiment label using Pinkfresh Studio label die.
Heat emboss the sentiment in white onto navy cardstock using:
- White pigment ink
- Altenew Pure White embossing powder
Tip: Heat the heat tool first before embossing. This speeds up melting and reduces warping.
Step 4. Clean up embossing residue
Once cooled, gently remove excess antistatic powder:
- First with a Swiffer cloth
- Then with a fine-tip eraser for precision areas
If the embossing loses its shine, briefly reheat it to restore the glossy finish.
Option: You can also try wiping down the panel with a rag dampened with rubbing alcohol.
Step 5. Create the aperture
Use the next larger die size to cut an aperture from the card front.
Open the card flat before die cutting so only the front panel is cut.
Position the opening slightly off-centre for a more modern layout.
Step 6. Add dimension
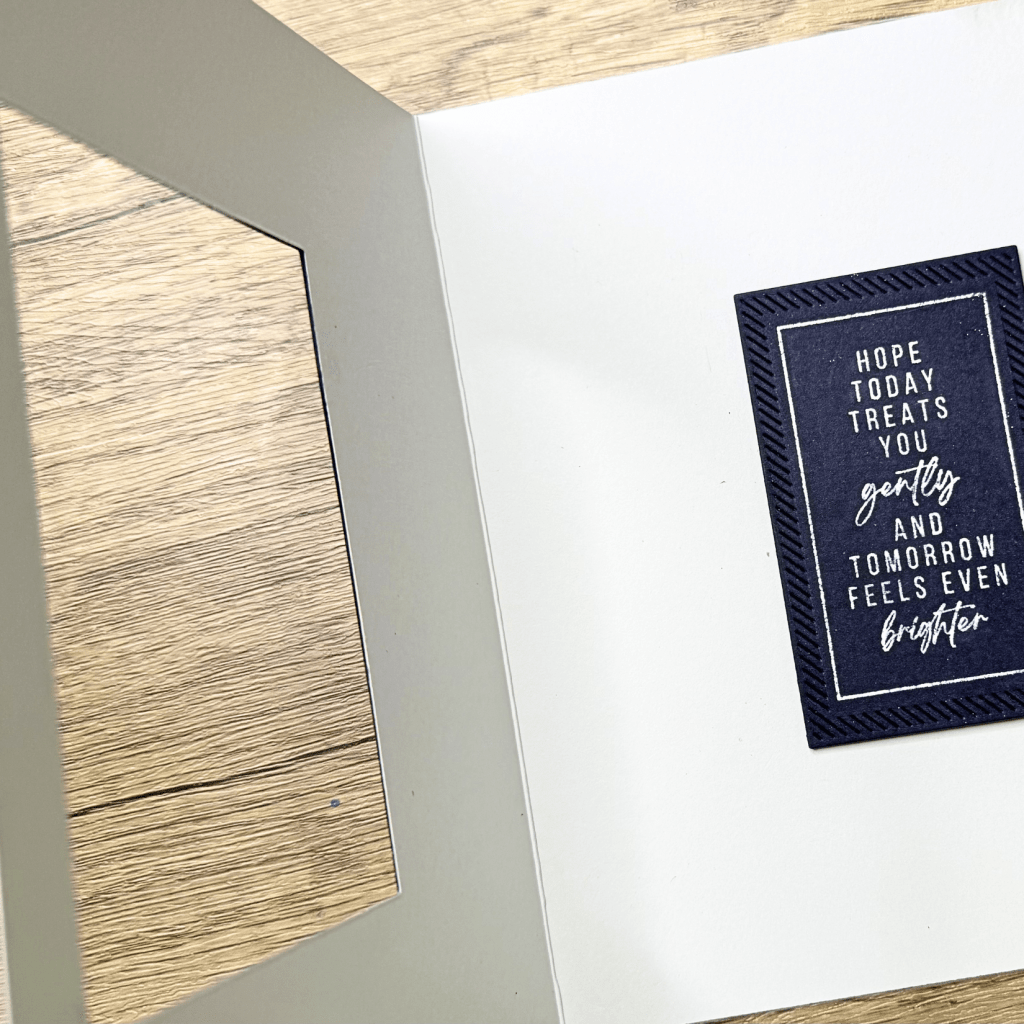
Adhere the sentiment panel behind the opening using foam tape.
Colour the foam tape edges with a black marker so the white foam does not show from the side.
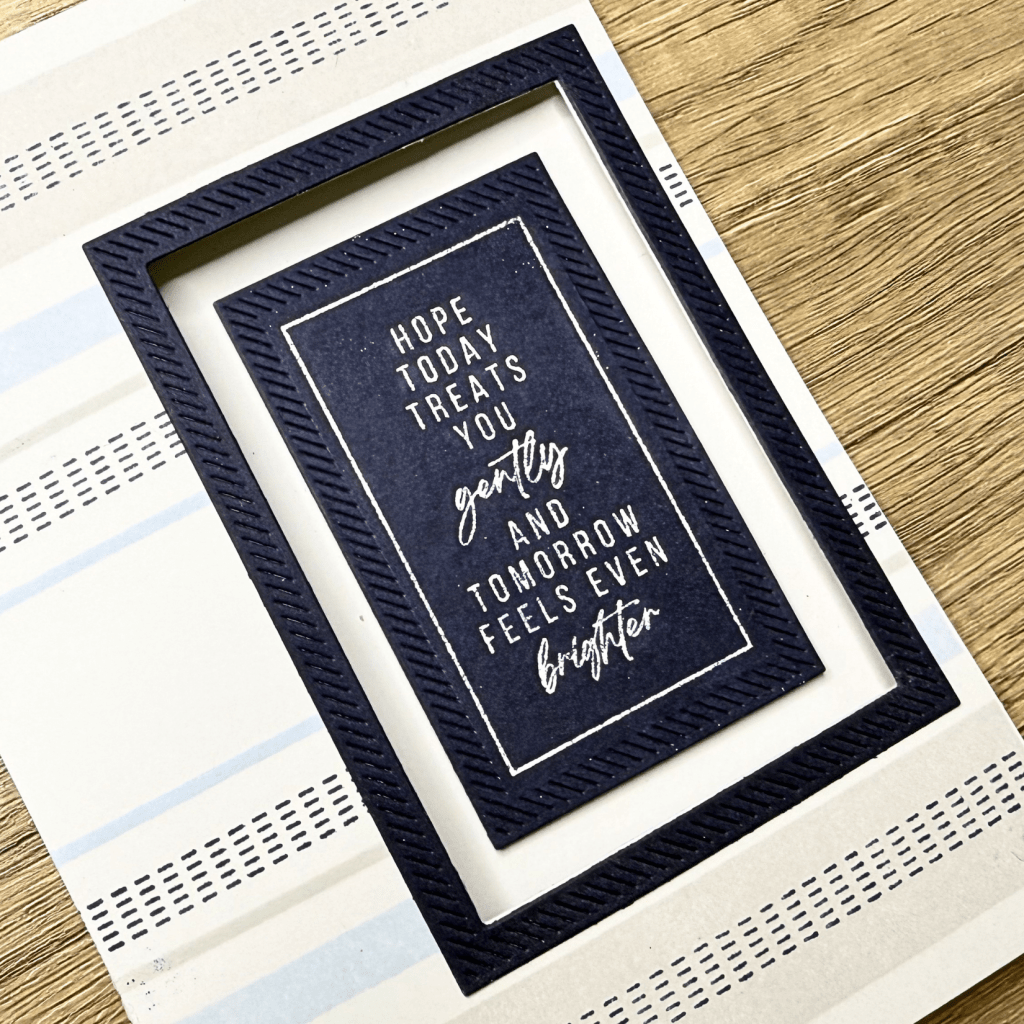
Step 7. Create the aperture frame
Use two of the nested dies from the Pinkfresh Studio label die set to create a thin frame for the window.
Adhere the frame around the aperture using Gina K Matte Glue.
Step 8. Finish the card
Add optional stitched detail stripe stamping for extra detail and finish with gems.
The result is a clean masculine card with subtle depth and dimension.
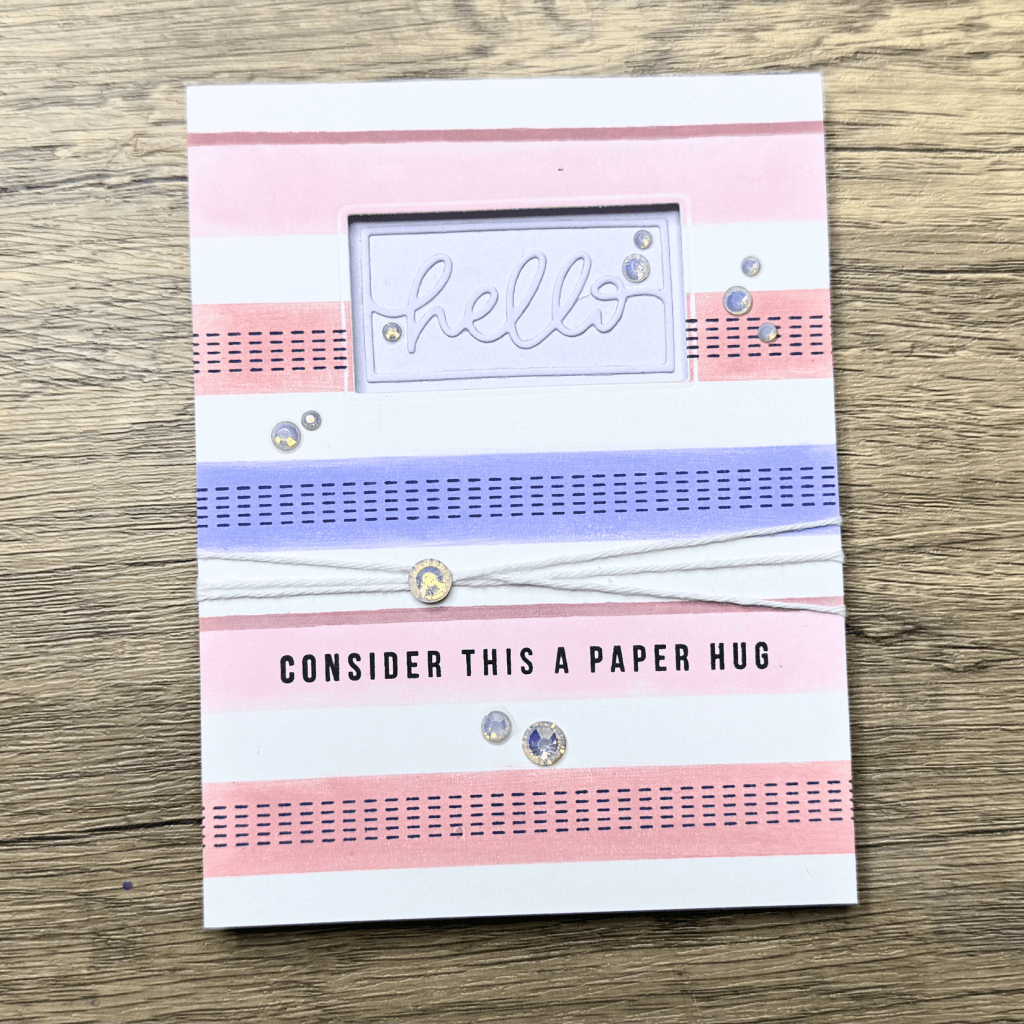
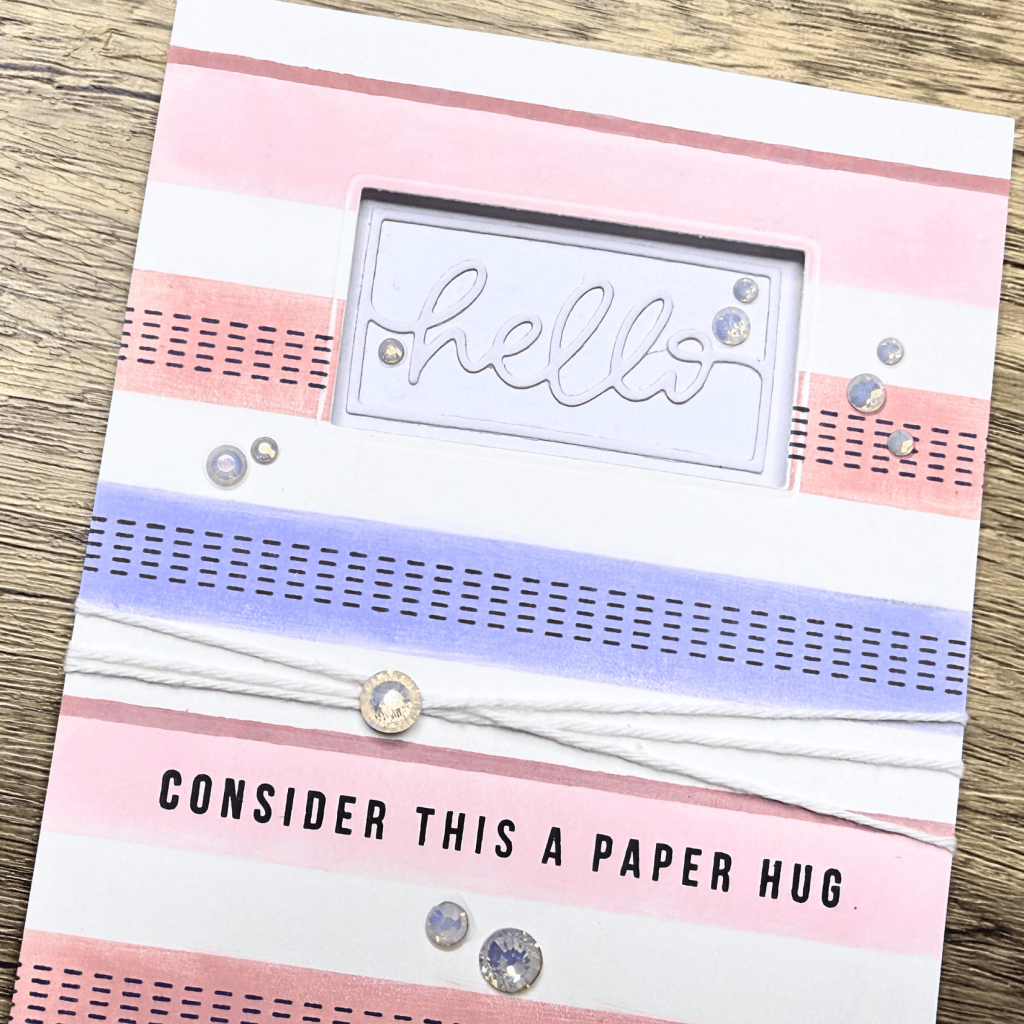
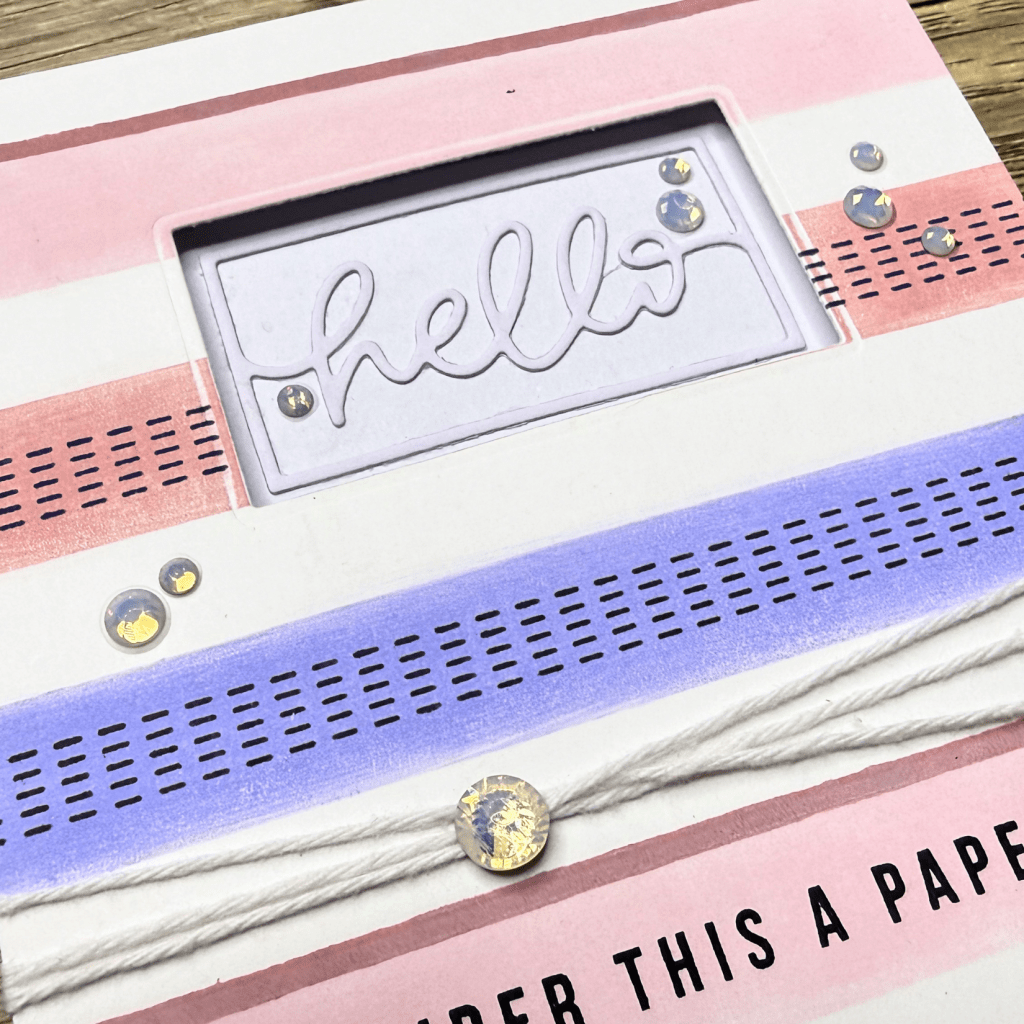
Card #2 – Soft Feminine Word Aperture Card
This card uses a similar bold striped pattern but with softer pinks and purples for a feminine feel.
✂️ Supplies Used
Main Products
Inks Used
- Opulence
- Wisteria
- Amethyst
- Distress Oxide inks:
- Spun Sugar
- Victorian Velvet
- Shaded Lilac
- Foam tape
- Matte glue
Embellishments
Cardstock & Papers
- Neenah Classic Crest cardstock
- A2 Card base (4 ¼ in. x 5 ½ in.)
- Card panel – 4 ¼ in. x 5 ½ in.
Tools & Adhesives
- Platinum embossing powder
- MISTI or stamp positioning tool
- Yarn or twine
- Painter’s tape
- Foam tape
- Liquid glue
- Gina K Matte Glue
- Paper trimmer
- Bone folder
- Scoring board
- Heat tool
Step-by-Step Instructions
Step 1. Ink the stamp with brush strokes
Instead of dabbing ink directly onto the stamp, apply ink using smooth brush strokes.
This created much more even coverage.
Step 2. Stamp the striped background
Stamp one stripe at a time, using the MISTI grid for alignment.
Allow the finished panel to dry for about 30 minutes so the ink can settle and smooth out.
Step 3. Add the sentiment
Stamp a coordinating sub-sentiment from the same set.
Then adhere the main word die-cut into the aperture opening.
Step 4. Add layered dimension
Secure the front panel with foam tape.
Add an extra layer of foam tape beneath the panel for deeper shadow and dimension.
Attach yarn behind the sentiment for soft texture.
Step 5. Finish the card
Add gems for sparkle and complete the layered look.
Changing the colour palette completely transforms the mood of the design, making this stamp set surprisingly versatile.
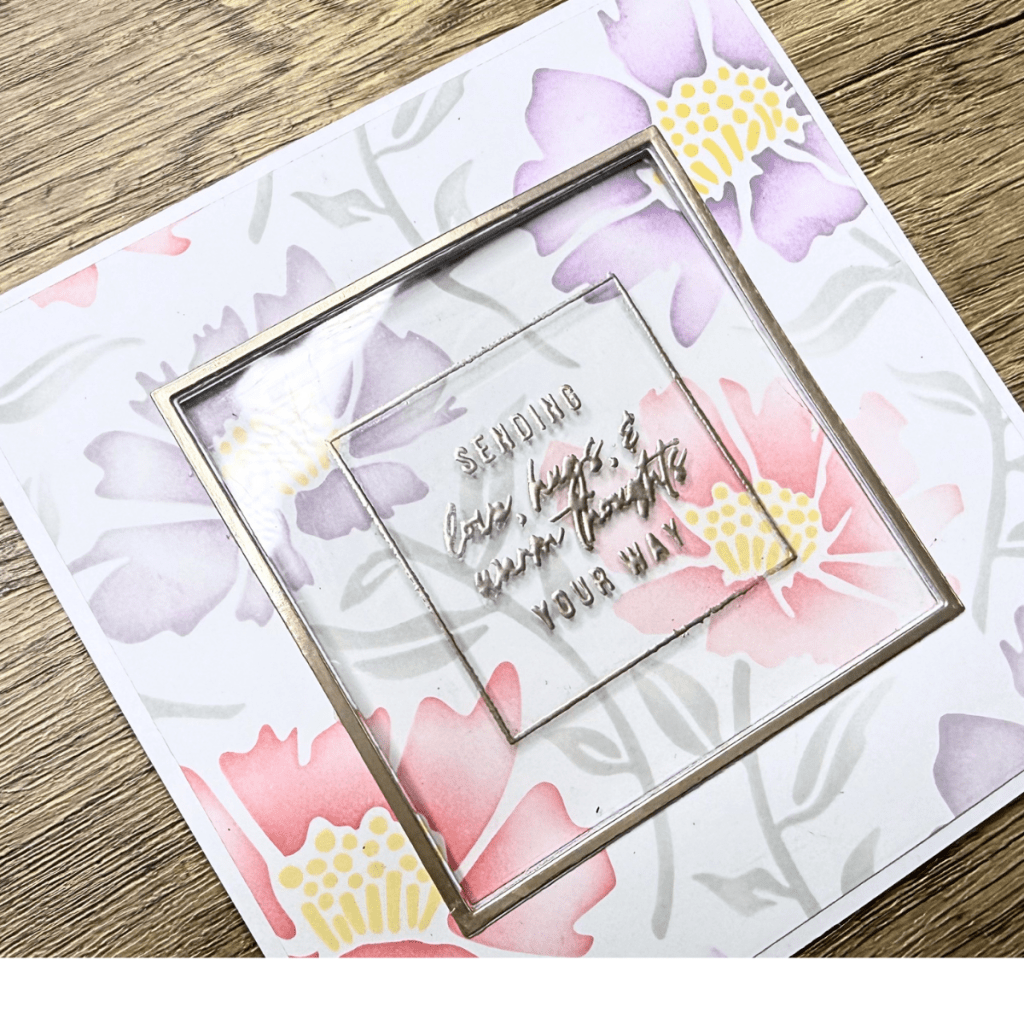
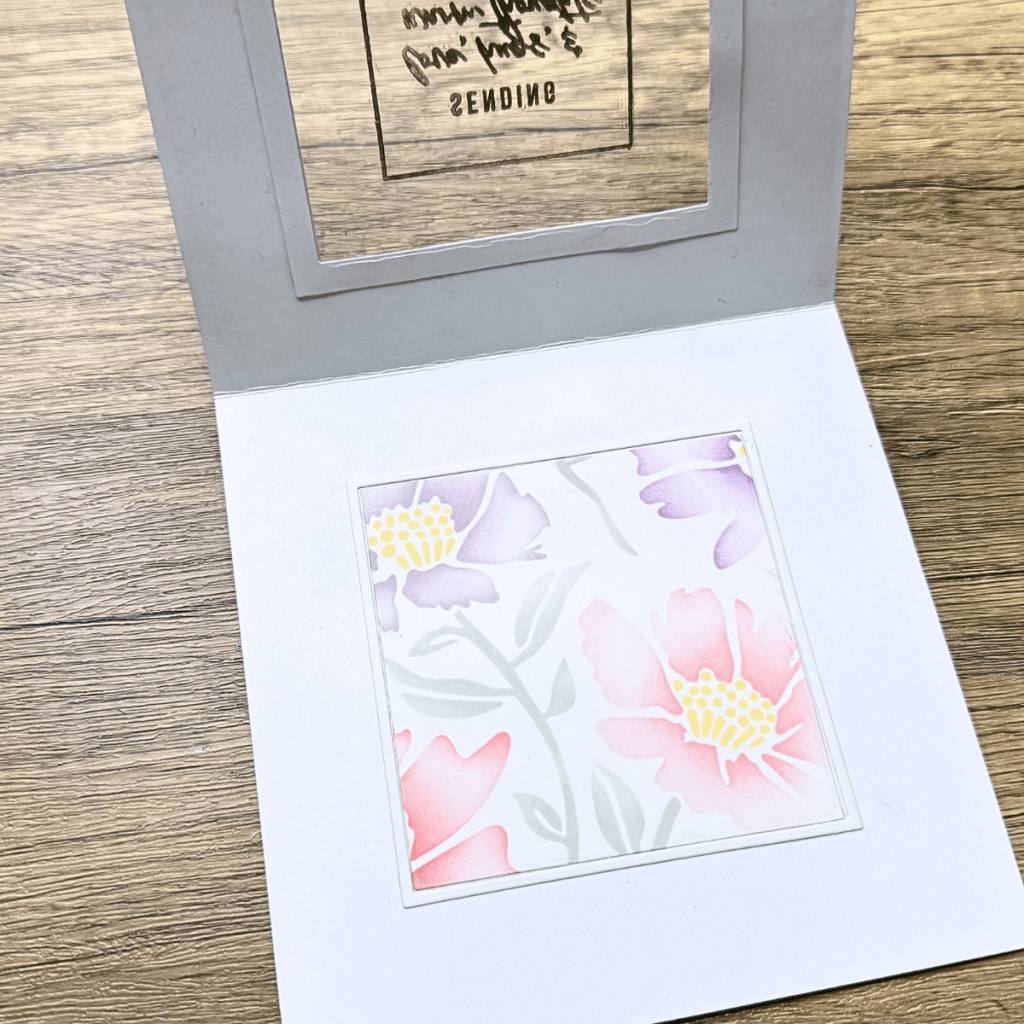
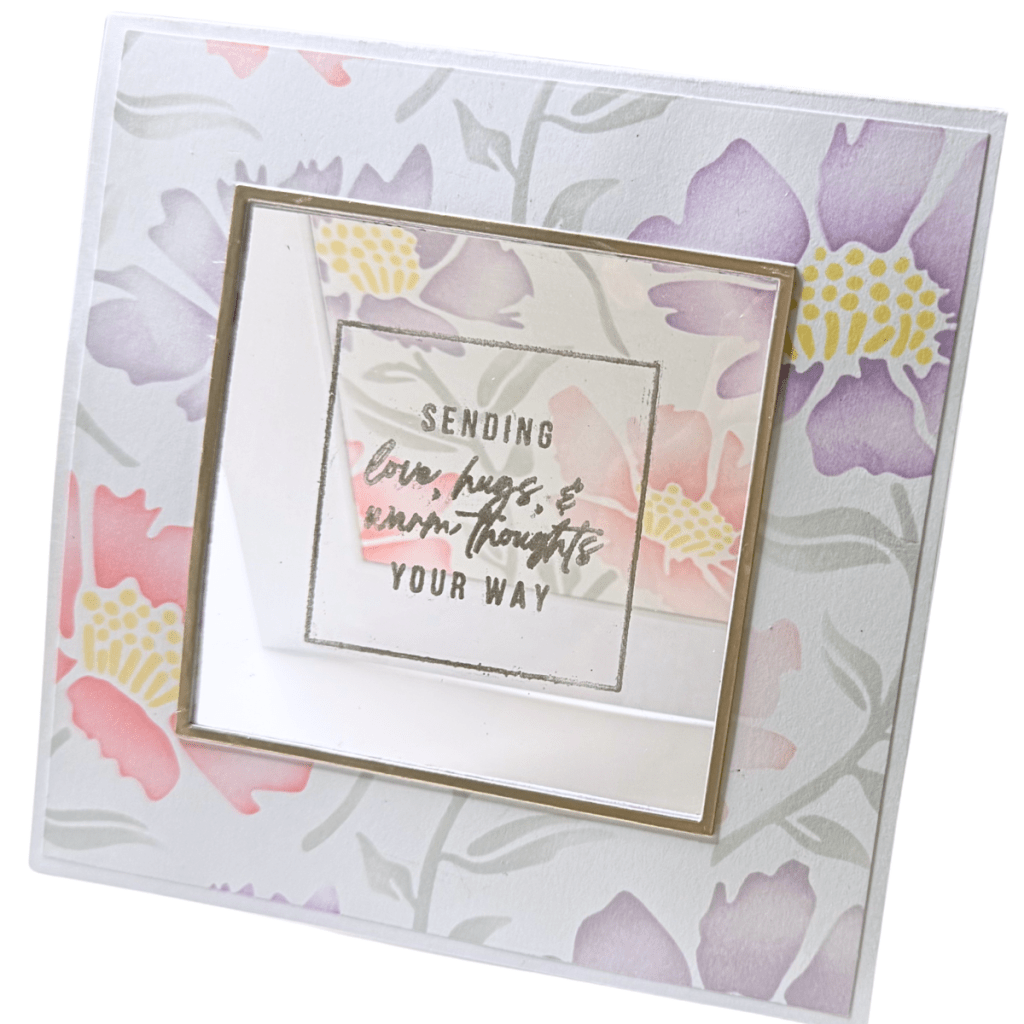
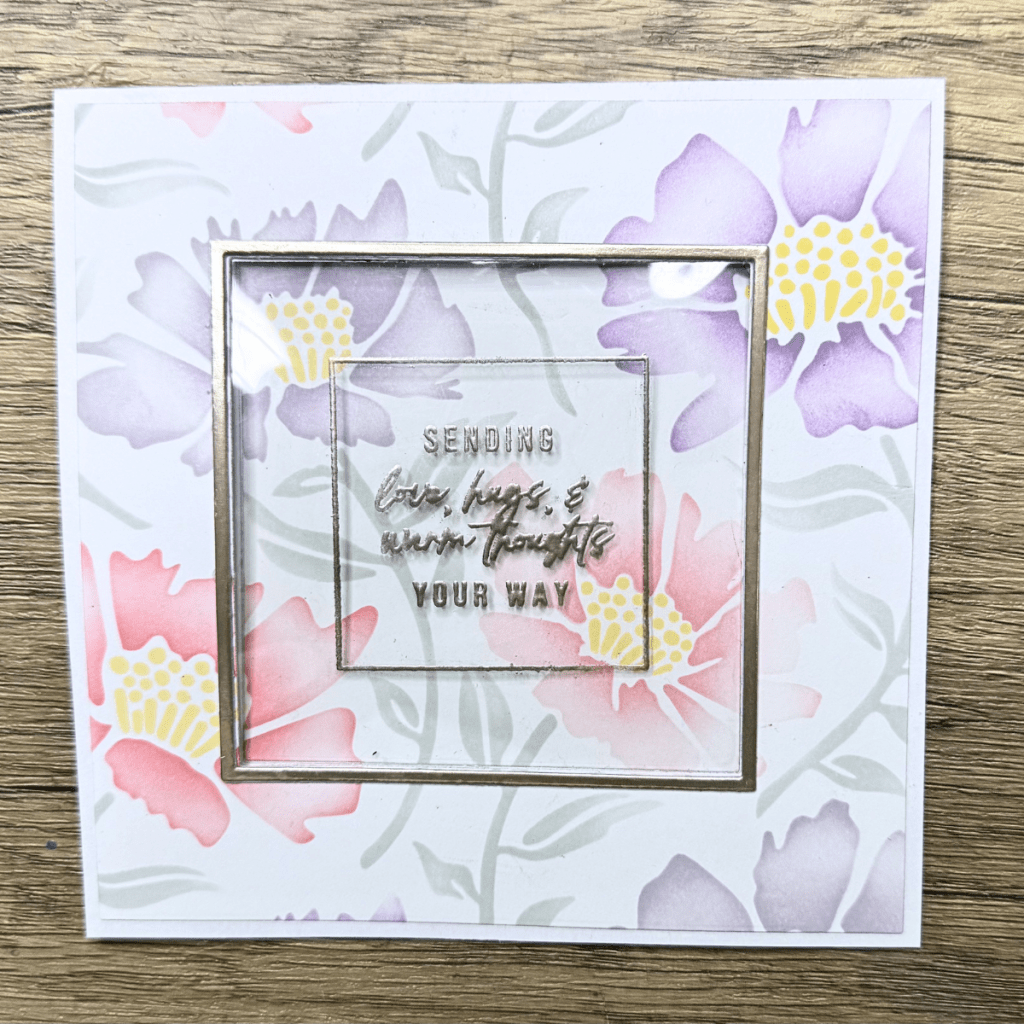
Card #3 – Elegant Floral Acetate Aperture Card
This soft floral card features stencilling, acetate, and heat embossing for a delicate floating sentiment effect.
✂️ Supplies Used
Main Products
- Aubrey Blooms stencil set
- Bold Stripes Greetings stamps
- Square Fine Frames dies
- Square nesting die
- Heat-resistant acetate
Inks Used
Cardstock & Papers
- Neenah Classic Crest cardstock:
- Card base – 5 ½ in. x 5 ½ in.
- Card panel – 5 ½ in. x 8 ½ in.
- Champagne Foil cardstock – 4 in. x 4 in.
Tools & Adhesives
- Platinum embossing powder
- MISTI or stamp positioning tool
- Blending brushes
- Painter’s tape
- Foam tape
- Liquid glue
- Gina K Matte Glue
- Paper trimmer
- Bone folder
- Scoring board
- Heat tool
Step-by-Step Instructions
Step 1. Stencil the floral background
Secure the stencil over a large cardstock panel and blend your floral colours.
For the stems and leaves, use soft grey instead of green for a muted elegant look.
Blend slightly darker shading near the base for depth.
Step 2. Trim the panel
Die cut the floral panel with a decorative edge die.
Save leftover pieces for tags or future cards.
Step 3. Create the aperture
Cut the aperture through both the floral panel and card base at the same time for easier alignment.
Glue the floral panel to the card base and place the inner square back into position.
Step 4. Heat emboss on acetate
Cut heat-resistant acetate to size.
Use generous antistatic powder before stamping the sentiment.
Heat emboss the sentiment in white.
Tip: Heat from the back of the acetate for a smoother finish.
Step 5. Clean the acetate
After embossing, clean residue using rubbing alcohol and a Q-tip.
Reheat briefly if the embossing loses shine.
Step 6. Hide the acetate edges
Create a wide frame using nested square dies.
Adhere this behind the window to conceal adhesive and acetate edges.
Step 7. Add layered frames
Layer additional thin frames for extra elegance and dimension.
Use the negative die-cut pieces as alignment guides.
Step 8. Finish the card
Clean fingerprints from the acetate and assemble the remaining layers.
The floating embossed sentiment creates such a soft, elegant effect.
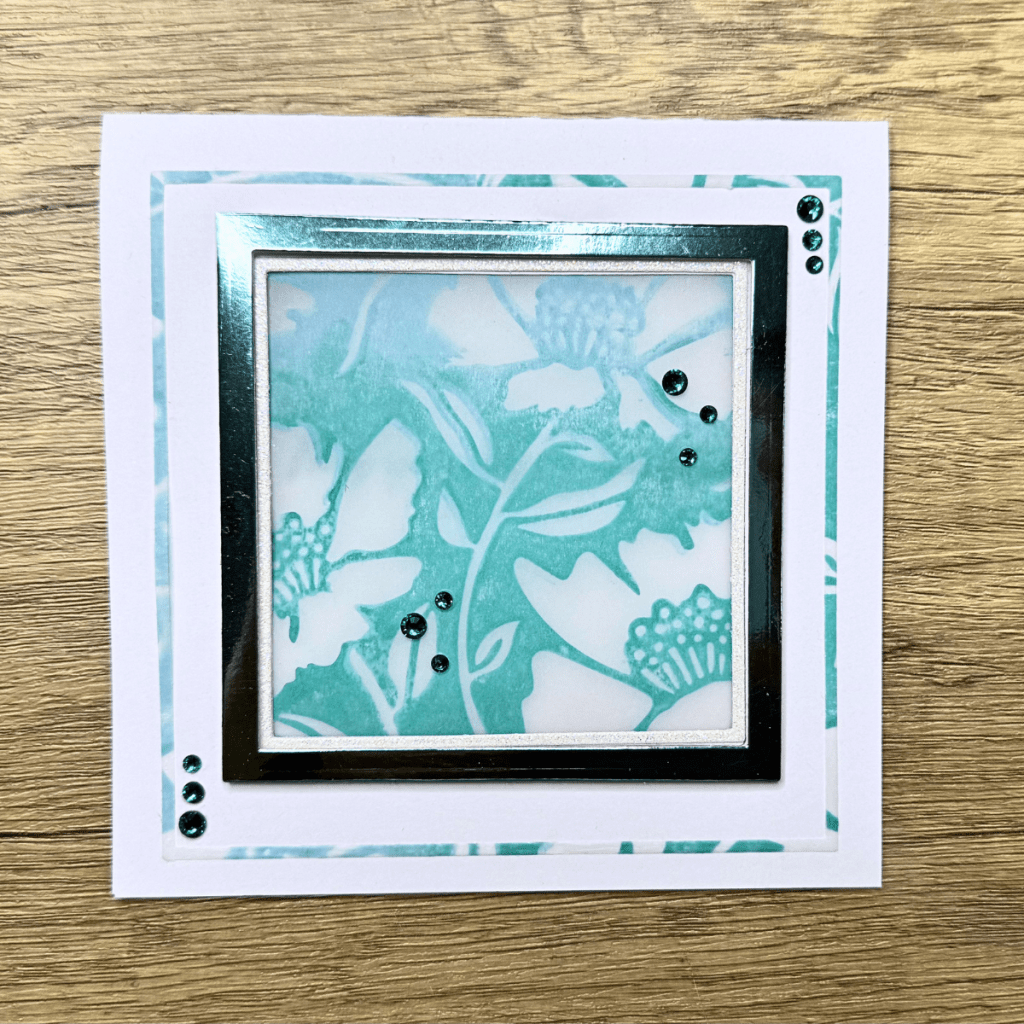
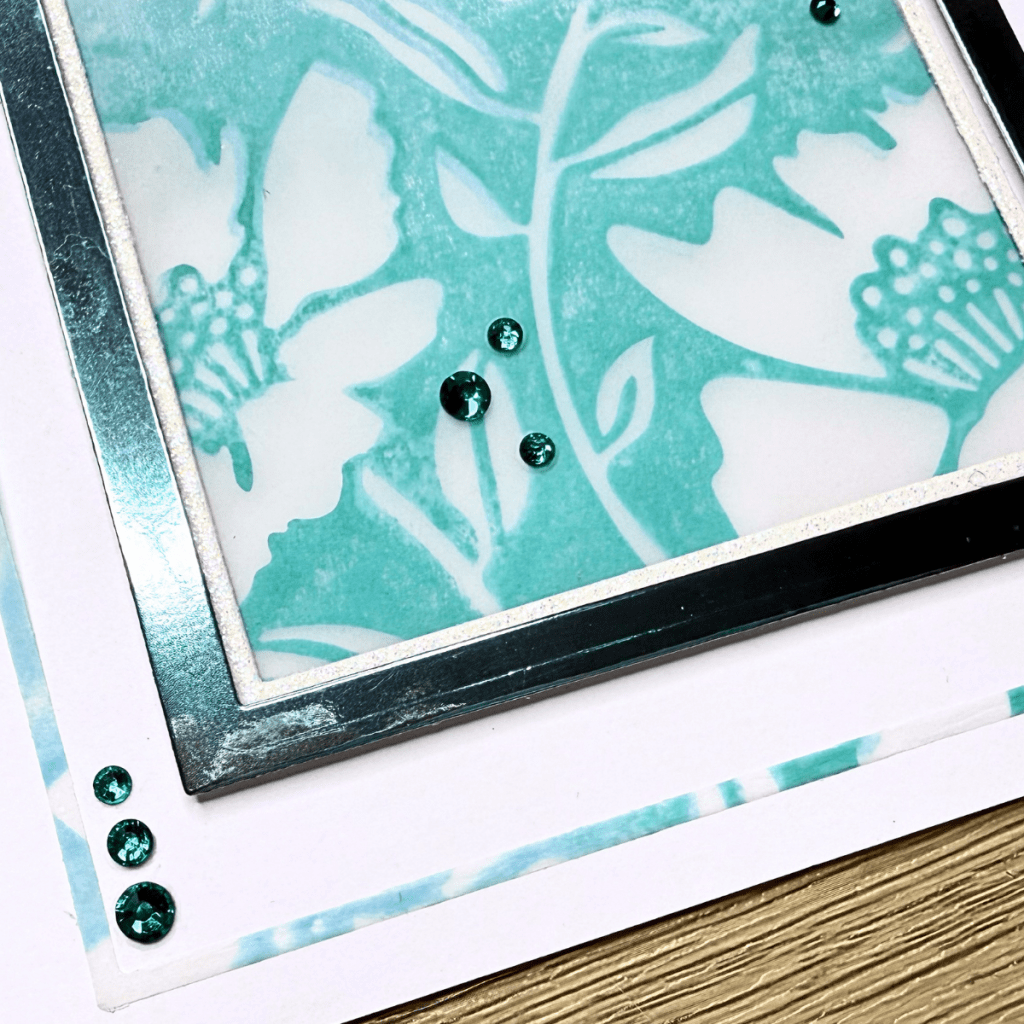
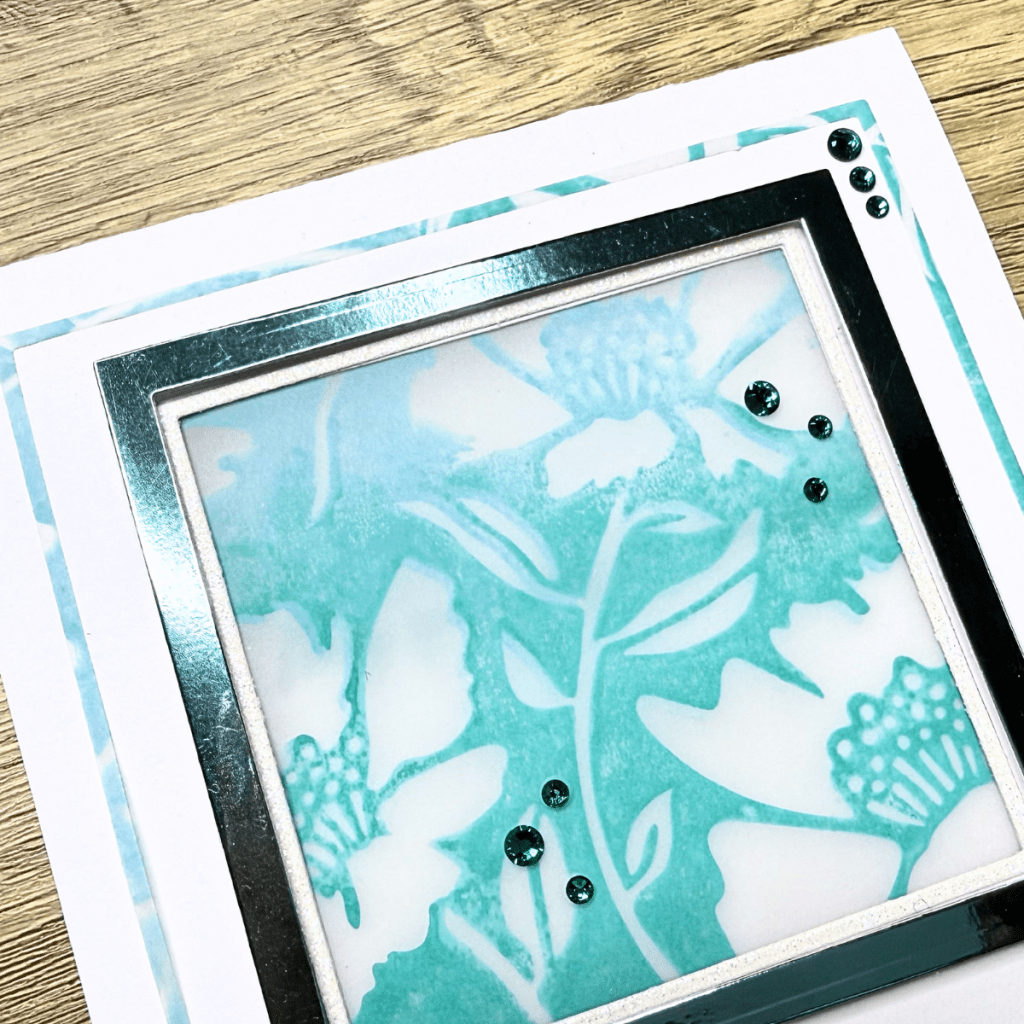
Card #4 – Vellum Aperture Card with Distress Oxides
This card was made using a background stamp and Distress Oxides on vellum.
✂️ Supplies Used
Main Products
Inks
- Distress Oxide inks
Cardstock & Papers
- Neenah Classic Crest cardstock – 5 ½ in. x 5 ½ in.
- Heavyweight vellum – 5 ½ in. x 5 ½ in.
- Blue Metallic Cardstock –
Tools & Adhesives
- MISTI or stamp positioning tool
- Brayer
- Painter’s tape
- Foam tape
- Liquid glue
- Gina K Matte Glue
- Paper trimmer
- Bone folder
- Scoring board
- Heat tool
Step-by-Step Instructions
1. Ink the stamp with a brayer
Apply Distress Oxide inks directly onto the stamp using a brayer.
Blend two blue shades for a soft layered look.
2. Stamp onto vellum
Stamp onto heavyweight vellum. Set aside and let dry or use a heat tool to dry the panel.
Then flip the vellum and use the reverse side for a softer, more muted appearance.
Heavyweight vellum helps reduce curling caused by moisture.
3. Create the aperture layers
Use two of the square nesting dies to create a thick frame around the vellum opening.
One thin frame was created from the stamped vellum itself for added coordination.
4. Assemble the card
Attach the vellum behind the aperture and adhere the frames on the card front.
Finish with a sentiment inside the card and gems on the card front (optional).
✂️ Want to craft along with me? Members get perks like monthly live Q&A sessions, badges, shout-outs, and Foiled Florals craft-along livestreams. Join the membership here: https://www.youtube.com/channel/UCDKhctb1ss7hbxVHivhT5YQ/join


Leave a comment