Today I’m sharing my favourite tips and techniques for working with vellum—especially when it comes to heat embossing, preventing warping, and achieving smooth, professional-looking results. I’ll also show you how I stencil and colour vellum from the reverse side to create soft, dimensional floral designs.
You can watch the detailed YouTube tutorial here. I’ve also included a complete visual list of the supplies that are currently available in the next section and a detailed list of tools at the end of the blog post for your convenience:


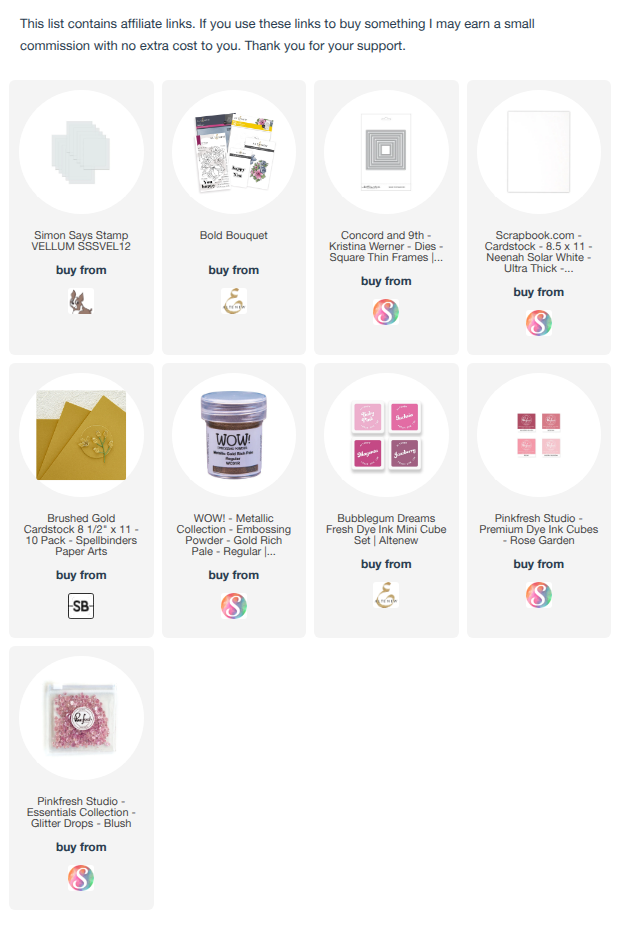
✂️ Supplies Used
Step 1: Cutting and Scoring the Card Base & Vellum
Create a 6 in. x 6 in. card base.
Cut the vellum to 6 in. x 5 ½ in.
This allows a half-inch flap that can be wrapped behind the panel for attachment.
Score the vellum lightly at the half-inch mark. It’s very important to be gentle here because vellum can crack if too much pressure is applied.
Once scored, fold it carefully along the score line, making sure to fold in the same direction for a clean edge.
Step 2: Heat Embossing the Floral Design
Stamp the floral image on the vellum panel using the MISTI, carefully positioning it so the design would fit within the panel and still leave space for a sentiment.
Before stamping, use anti-static powder to prevent stray embossing powder from sticking where you don’t want it.
Apply WOW Metallic Gold embossing powder and heat set the design until smooth and fully melted.
A quick cleanup with a brush ensured no stray powder remained before heating.
Important Tips: Preventing Vellum Warping During Heat Embossing
Vellum can warp easily during heat embossing, so here are a few techniques to avoid that:
1. Hold vellum in place
I like to use a magnet on my magnetic mat to hold the vellum down while embossing. This prevents it from lifting or shifting in the airflow of the heat tool.
If you don’t have a magnetic mat, you can tape down one side of the vellum instead.
2. Preheat your heat tool
Always run your heat tool for a few seconds before bringing it to the vellum. This reduces the amount of exposure to heat and helps minimize warping.
That said, larger designs will always carry a small risk of movement no matter how careful you are.
3. Heat from the reverse side
One of my favourite tricks is to heat emboss from the back of the vellum. This helps melt the embossing powder without blowing it around, resulting in a much smoother finish.
Step 3: Colouring Vellum from the Reverse Side (Stencil Technique)
Instead of colouring the front of the vellum, apply ink to the reverse side. This gives:
- A softer, more diffused look
- Less chalky texture
- More natural colour blending
Use the reverse side of the stencil to align with the embossed image.
Use the following inks with the stencils:
- Magenta for layers 1 and 2
- Mulberry Blush for layer 3
- Plum for layer 4
Tips for Stencilling
Some layers include etched lines dividing sections.
- Mask areas using Post-it notes to prevent unwanted ink transfer.
- Apply the ink, concentrating colour at the base of petals and leaves.
- Use a softer, lighter application toward the tips of petals and leaves.
- Dry the ink application between the layers.
Once complete, the result is a soft, elegant floral design with beautiful gold embossed outlines.
The vellum diffuses the colour beautifully, giving a delicate, almost glowing effect.
Before handling the piece, ensure you have clean hands were clean since the ink was still slightly wet to avoid smudging.
While I personally prefer the softer reverse-side colouring, you can absolutely colour the front of the vellum if you prefer a bolder look.
Step 4: Attach the Vellum to the Card Panel
To adhere the vellum, carefully apply liquid glue in a thin to the folded flap on the vellum panel, or the edge of the card panel.
Secure it behind the card panel.
This is a very simple and effective way to attach vellum without visible adhesive marks.
Step 5: Trim and Adjust the Panel
Trim any overhanging or exposed cardstock edges to clean up the alignment and ensure everything looks neat and balanced.
Step 6: Add the Frame
Use the brushed gold card stock to cut out a thin frame using the second largest die in the Thin Frames die set.
Centre and add the frame on the vellum panel.
Step 7: Add the Sentiment
Add a sentiment to the card front to complement the gold embossing.
Using a little bit of foam tape, position it using the rule of thirds for a balanced composition.
Step 8: Embellish the Card Front
To finish the card, add a few sparkling gems from Pinkfresh Studio for a touch of shimmer.
More Inspiration
If you enjoyed this tutorial, you might also like my previous video on using vellum to elevate your card designs. You can watch it here:
✂️ Want to craft along with me? Members get perks like monthly live Q&A sessions, badges, shout-outs, and Foiled Florals craft-along livestreams. Join the membership here: https://www.youtube.com/channel/UCDKhctb1ss7hbxVHivhT5YQ/join


Leave a comment