Feeling stuck with your craft supplies? Learn how to create 5 beautiful handmade cards using simple card sketches, patterned paper, dies, scraps, and easy design principles. Includes a free downloadable sketch guide and bonus member sketches.
Download the free sketch guide at the end of this post and keep it handy whenever you need inspiration.
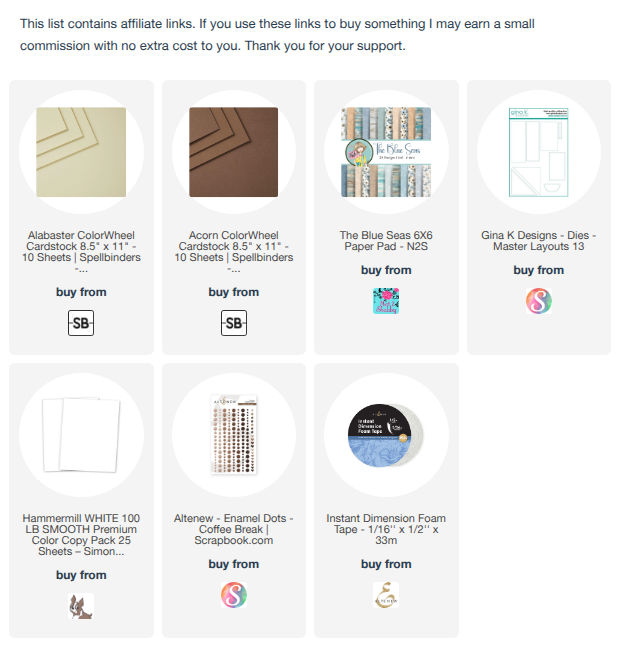
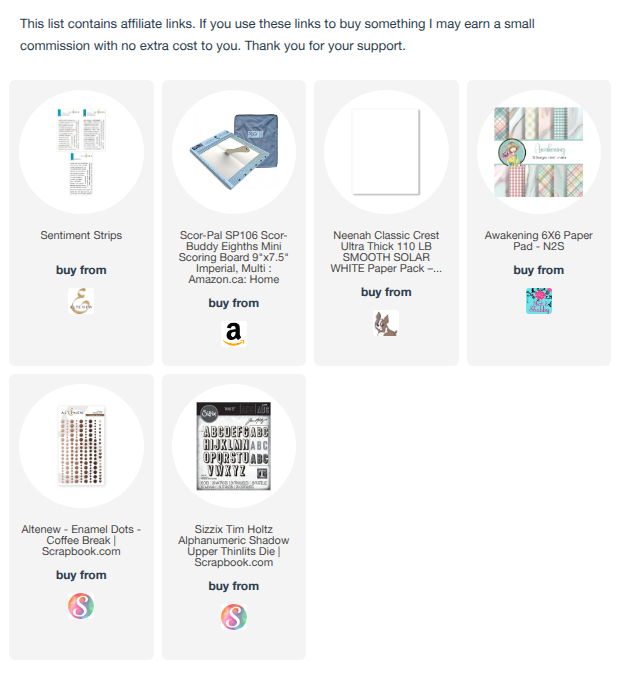
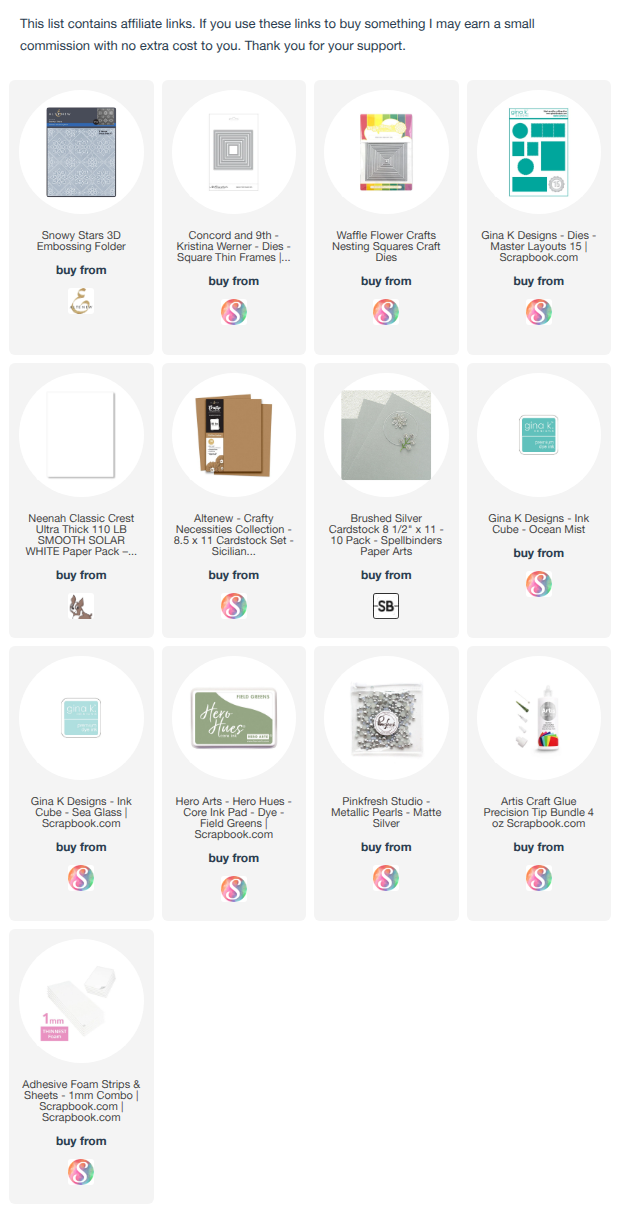
You can watch the detailed YouTube tutorial here. I’ve also included a complete visual list of the supplies and tools that are currently available at the end of the blog post for your convenience:
Card Sketch #1: Anchored Focal Point
Design Principle: Rule of thirds placement
Sometimes the simplest designs are the most effective. This sketch uses a narrow strip to visually ground the focal point placed on the bottom third of the card, creating interest without adding unnecessary layers.
Click on an image to enlarge.


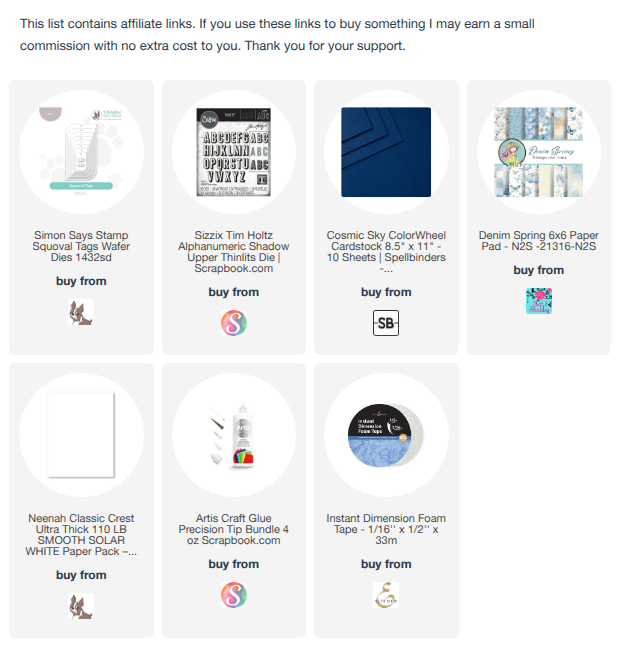
✂️Supplies Used
- A6 card base
- Simon Says Stamp Squoval Tag Dies
- Alphabet dies
- White cardstock
- Foam tape
- Ribbon or twine
- Liquid glue
- White cardstock strip
https://linkdeli.com/widget.js?id=f5e8378456858c916708
Step-by-Step Instructions
Step 1: Create the Tags
Die cut the number of tags you need from white or patterned paper cardstock.
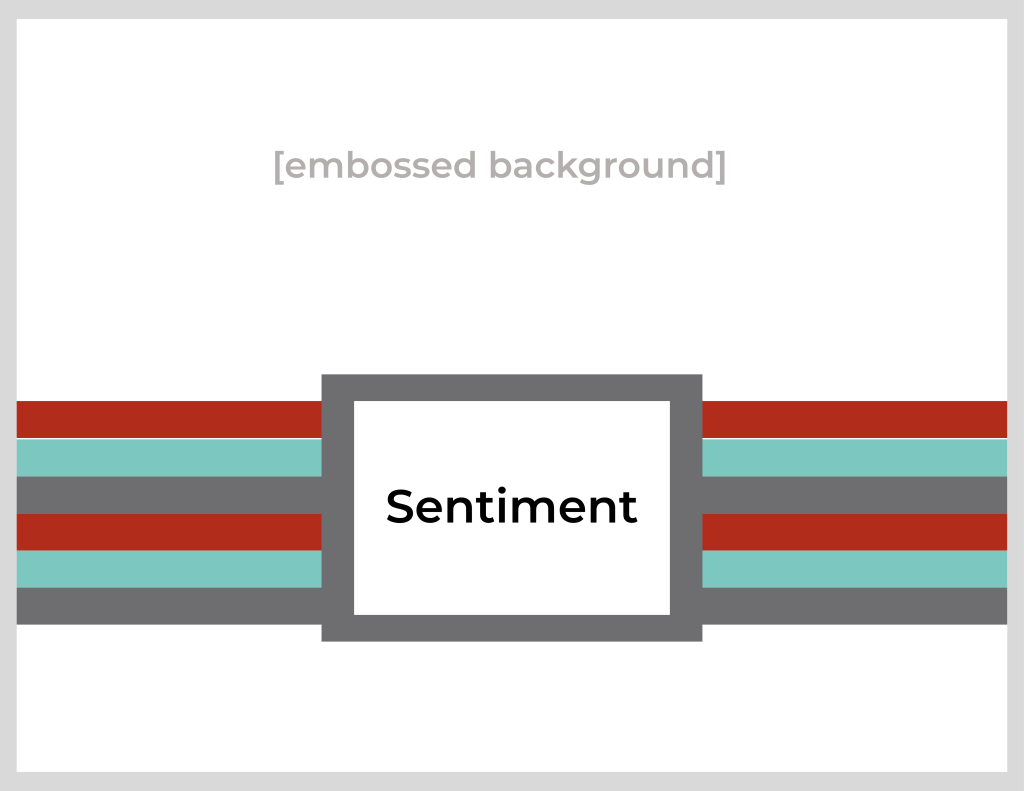
Step 2: Create the Sentiment
Die cut the letters needed for your sentiment. You can choose to die-cut multiple layers and stack them together for dimension.
Step 3: Complete the Tags
Adhere the letters to the tags using foam tape for dimension. Thread ribbon through the tags and tie simple knots.
Step 4: Create the Anchor
Cut a narrow strip of white cardstock to act as an anchor behind the tags. Using the Rule of Thirds, position the strip slightly below centre on the card front. Adhere the strip using foam tape.
Step 5: Adhere the Tags
Arrange and adhere the tags on top of the strip.
Step 6: Complete the Card
Add a white writing panel inside the card.
Why This Sketch Works
This layout eliminates the need for multiple layers. A simple focal point plus an anchor strip creates enough visual structure to make the card feel intentional and balanced.
Sketch Callout
Formula: Focal Point + Anchor Strip + White Space + Rule of Thirds
Card Sketch #2: Scrap Strips and Texture
Design Principle: Texture creates visual interest.
This sketch is perfect for using up leftover cardstock strips while creating a polished card design.
Click on an image to enlarge.

✂️Supplies Used
- A2 card base
- Embossed geometric panel
- Cover plate die or embossing folder
- Foil cardstock
- Custom printed sentiment
- Thermal printer (optional)
- Coordinating cardstock scraps
- Foam tape
- Liquid glue
https://linkdeli.com/widget.js?id=f5e8378456858c916708
Step-by-Step Instructions
Step 1: Create the Sentiment
Create your sentiment and mount the sentiment onto a foil cardstock mat.
Step 2: Prepare the Background Panel
Use a coverplate die or an embossing folder to emboss an A2 sized panel and trim it down to 5 ¼ in. x 4 in.
Step 3: Create the Focal Panel
Cut several quarter-inch strips from coordinating cardstock scraps.
Use a scrap piece of cardstock that measures 5 ½ in. x 3 in. Apply glue with a tape runner to the panel and adhere the strips side by side across the panel.
Ensure the strips are well adhered and trim to remove excess cardstock from the edges.
Trim the panel to fit the card front.
Step 4: Assemble the Card
Adhere the focal panel to the textured panel and adhere the assembled card front to the card base.
Attach the sentiment using foam tape.
Step 5: Embellish the Card
Finish with enamel dots if desired.
Why This Sketch Works
The texture creates interest while the narrow strips add colour without overwhelming the design. It’s an excellent formula for masculine cards and scrap-busting projects.
Sketch Callout
Formula: Textured Background + Colour Strips + Sentiment
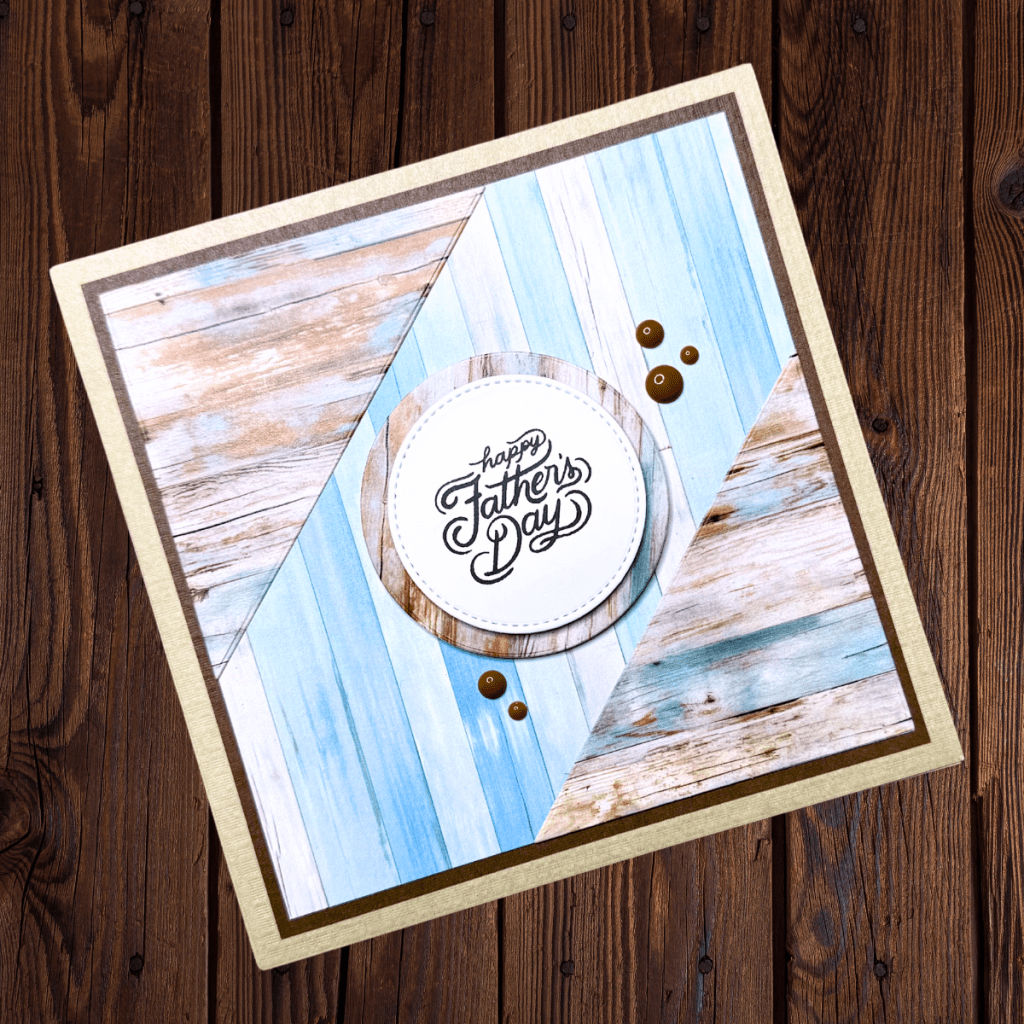
Card Sketch #3: Pattern Paper Does the Heavy Lifting
Design Principle: When in doubt, layer patterned paper.
If you’re struggling to create a design, let the patterned paper become the focal point.
Click on an image to enlarge.

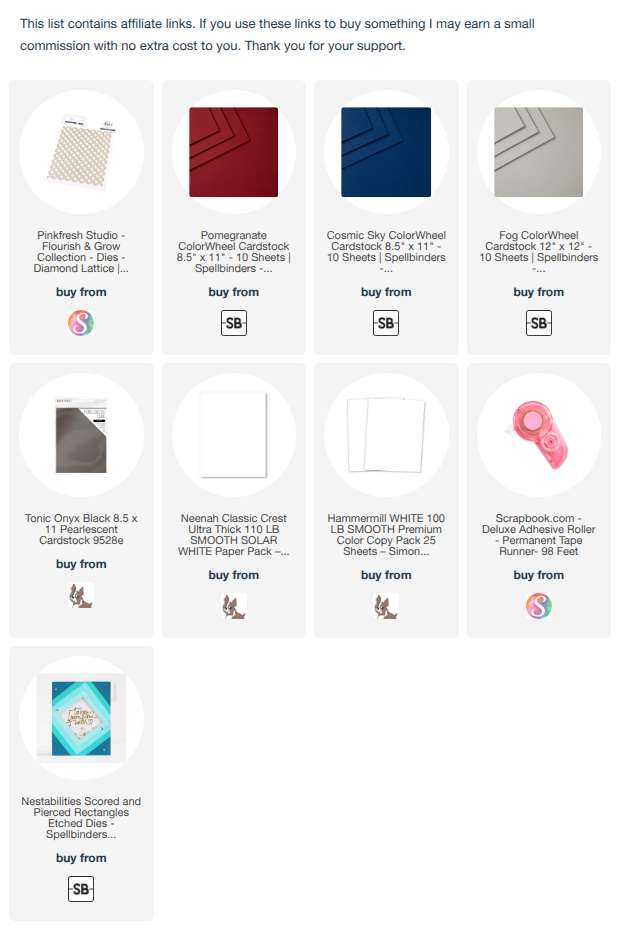
✂️Supplies Used
- 6” x 6” card base
- Patterned paper
- Gina K Master Layouts dies
- Circle die
- Sentiment strip
- Coordinating cardstock mat
- Foam tape
- Enamel dots
https://linkdeli.com/widget.js?id=f5e8378456858c916708
Step-by-Step Instructions
Step 1: Prepare the Card Panels
Cut a patterned paper panel measuring 5¼ in. 5¼ in.
Create a coordinating cardstock mat measuring 5 ½ in. x 5 ½ in.
Step 2: Create the Corner Elements
Die cut the geometric triangle elements using the plain triangle dies from Gina K Design’s Master Layouts 13.
Adhere the triangles on opposite corners of the patterned paper panel.
Step 4: Create the Sentiment
Create the sentiment using a round label to soften the angular design of the card.
Step 5: Assemble the Card
Mount the sentiment on a coordinating mat layer and adhere the assembled piece to the patterned paper panel with foam tape.
Adhere the patterned paper panel to the card base.
Step 6: Embellish
Add a few enamel dots to finish.
Why This Sketch Works
The patterned paper provides colour, texture, and visual interest. The geometric elements create structure while the circle introduces balance and contrast.
Sketch Callout
Formula: Pattern Paper + Geometric Shapes + Circular Focal Point
Card Sketch #4: Create Texture Without Fancy Tools
Design Principle: Multiple layers + simple focal point
This card proves you don’t need specialty embossing folders or cover plate dies to add dimension.
Click on an image to enlarge.


✂️Supplies Used
- 6” x 6” card base
- Heavyweight white cardstock (110 lb recommended)
- Scoring board
- Patterned paper
- Alphabet dies
- Ribbon
- Foam tape
- Liquid glue
- Sentiment stamp
- Stamp positioning tool
https://linkdeli.com/widget.js?id=f5e8378456858c916708
Step-by-Step Instructions
Step 1: Create the Layers
Create a layered white-on-white background using cardstock squares:
- Cut the first white matting layer at 5 in. x 5 in., scored every ⅛ in. on one side starting at 4 in.
- Cut the patterned paper matting layer at 4 ½ in. 4 ½ in.
- Cut the smallest white matting layer at 4 in. x 4 in., scored every ⅛ in. on one side starting at 3 in.
Step 2: Stamp the Sentiment
Stamp a sub-sentiment directly onto the smallest card panel.
Step 3: Die-Cut the Main Word
Create dimensional die-cut letters and adhere them right above the stamped sentiment ensuring the sentiment and sub-sentiment are aligned as desired.
Step 4: Add a Ribbon
Add a ribbon by securing it with tape behind the card panel.
Make a knot with the ribbon and secure with glue dots on the ribbon strip.
Step 5: Assemble the Card
Adhere the finished panels to the card base.
Embellish with enamel dots.
Why This Sketch Works
The scored lines create elegant texture without requiring any special tools. Combined with layered die-cut letters, the result feels sophisticated while remaining simple.
Sketch Callout
Formula: White-on-White Layers + Scoring + Colourful Mat + Dimensional Sentiment
Card Sketch #5: Spotlight Embossing
Design Principle: Simple focal point
Spotlight techniques allow you to create dramatic impact while keeping the design clean and uncluttered.
Click on an image to enlarge.


✂️Supplies Used
- 5½” x 5½” card base
- Heavyweight cardstock
- Craft cardstock mask
- Altenew Sticky Mat
- Ink blending brushes
- Sea Glass ink
- Ocean Mist ink
- Field Greens ink
- Embossing folder
- Sentiment die cuts
- Circle dies
- Foam tape
- Silver mirror cardstock
- Enamel dots
https://linkdeli.com/widget.js?id=f5e8378456858c916708
Step-by-Step Instructions
Step 1: Create the Mask
To create the mask, use a scrap piece of cardstock measuring 5 ½ in. x 5 ½ in.
Cut out a square aperture from the centre of the cardstock using a square die measuring approximately 3 in. x 3 in.
Step 2: Create the Spotlight
Position the mask over the card panel.
Ink blend Sea Glass, Ocean Mist, and Field Greens inside the opening.
Remove the mask and allow the panel to dry completely so the inks settle and smooth out.
Step 3: Emboss the Panel
Lightly mist the back of the cardstock with water.
Emboss the panel using your chosen embossing folder. Trim the panel if necessary.
Step 4: Create the Sentiment
Create a circular sentiment element with a matting layer (optional).
Step 5: Create a Frame
Cut out a frame to contain the spotlight colouring if desired. If you’re using foam tape behind the frame, ensure there are no gaps between the foam since it might cause the frame to look wavy.
Step 6: Assemble the Card
Attach the sentiment and frame with foam tape.
Attach the card panel to the card base.
Finish with embellishments.
Why This Sketch Works
The spotlight area immediately draws the eye while the embossing adds texture and sophistication. The result looks intricate but relies on a very simple design formula.
Sketch Callout
Formula: Spotlight Area + Texture + Dimensional Sentiment
Free Download: Card Sketch Guide
I’ve created a downloadable PDF featuring all five card sketches from today’s post so you can save them for future cardmaking sessions.
Keep the guide near your craft desk and use it whenever you’re feeling stuck or overwhelmed by your supplies.
Remember, sketches are meant to inspire—not restrict. Change the colours, swap out the focal points, rotate the layout, and make each design your own.
Channel Member Bonus Sketches
If you’re one of my channel members, you’ll also receive two bonus sketches that expand on the designs featured in this post. Please check your YouTube members area for the download link.
These bonus sketches include:
- Alternate clean-and-simple versions
- Additional masculine card layouts
- Pattern paper variations
- Floral adaptations
- Extra layering options
The goal is to give you even more ways to use your existing supplies and stretch each sketch into multiple card designs.
Become a Channel Member
✂️ Want to craft along with me? Members get perks like badges, shout-outs, and Foiled Florals craft-along livestreams. Join the membership here: https://www.youtube.com/channel/UCDKhctb1ss7hbxVHivhT5YQ/join
Here is a list of all the crafting tools I use on a regular basis to create my card projects:


Leave a comment