In this tutorial, you’ll create two completely different floral cards using the same coneflower die set. You’ll start with a clean and simple design, then move into a more artistic, layered composition. Along the way, you’ll apply five core techniques that can completely transform your die-cut flowers.
You can watch the detailed YouTube tutorial here. I’ve also included a complete visual list of the supplies that are currently available in the next section and a detailed list of tools at the end of the blog post for your convenience:
✂️ Supplies Used
Card 1: Clean & Simple Coneflower Card


Step 1: Start with your card base
Create a 5” x 7” card base. Choose this larger size so your coneflowers have plenty of room to sit comfortably on the design.
In addition to the card base, create a 5” x 7” panel for the front of your card.
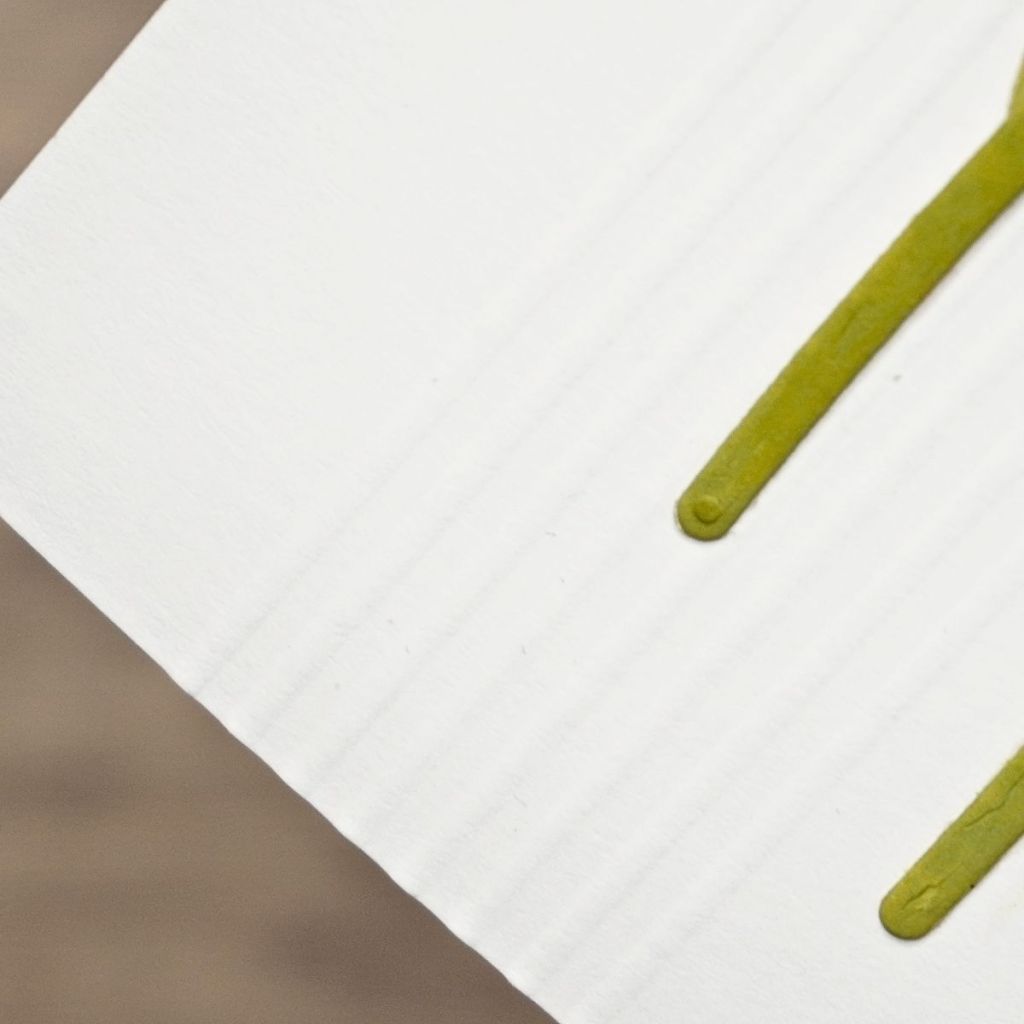
Step 2: Add texture to your background
Score your card front to create subtle texture.
- Start your first score line about ¾” from the left edge.
- Add additional score lines at ⅛” intervals.
- Create 7 or more parallel score lines for soft texture.
- Rotate your panel and reinforce the lines from the bottom if needed
Set your panel aside once the texture is complete.
Step 3: Die cut your floral elements & sentiment
Die cut all flower components from white cardstock.
- Use Neenah Classic Crest cardstock for all your die-cutting for best ink blending results.
- Cut the small bands for the flower centres from brushed gold cardstock.
- Cut your sentiment from brushed gold cardstock.
- Cut a vellum shadow layer for the sentiment.
Step 4: Ink blend your flowers & foliage
Apply ink directly to your die-cut flower pieces.
- Blend Dusty Rose onto the petal tips.
- Add Wild Dandelion toward the centre areas.
- Blend Sweet Mango lightly into the centre for warmth.
- Use Olove on the stems and leaves.
- Blend Field Greens to the bases of the stems and leaves for depth and contrast.
- Blend Walnut stain on the flower centres.
Allow each flower to vary slightly so they feel more natural.
Step 5: Assemble your flowers & sentiment
Layer your flower pieces together.
- Offset each petal layer so they do not align perfectly.
- Glue only the centre areas to allow petals to lift.
- Leave select petals free for added movement.
Build each flower until all layers are assembled.
Adhere the stems behind the flower heads.
Adhere the leaves to the stems.
Layer your sentiment:
- Adhere the gold “hello” (or chosen sentiment) onto the vellum shadow.
- Use liquid adhesive sparingly to avoid excess glue.
Step 7: Build your card design
Arrange your elements on the card front.
- Adhere your flowers first.
- Tuck stems behind the floral cluster.
- Position your sentiment over the vellum layer.
- Add subtle gems for finishing detail.
Attach your panel to the card base to complete the design.
You now have a clean and simple floral card with soft texture, layered dimension, and subtle colour variation.
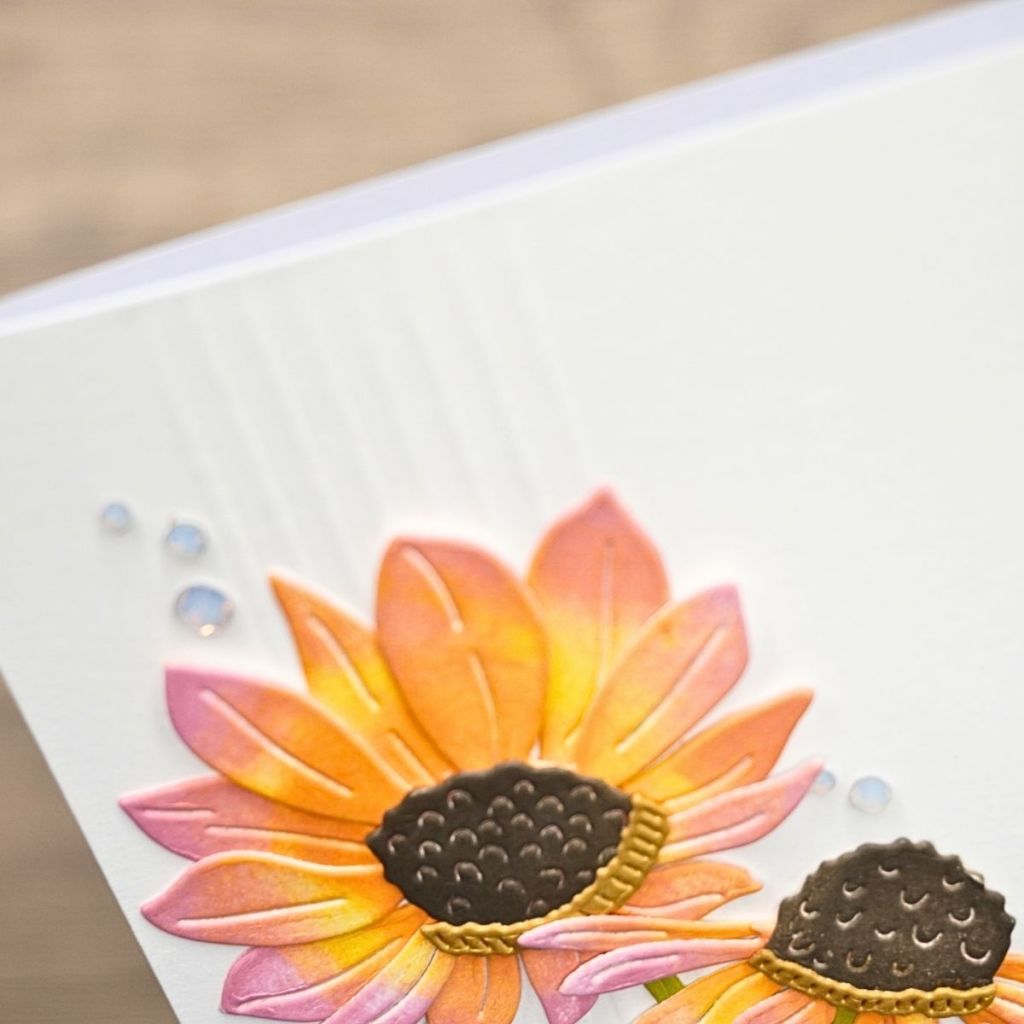
Card #2: Artistic Sunset Coneflower Card


Step 1: Start with your base layers
Prepare a more dramatic foundation for your second card.
- Use a saffron card base.
- Cut a 6¾” x 4¾” indigo background panel.
- Die cut a stitched scalloped oval from brushed gold cardstock for framing.
Step 2: Die cut your flowers & sentiment
Die cut three complete coneflowers from white cardstock.
- Use Neenah Classic Crest cardstock for blending.
- Cut flower centres from gold cardstock.
- Prepare your sentiment in gold with a white shadow layer.
Step 3: Ink blend for a bold sunset effect
Apply stronger ink blending than Card 1.
- Blend yellow more heavily toward the base of petals.
- Add cherry tones more intensely toward the tips.
- Layer colours for a saturated sunset effect.
- Use Olove on the stems and leaves.
- Blend Field Greens to the bases of the stems and leaves for depth and contrast.
- Blend Walnut stain on the flower centres.
Build each flower until all layers are assembled.
Adhere the stems behind the flower heads.
Adhere the leaves to the stems.
Step 4: Add metallic accents
Enhance your design with gold details.
- Add gold bands to the centres of each flower.
- Apply gold pen details to the etched flower centres
Make sure your metallic accents are distributed throughout the design so they feel intentional.
Step 5: Add splatter to your background
Create a painterly effect on your indigo panel.
- Activate metallic paint with a small amount of water
- Use a fan brush to create controlled splatter
- Apply sparingly to avoid overwhelming the background
Let the panel dry before assembling.
Step 5: Arrange your floral cluster
Use Press’n Seal to hold your arrangement in place.
- Position your flowers and stems first
- Secure overlapping stems with liquid glue
- Lift the entire arrangement using Press’n Seal
This will help you maintain your composition while assembling.
Enhance depth using foam tape.
- Add foam tape only where needed for support
- Keep foam hidden from the front view
- Combine foam and liquid glue for stability
Step 6: Assemble your sentiment
Build your sentiment carefully.
- Adhere “Happy” directly to the background
- Use foam tape for parts of “Birthday” where needed
- Add glue where the sentiment overlaps stems
Place the sentiment where it balances the floral cluster.
Complete your card with finishing gems and final adjustments to ensure balance and cohesion.
Techniques Used in This Project
Technique 1: Create Background Texture Without Embossing Folders
Score your card front to create subtle, elegant texture without adding bulk or extra supplies.
Technique 2: Ink Blend Directly on Die Cuts
Apply dye ink to white cardstock die cuts to fully customise your colour palette without markers.
Technique 3: Build Dimension Through Layering
Offset die-cut layers and selectively glue petals to create natural-looking floral dimension.
Technique 4: Add Metallic Accents for Cohesion
Use gold cardstock, pens, or paint across multiple areas of your design to unify the composition.
Technique 5: Add Controlled Splatter for Artistic Energy
Use diluted metallic paint and a fan brush to add movement and visual interest to backgrounds.
Final Thoughts
By using the same coneflower die set and simply changing your techniques, you can create two completely different styles of cards.
Use soft scoring, light blending, and minimal embellishments for a clean and simple design. Then switch to bold ink blending, metallic accents, splatter, and layered composition for a more artistic result.
The key takeaway is simple: you don’t need more supplies—you just need more ways to use the ones you already have.
✂️ Want to craft along with me? Members get perks like monthly live Q&A sessions, badges, shout-outs, and Foiled Florals craft-along livestreams. Join the membership here: https://www.youtube.com/channel/UCDKhctb1ss7hbxVHivhT5YQ/join
Here is a list of all the crafting tools I use on a regular basis to create my card projects:


Leave a comment