Today’s project features two elegant 5×7 floral cards using layered stencilling, heat embossing, dimensional relief paste, and soft mixed media details. For the first card, I created a bold floral design with subtle glitter texture on the background. For the second card, I used vellum and reverse stencilling techniques for a soft translucent effect.
Both cards use the same beautiful floral collection, but each one has a completely different look.
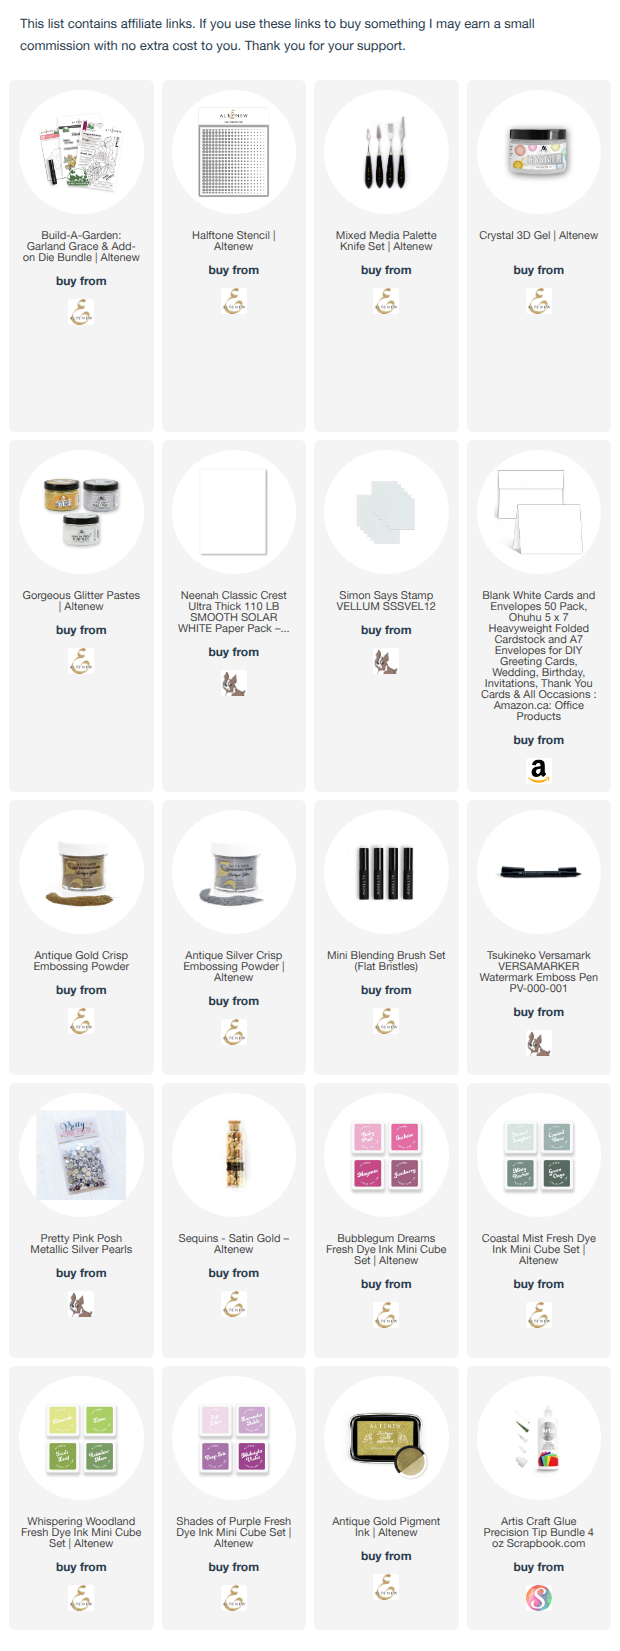
You can watch the detailed YouTube tutorial here. I’ve also included a complete visual list of the supplies and tools that are currently available at the end of the blog post for your convenience:
Card 1 – Bold Floral Card with Subtle Glitter Texture
For the first card, I created a bold, colourful design with gold heat embossing, then layered it over a textured background using gold glitter paste mixed with a 3D paste to diffuse the glitter’s effect.

✂️ Supplies Used
Main Products
- Altenew Garland Grace Sentiment Stamp & Die Set
- Halftone Stencil
- Altenew Palette Knife Set
- Crystal 3D Gel
- Gold Glitter Relief Paste
Cardstock & Papers
- Neenah Solar White (110 lb heavyweight cardstock) – 6 in. x 8 ½ in.
- Pre-made A7 card base
Inks
- Antique Gold pigment ink
- Frosty Pink
- Fuchsia ink
- Magenta ink
- Lavender Fields ink
- Limeade ink
- Fresh Leaf ink
- Reindeer Moss ink
Tools & Adhesives
- MISTI stamping platform
- Blending brushes
- Liquid glue
- Painter’s tape
- Sticky notes or masking paper
- Antistatic powder pouch
- Embossing ink
- Heat tool
- Foam tape or mounting tape
Optional Supplies
- Baby wipes
- Rubbing alcohol
- Paper trimmer
- Embossing pen
Embellishments
Step 1 – Create the Textured Background
Start with a panel larger than 5×7 (I used 6 in. x 8 ½ in.) to accommodate the large floral design. It will be trimmed down later to 5 in. x 7 in.
Place the Half Tone Circles stencil over the panel. This stencil features circles that gradually transition from larger to smaller, which creates beautiful movement across the background.
To create a softer glitter effect, mix a small amount of gold glitter relief paste with clear 3D gel paste. This tones down the intensity of the glitter while still leaving a subtle shimmer.
Using a palette knife, apply the paste through the stencil in random areas rather than covering the entire panel. Concentrate most of the texture toward the top of the panel since the floral arrangement will sit toward the bottom.
Add a small amount of texture near the bottom as well so the design feels balanced.
Set the panel aside to dry completely.
Step 2 – Stamp the Floral Image
Place a cardstock panel into the bottom right corner of your MISTI so you can stamp in exactly the same position later.
Before stamping for the first time, wipe down the new stamp with rubbing alcohol to remove any manufacturing residue. This helps the stamp take ink more evenly.
Stamp the floral image using gold pigment ink. The gold ink creates a visible outline for stencilling and works beautifully later when heat embossing.
Leave the stamp inside the MISTI so it can be re-stamped later for embossing.
Step 3 – Stencil the Floral Layers
Secure the panel and stencil with painter’s tape.
The stencil set includes numbered layers and etched alignment guides to make positioning easier.
Flowers
Start with the lightest pink ink and blend lightly over the petals.
Use masking paper or sticky notes to cover nearby areas so ink does not transfer into the leaves.
Add depth to the flowers using the Fuchsia and Magenta inks on the larger flower, concentrating around the edges of the flower petals.
For the smaller flowers, use Lavender Fields and a mix of Magenta and Fuchsia, blending with a very light hand around the petal edges.
Leave small highlights in the petals to create dimension.
Leaves
Blend the leaves using Limeade ink for the lightest layer.
Add subtle shading with Fresh Leaf and Reindeer Moss inks.
Use masking where necessary, especially around edges and detailed stencil sections.
Continue layering until all stencil sections are complete.
Step 4 – Heat Emboss the Design
Return the panel to the MISTI.
Apply anti-static powder over the cardstock.
Stamp the image again using embossing ink or the same pigment ink and cover it with Antique Gold embossing powder.
If any sections are missing, use an embossing pen to fill in the gaps before heat setting.
Heat emboss the image, preferably from the back first to help reduce warping.
At this stage, also heat emboss the sentiment.
Allow everything to cool completely before die-cutting.
Step 5 – Die Cut the Image & Sentiment
Use the coordinating dies to cut out the floral image and sentiment.
If your die placement is slightly imperfect, don’t worry too much. Minor shifts are often barely noticeable once the card is assembled.
Step 6 – Trim & Assemble the Card
Trim the textured background panel down to 5×7.
Before trimming, test the floral placement so you preserve the most visually interesting areas of texture.
Adhere the background panel to a 5×7 card base.
Add foam tape behind the floral image for dimension.
Adhere the sentiment first to help position the floral arrangement.
Step 7 – Finish & Embellish the Card
Add additional foam tape underneath any unsupported areas.
Finish the card with Antique Gold sequins in varying sizes.
The final result features soft glitter texture, bold florals, elegant gold embossing, and beautiful dimension.
Card 2 – Monochromatic Vellum Floral Card
For the second card, I created a softer monochromatic design using vellum and reverse stencilling techniques.

✂️ Supplies Used
Main Products
Cardstock & Papers
- Neenah Solar White (110 lb heavyweight cardstock) – 5 in. x 7 in.
- Heavyweight heat-resistant vellum – 5 ½ in. x 7 in.
Inks
Embossing Products
Tools & Adhesives
- MISTI stamping platform
- Blending brushes
- Liquid glue
- Painter’s tape
- Sticky notes or masking paper
- Antistatic powder pouch
- Heat tool
- Foam tape or mounting tape
Optional Supplies
- Baby wipes
- Rubbing alcohol
- Paper trimmer
- Embossing pen
Embellishments
Step 1 – Prepare the Vellum Panel
Cut the vellum slightly larger than the card front at 5½ inches wide.
Step 2 – Heat Emboss the Floral Image
Stamp and heat emboss the floral image directly onto the vellum.
Heat embossing first is especially important on vellum because regular ink takes much longer to dry and can smudge easily.
Step 3 – Reverse Stencil the Image
For vellum colouring, blend the ink onto the back side instead of the front.
Ink blending directly onto the front of vellum can create an uneven texture, while blending on the reverse side gives a much softer finish.
To do this, flip the stencil as well as the heat embossed image over. Align the flipped stencil with the reverse side of the embossed image.
Because the stencil is reversed, the colour will appear correctly from the front once the vellum is turned back over.
Use different inks from the Coastal Shores set to create a soft monochromatic look.
Blend the colours gradually for a smooth finish.
Step 4 – Assemble the Card
Create a 5 in. x 7 in. card panel from white card stock.
Additionally, create a 5 in. x 7 in. folded card base.
Lightly score the heat-embossed and coloured vellum on the left at the ½ in. mark, ensuring the vellum doesn’t crack when scoring.
Fold the vellum at the score line and burnish the fold carefully.
Instead of adhering the vellum flat onto the card front, wrap the ½ in. scored flap of the vellum panel behind the white cardstock panel and secure it from the back with adhesive.
This allows the vellum flap to remain loose, retaining its beautiful translucent quality.
Complete the assembly by adhering the vellum overlaid card panel to the card base with a strong adhesive.
Step 5 – Add the Sentiment & Embellishments
Stamp and die cut the “Congratulations” sentiment.
Adhere it to the card front with some dimensional foam tape.
Finish the card with a few silver pearls for subtle sparkle.
This design is simple and elegant, although vellum projects do require a little patience. Allow the ink to dry fully before handling the panel to avoid smudges or transfer.
Final Thoughts
I love how these two cards showcase completely different looks using the same floral collection.
The first card is bold and dimensional with textured glitter details, while the second card is soft and elegant with translucent vellum layers.
This collection is incredibly versatile, and you could easily create smaller A2 cards by focusing on just portions of the floral image.
If you recreate either of these cards, I’d love to see your projects.
And don’t forget to follow me on Instagram for future tutorials, inspiration, and giveaway announcements!
✂️ Want to craft along with me? Members get perks like badges, shout-outs, and Foiled Florals craft-along livestreams. Join the membership here:
https://www.youtube.com/channel/UCDKhctb1ss7hbxVHivhT5YQ/join
https://linkdeli.com/widget.js?id=f5e8378456858c916708
Here is a list of all the crafting tools I use on a regular basis to create my card projects:


Leave a comment