In this post, I’m sharing three mixed media floral cards created with the beautiful Chateau Blooms stencil set from Altenew’s May 2026 release. What started as a simple glitter paste experiment turned into three completely different cards ranging from bold and vibrant, to soft, dreamy, and almost ethereal.
These cards are filled with texture, shimmer, layered stencilling, and elegant floral details.
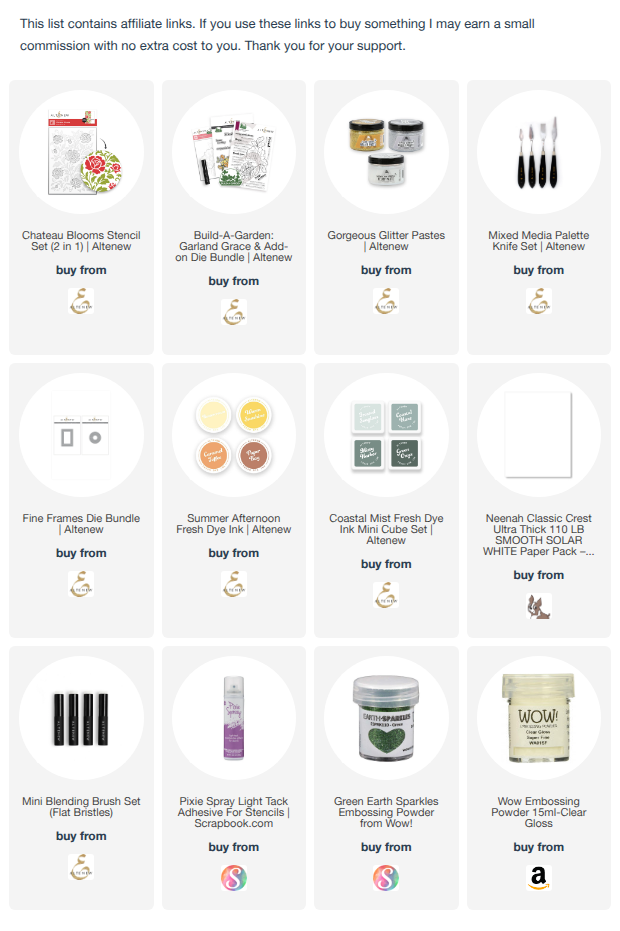
You can watch the detailed YouTube tutorial here. I’ve also included a complete visual list of the supplies and tools that are currently available at the end of the blog post for your convenience:
✂️Supplies Used
Main Products
- Altenew Chateau Blooms Layering Stencil Set
- Altenew Iridescent Relief Paste / Glitter Paste
- Altenew Palette Knife Set
- Altenew Fine Frames Circle Die Set
- Altenew Garland Grace Sentiment Stamp & Die Set
Inks Used
- Coastal Mist Fresh Dye Ink Mini Cubes
- Caramel Toffee from the Summer Afternoon Fresh Dye Ink Mini Cubes
- Black Ink
Cardstock & Papers
- Neenah Solar White (110 lb heavyweight cardstock)
- Altenew Blends patterned paper pack (currently unavailble)
- Vellum strip
Tools & Adhesives
- MISTI or stamp positioning tool
- Blending brushes
- Pixie Spray
- Painter’s tape
- Foam tape
- Liquid glue
- Paper trimmer
- Bone folder
- Scoring board
- Heat tool
- Glitter embossing powder
Card 1 – Soft Ethereal Glitter Paste Background


Step 1 – Prepare the Card Panel
Trim a piece of white cardstock to 5 x 7 inches to match the stencil size.
Since the stencil includes intricate details and very narrow edges, secure the stencil using Pixie Spray instead of tape. Apply a light coat of Pixie Spray to the back of the stencil and allow it to become tacky for about a minute before placing it onto the cardstock.
This helps prevent the delicate stencil details from shifting while blending.
Step 2 – Ink Blend the First Layer
Instead of starting with Layer 1 of the stencil, begin with Layer 2.
Because glitter paste will later be applied to Layer 1, working in reverse order allows all the ink blending to be completed first without waiting for paste to dry.
Using Frosted Sea Glass ink and a blending brush, lightly blend over the stencil.
Tips:
- Use varying pressure while blending to avoid a flat, uniform appearance.
- Keep some areas lighter and others darker for natural dimension.
- If your stencil shifts easily, a pouncing motion can work better than circular blending.
Once the first colour is blended, deepen areas around the stems and leaf bases using Coastal Haze ink.
Remove the stencil.
Step 3 – Apply the Glitter Paste
Align Layer 1 of the stencil over the blended background using the etched details on the details.
Using a palette knife, spread a thin, even layer of iridescent relief paste over selected floral areas.
To customize the paste colour, mix Frosted Sea Glass ink directly into the paste on a non-stick craft sheet.
This creates a beautifully soft tinted shimmer effect.
Tip:
If you want a stronger colour payoff, use a darker ink such as Misty Harbor.
Allow the panel to air dry completely or use a heat tool if you’d like to speed up the process.
Step 4 – Finish the Card
Once dry, keep the design soft and elegant by adding only minimal embellishment.
Wrap a vellum belly band (optional) around the panel and add a heat-embossed sentiment with glitter embossing powder.
The finished card has a delicate, ethereal look with subtle sparkle and dimension.
Card #2 – Bold Floral 2-for-1 Design


Step 1 – Create the Main Floral Panel
Secure the stencil onto a second 5 x 7 cardstock panel using tape.
Blend Caramel Toffee ink through the floral layer, keeping the centres darker and blending outward for softness.
Align the second stencil layer using the etched alignment guides.
Blend teal tones over the coordinating floral details using the same varying-pressure technique.
The combination of warm orange and cool teal creates beautiful contrast.
Step 2 – Create the 2-for-1 Focal Element
Position the stencil over a separate A2-sized cardstock panel.
Focus on placing the centre flower approximately in the middle of the panel.
Reverse the colour scheme by blending orange over the focal flower.
Once complete, use a circle die to cut out the centre flower.
This die-cut circle will become a dimensional focal element layered over the larger floral panel.
Step 4 – Assemble the Floral Card
Trim the floral panel slightly smaller than 5 x 7 inches to create an even border.
Adhere the focal floral circle over the coordinating flower using foam tape being careful to align the cutout piece perfectly with the background flower.
Layer one or two of the Fine Frames around the circle for additional detail.
Add a die-cut sentiment and adhere it with stacked die-cut layers for dimension.
Embellish the card front with gems or dots.
Helpful Tip:
Keep the negative die-cut piece after cutting the sentiment.
This makes it much easier to perfectly align multiple sentiment layers while gluing.
Finish the card with small gold marker dots for subtle sparkle.
How to Create a 5 x 7 Card Base from 8.5 x 11 Cardstock
Step 1 – Trim the Cardstock
Trim the cardstock down to 10 inches.
Step 2 – Score the Fold
Score at 5 inches to create the fold line.
For heavyweight cardstock, score from both sides to make folding easier and cleaner.
Burnish well using a bone folder.
Step 3 – Trim to Final Size
Trim the folded card base down to 7 inches tall.
You’ll now have a finished 5 x 7 card base.
Card #3 – Clean & Simple Aperture Card


Step 1 – Create Fine Frames
Die cut Fine Frames circles using the Altenew Fine Frames Circle Die Set.
These dies create multiple ultra-thin frames in one pass.
Optional Thick Frame Technique
If you use thicker cardstock or glitter cardstock, the frames may not cut completely through during the first pass.
This can actually work in your favour.
Partially connected frames can be kept together to create thicker dimensional frames automatically.
Simply separate the layers you want using a craft knife.
This is a fantastic way to add depth and dimension without stacking dozens of individual die cuts.
Step 2 – Prepare the Card Front
Use the leftover floral die-cut panel from the 2-for-1 technique.
Place a Fine Frames circle over the centre area to determine sentiment placement.
Check the sentiment placement using acetate packaging or stamp set covers, which is a great way to audition sentiment placement before stamping.
Step 3 – Stamp & Heat Emboss
Apply antistatic powder to the card base where the sentiment will sit.
Stamp the sentiment using the Misty Harbor ink and heat emboss using clear embossing powder.
Because heat embossing can slightly warp cardstock, place the finished panel under a heavy object afterward if needed.
Step 3 – Add the Frame
Adhere one of the Fine Frames circles around the sentiment using liquid glue.
Press gently around all the edges to ensure the delicate frame adheres cleanly.
Finish with a few small metallic dots or marker accents.
Final Thoughts
I absolutely loved experimenting with these glitter pastes and layered stencils. Even though the original technique didn’t turn out exactly as planned, it ended up creating one of my favourite soft mixed media backgrounds.
There are so many ways to customize these techniques:
- Use darker inks for stronger paste colour
- Try white pigment ink on dark cardstock
- Heat emboss over coloured cardstock
- Create bold or soft colour palettes
- Use glitter cardstock for dimensional frame effects
Mixed media doesn’t have to feel complicated or messy. Sometimes a little texture, shimmer, and layered stencilling is all it takes to elevate a card design.
✂️ Want to craft along with me? Members get perks like monthly live Q&A sessions, badges, shout-outs, and Foiled Florals craft-along livestreams. Join the membership here: https://www.youtube.com/channel/UCDKhctb1ss7hbxVHivhT5YQ/join
Here is a list of all the crafting tools I use on a regular basis to create my card projects:


Leave a comment