If you’re looking for Spellbinders Couture Collection card ideas, these two elegant 5 in. × 7 in. handmade cards show just how versatile this beautiful collection can be. One card creates the look of a vintage Parisian fashion atelier with layered dress forms, while the other features a sophisticated framed fashion sketch.
You’ll also learn a simple embossing folder hack that transforms ordinary die cuts into realistic embellishments, or partial backgrounds giving you another way to stretch your crafting supplies.
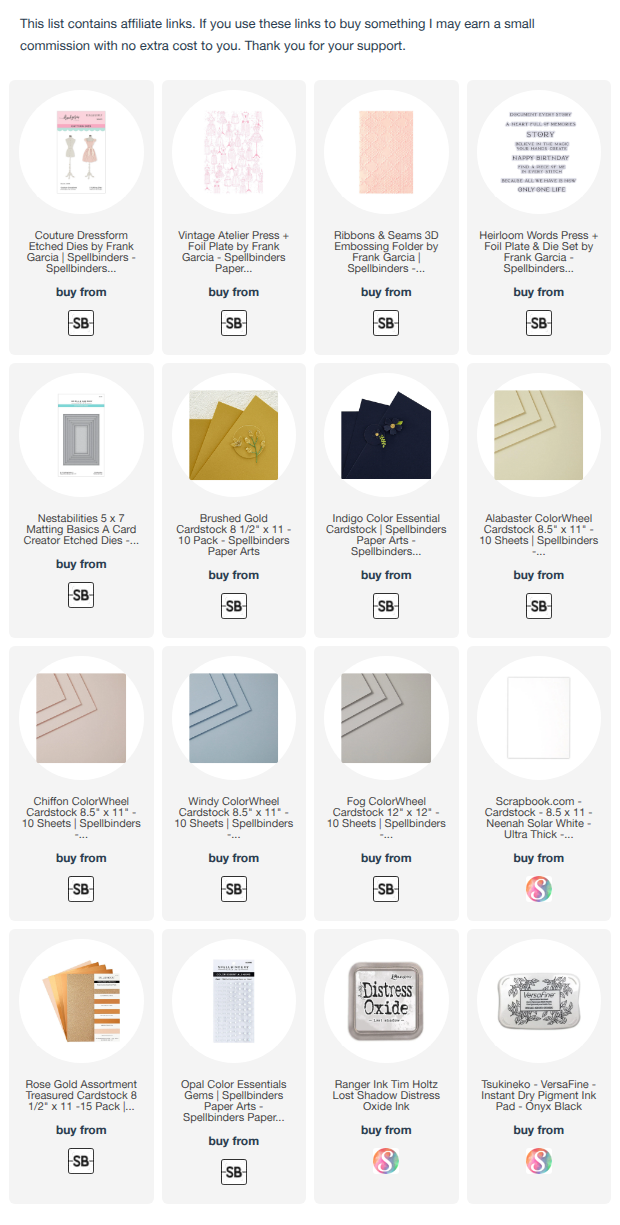
You can watch the detailed YouTube tutorial here. I’ve also included a complete visual list of the supplies that are currently available in the next section and a detailed list of tools I use regularly at the end of the blog post for your convenience:
✂️ Supplies Used
Card Measurements
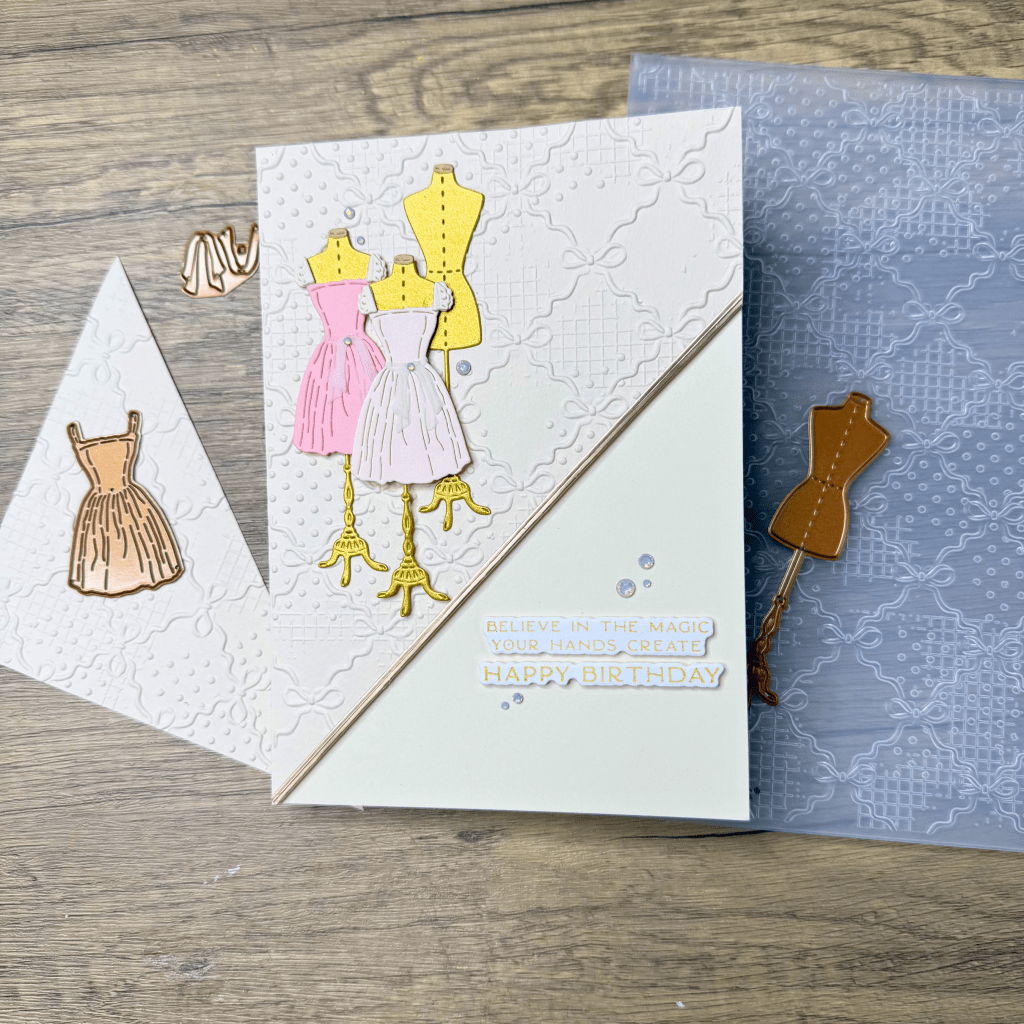
Card 1 – Partially Embossed Background
- Card base: 5 in. × 7 in.: Alabaster cardstock
- Embossed background: Chiffon cardstock, trim to 5 in. × 7 in. after embossing
- Diagonal cut across the embossed panel
- Dress forms: Brushed gold cardstock
- Dresses: Pink cardstock in assorted shades
- Dress details: White cardstock and vellum
Card 2 – BetterPress Background
- Card base: 5 in. × 7 in.: White card stock
- BetterPress panel: 5 in. × 7 in.:White card stock
- Navy frame: Die cut using the two largest dies from the Spellbinders A7 Matting Basics set
- Dress forms: Fog cardstock
- Dress: Windy cardstock
- Dress details: White cardstock
Card 1 – Partially Embossed Background

Step 1 – Emboss the Background
Emboss a (Chiffon) peach cardstock panel using the couture embossing folder.
Trim the panel to 5 in. × 7 in., then cut it diagonally to create a more dynamic layout while allowing part of the card base to remain visible around the edges.
Step 2 – Die Cut the Dress Forms
Die cut:
- Four dress forms from brushed gold cardstock
- Two dresses from coordinating pink cardstock
- The coordinating BetterPress sentiments
Step 3 – Assemble the Dresses
The dresses include beautifully detailed layered pieces.
- Adhere the dress on the dress form.
- Attach the frilled sleeves.
- Add vellum waistbands and sashes for a soft tulle effect.
- Use the etched guides to position each layer.
- Replace the tiny die-cut bow knot with a coordinating gem if desired.
Step 4 – Build Your Atelier Scene
Arrange the dress forms before gluing.
For the most balanced composition:
- Place the undraped dress form in the background.
- Position two dressed forms in front.
- Mount the front dress form with foam adhesive.
- Keep the remaining layers flat for depth.
A sheet of Press’n Seal makes it easy to preserve the arrangement while adding adhesive.
Step 5 – Finish the Card
Complete the design by:
- Mounting the sentiment with foam tape
- Adhering the BetterPress sentiment
- Adding a narrow rose gold foil strip along the diagonal edge
- Embellishing with coordinating gems
The finished card captures the elegance of a couture fashion studio.
Card Two: Elegant Fashion Sketch Card
Using many of the same products, you can create an entirely different style.
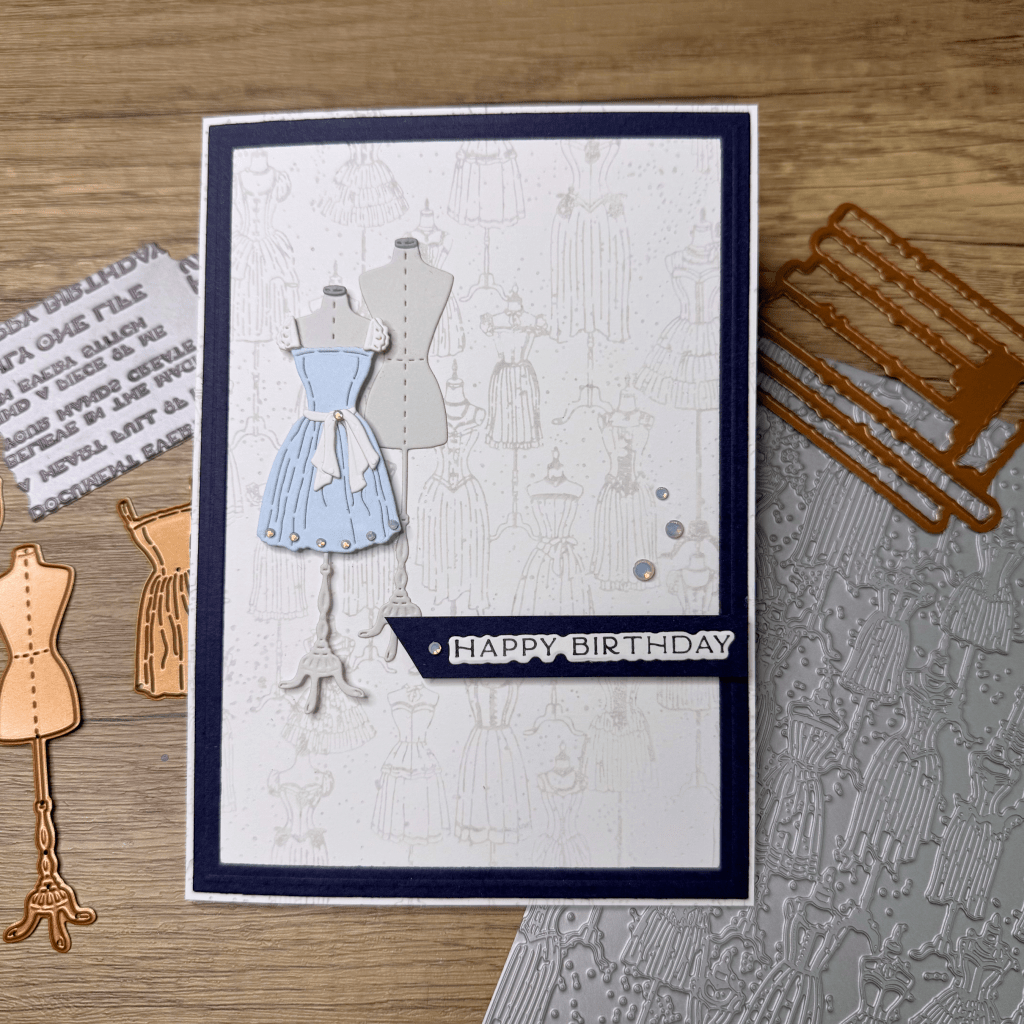
Step 1 – Create the BetterPress Background
BetterPress the Vintage Atelier background using Lost Shadow Distress Oxide Ink onto heavyweight white cardstock.
Trim the finished panel to 5 in. × 7 in.
Step 2 – Create the Frame
Die cut a navy frame using the two largest dies from the Spellbinders A7 Matting Basics set.
If necessary, lightly sand the edges to remove any tiny paper fibres left after die cutting.
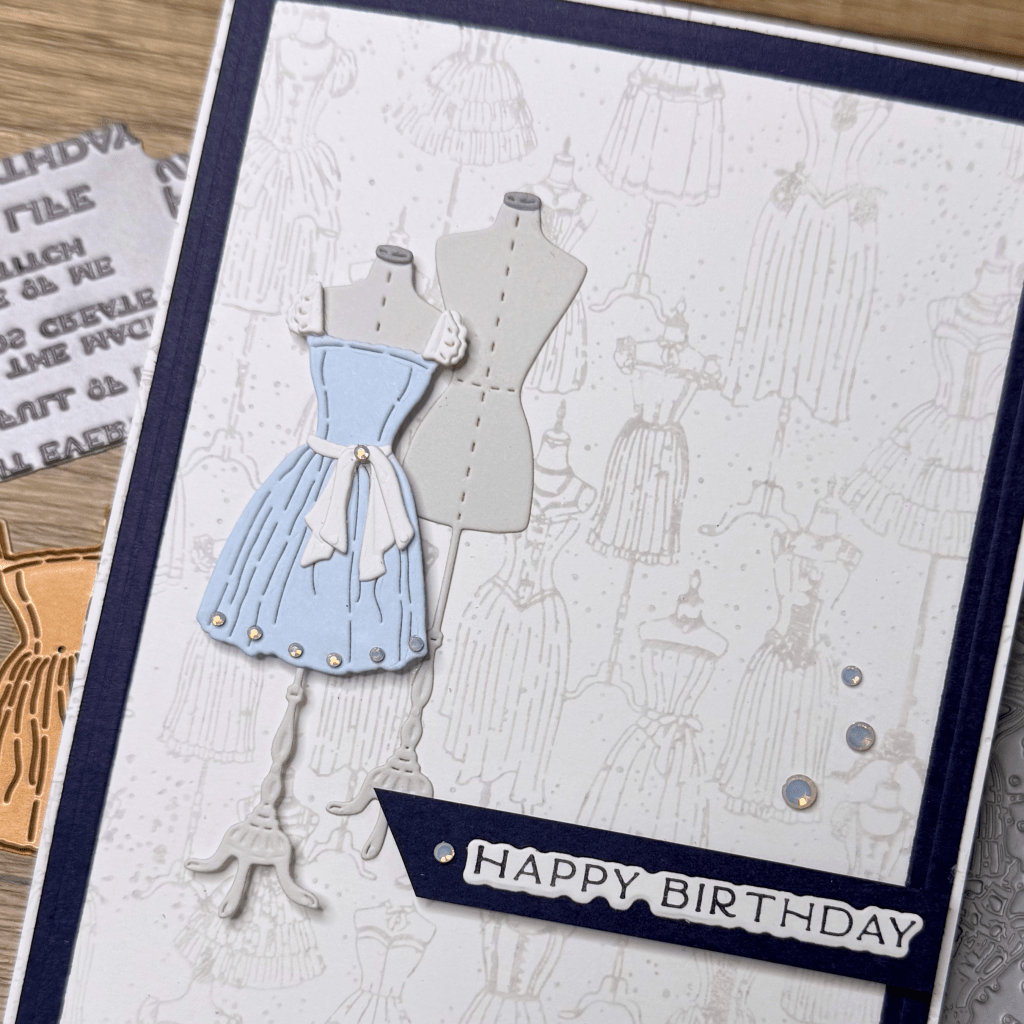
Step 3 – Assemble the Card
- Adhere the BetterPress panel to the card base.
- Glue the navy frame directly onto the panel.
- Adhere the undraped dress form to the left third of the card panel.
- Mount the completed dress form on foam adhesive and adhere, overlapping the bare dress form.
- Add a few gems around the hem of the dress for sparkle.
Step 4 – Add the Sentiment
Mount the BetterPress sentiment onto an indigo banner before adhering it with foam tape.
The darker banner provides stronger contrast against the soft background.
Embossing Folder Hack: Make Realistic Button Embellishments
One of the easiest ways to get more from your embossing folders is to emboss individual die cuts instead of full backgrounds.
For this project, create realistic buttons by:
- Die cutting several small circles from cardstock.
- Covering the cardstock with clear packing tape before die cutting to create a glossy button finish.
- Lightly misting the inside of the embossing folder.
- Embossing the circles with the Haberdashery Buttons embossing folder.
Although these buttons didn’t make it onto today’s cards, they’re perfect for sewing-themed projects, scrapbook layouts, journals, and mixed-media designs.
Tip: Almost any embossing folder can be used this way to create custom embellishments or shaped tiles from simple die cuts.
✂️ Want to craft along with me? Members get perks like monthly live Q&A sessions, badges, shout-outs, and Foiled Florals craft-along livestreams. Join the membership here: https://www.youtube.com/channel/UCDKhctb1ss7hbxVHivhT5YQ/join

Need More Inspiration?
If you need more inspiration for maximizing your supplies, you can watch these videos next:


Leave a comment