

In this blog post, I’ll share the very first project I created as part of my first assignment for the Altenew Educator Certification Program (AECP).
I’m really excited to have been accepted into the AECP. It’s a dream come true because I’d wanted to be associated with this amazing crafting company ever since I found them about six months ago.
I am a HUGE fan of their products and I’m also subscribed to multiple monthly plans that include beautifully curated products that get shipped to me every month.
For my very first assignment for the Level 1 AECP, I had to use layering stamps to create a card project. Since I don’t yet own many layering stamp sets, I used the one I had from Altenew called the Tropical Vibes Layering Stamp Set.
Supplies
Here are the supplies I used for this project:
- 110lb white card stock measuring 4 ¼ in. x 5 ½ in. – 4 counts
- 110lb white card stock measuring 8 ½ in. x 5 ½ in. scored at 4 ¼ in.
- Tropical Vibes layering stamp set
- Tropical Vibes die set
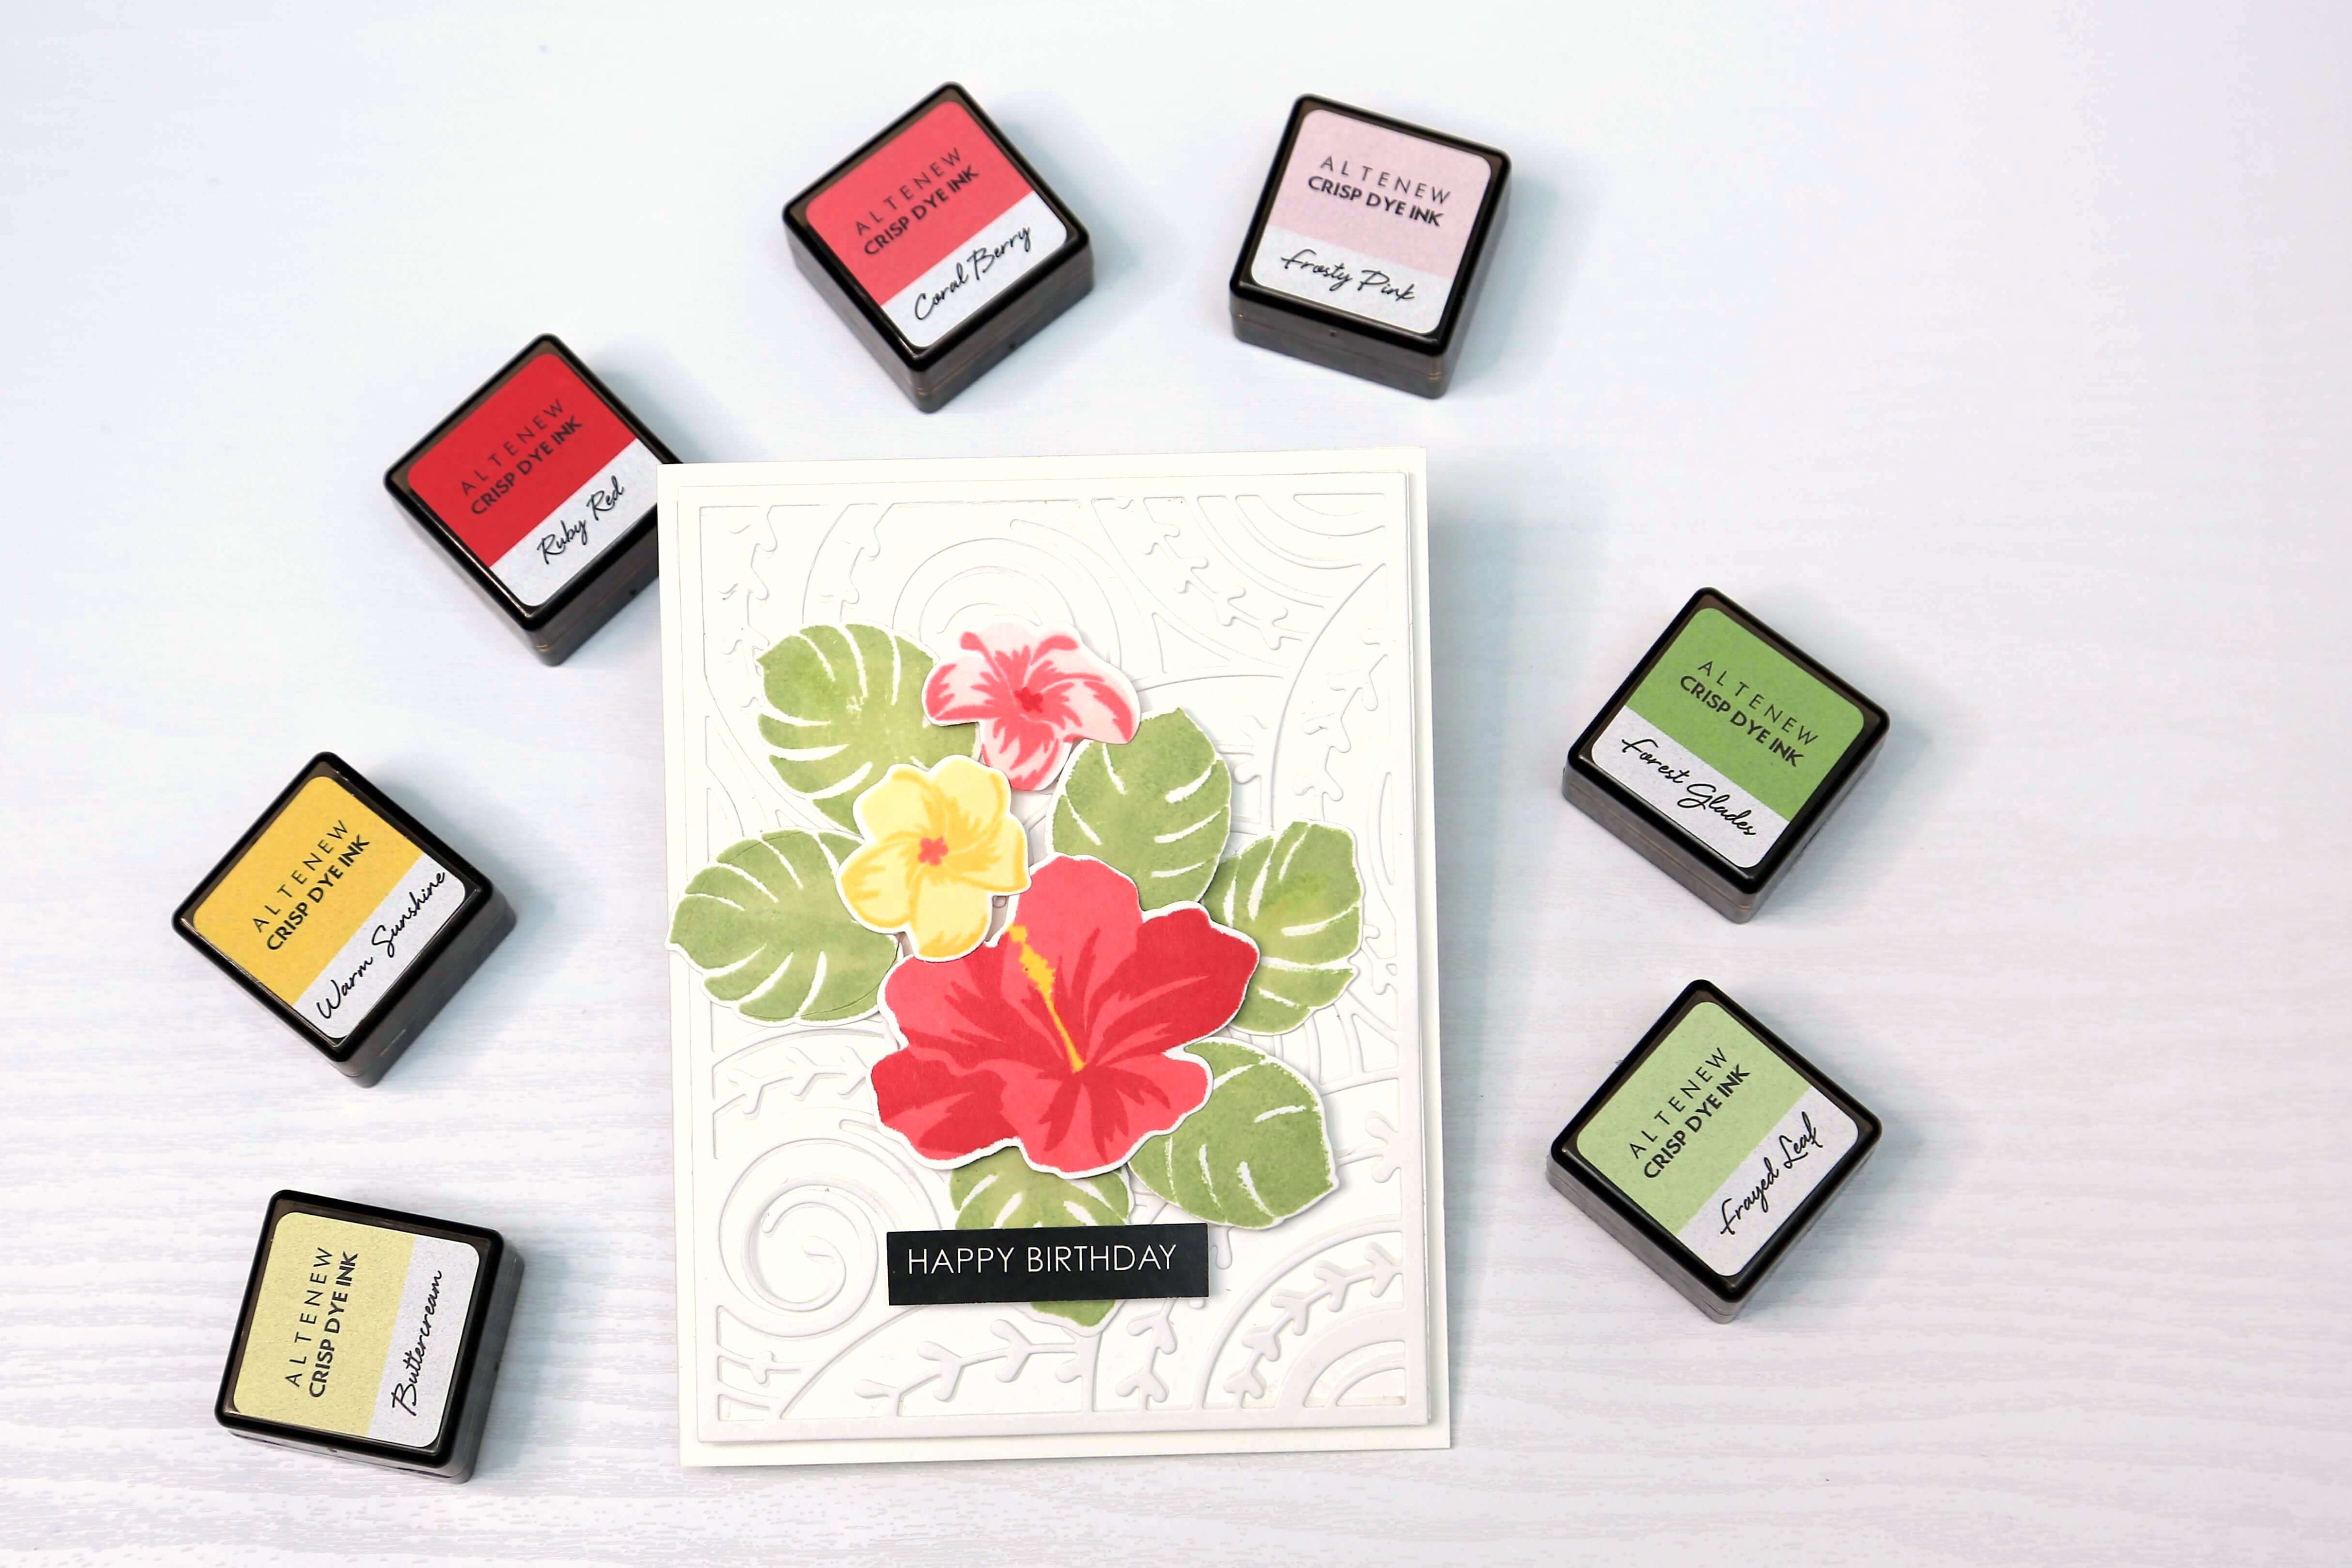
- Altenew Ink Cubes
- Frosty Pink
- Coral Berry
- Ruby Red
- Sunshine Yellow
- Buttercream
- Frayed Leaf
- Forest Glades
- Cover plate die from Ali Express
- Foam tape
- Liquid glue
- Stamp positioning tool (optional)
Step 1: Stamping the Images
Tip: I found it a little challenging following the recommended order of positioning the stamps. The second and third layers were invariably skewed. So, I tried a different way – I first started with the second layer of the stamp, which helped me get the positioning perfectly. It may be specific to this stamp set, but if you find the positioning difficult, start with the second or third layer and then go to the first.
So, I positioned one of the white card stock pieces in my stamp positioning tool (I’m using the MISTI by My Sweet Petunia), but honestly, you can use any stamp positioning tool. And if you don’t have one, you can tape down the card stock to your work surface using a low-tack tape like washi or masking tape and use your acrylic blocks. You can remove some of the stickiness from the tape by applying it to your skin a couple of times before you apply it to the paper.
Since I will create die cuts with the flowers, I just loaded up my stamp in the MISTI with little thought to the placement. However, I made sure I was leaving enough room for the remaining elements. I really dislike wasting paper and other supplies, so I’m a little OCD with making the most of my resources.
- Started stamping with Sunshine Yellow and stamp A3 for the stamen of the hibiscus.
- Next, I used Ruby Red and stamped A2 that created the shadows and details of the flower.
- Finally, I used Coral Berry and stamped A1 to complete the hibiscus.
I continued to stamp one each of the other flowers and about six of the monstera leaves. But I used a little shading on the leaves, and here’s what I did for that:
- I first inked up the leaf stamps with the darker green but only along the edges of the leaves.
- I took a fine-detail blending brush and dabbed on the ink to eliminate any ink pools and soften out the edges.
- I stamped the image and repeated it once more.
- I next took the Frayed Leaf, which is the lighter shade, and stamped the image to complete the leaf. I repeated it a second time to get a crisp and bright impression.
Step 2: Die Cutting the Images
I then taped the coordinating dies over the elements and used my Gemini Junior to cut them out. It was pretty simple and the dies make it really easy to cut out the images. Fussy cutting is not really my most favourite activity so I try to get the dies whenever I can.
Step 3: Die Cutting the Background Texture
I then took another one of the card stock pieces and die cut the background using the cover plate die. I chose this cover plate die because it reminded me of tropical creepers and went really went with the tropical vibes of this project.
I created a second background as well and stuck the two pieces together using some liquid glue. This layered background provided some nice dimension as it would be impossible for me to use any dimensional foam tape behind it.
Step 4: Adding the Background Die Cuts to the Card Base
I added more liquid glue to the layered background that I created in the previous step and stuck it down on the final piece of card stock. I had some narrow bits of the card base showing on the sides since my cover plate die proved to be about 1/16 in. smaller than the card base. I used my long pair of scissors to trim off the excess paper.
Step 5: Assembling the Elements
I used some foam squares on some of the flowers and leaves and stuck them down to the card base. Some of the leaves I stuck down directly on the background with some liquid glue. That provided a nice variation of dimension on the card.
Step 6: Adding the Sentiment
In the final step, I added a printed sentiment from my stash. I’d purchased a set of sentiments from Uniquely Creative – an Australian shop that sells beautiful paper products and other card making supplies. I used a couple of foam squares behind the sentiment to raise it up and placed it on the card front and called this project done.
I was debating around using some embellishments but decided not to. The lesson primarily called for a clean and simple card, so I decided to leave it that way.
I think the colours really brought the card to life and adding a texture in the background added to its personality.
Let me know what you think of this card. What would you have done differently?


Leave a comment