Do you ever find yourself searching through all your stamp sets for the perfect sentiment and still don’t find one that fits?
If you’re an avid card maker, crafter or scrapbooker, you know how important it is to have your sentiment stamps well-organized. An efficient cataloguing system can save time, reduce frustration, and streamline your creative process. In this post, I’ll share my journey of reorganizing my sentiment stamps, highlighting the methods that worked, the challenges I encountered, and the best practices for keeping your collection in order.
While I’ve specifically mentioned sentiment stamps here, you can use this to catalogue any stamps at all. Recently, I’ve started cataloguing all of my image stamps into florals, shapes, party, etc. Once you implement this system, you’ll start finding more ideas for stamp organization.
If you’d much rather watch the video tutorial right away, please click on the thumbnail or link below to watch it now:
Why Organizing Sentiment Stamps Matters
Having a structured system for storing and retrieving sentiment stamps allows you to find the perfect phrase quickly without sifting through piles of stamps. As my collection grew, I realized my old method of stamping sentiments on card stock and coding them for identification was becoming too time-consuming. To improve efficiency, I transitioned to a new system that is more intuitive and user-friendly.
My Previous Organization Method and Its Challenges
Initially, I stamped each sentiment onto a piece of card stock and labelled them with a coding system. While this worked for a while, it became inefficient as my collection expanded.
I also spent too much time removing the stamps once from the acetate to stamp them and then returning them to the acetate storage sheet once I was done.
Using labels from a local dollar store provided a cost-effective way to manage the sentiment stamps, but I still needed a better structure to keep my collection organized and effortless to retrieve.
New and Improved Cataloging System
My updated method involves categorizing sentiments on simple copy paper instead of card stock. This transition reduces material costs, saves space, and allows for better organization. Here are some key improvements:
- Cost-effective materials: Using regular copy paper instead of card stock saves money, especially considering high shipping costs and currency differences since I source most of my card stock from the US.
- Categorized sentiments: Sentiments are sorted into themes such as birthdays, thank you, celebrations, etc., making it easier to find the right one.
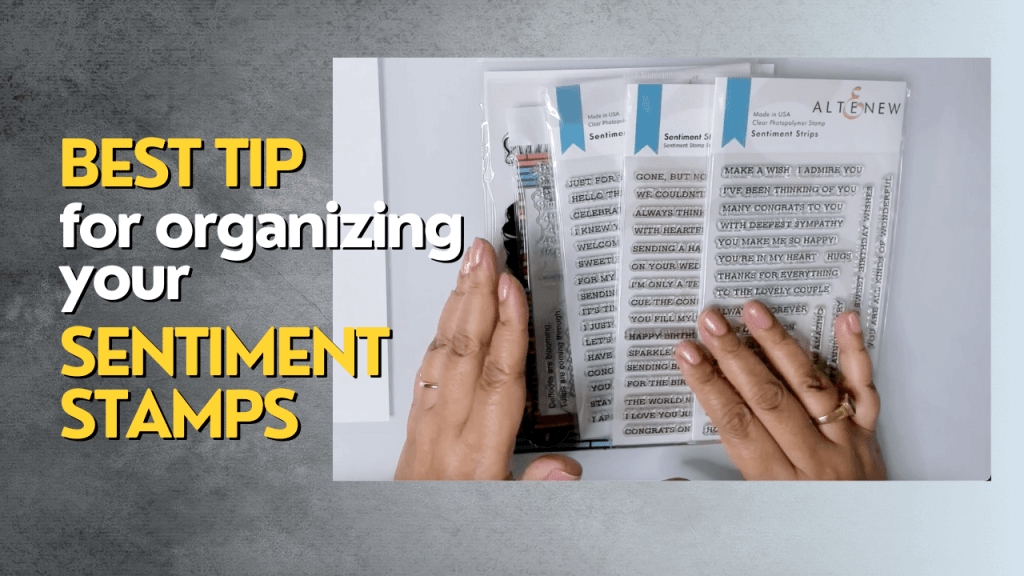
- Efficient searching: Having the sentiments lined up exactly as on the acetate storage sheet, makes it very easy to find the sentiment.
Enhancing Stamp Usability and Longevity
Proper maintenance and organization are crucial for the longevity of sentiment stamps. Here are a few practical tips to ensure they stay in good shape:
- Using tape to create a hinge: Adhere a piece of wide clear tape along the top edges of the stamp storage sheets like a hinge. This keeps the two acetate sheets together and prevents loss while allowing easy access to stamps.
- Removing manufacturing residue: Rubbing your fingers over stamps before use removes residue that can affect ink transfer, ensuring clear impressions.
- Cleaning with rubbing alcohol: This method is effective as it evaporates quickly, ensuring stamps remain dry and ready for use.
Creating Tabbed Dividers for Easy Access
To further streamline retrieval, I’ve implemented organized tabbed dividers. While permanent solutions take time to set up, I found that using Post-it notes as temporary dividers is an excellent short-term fix.
- Using sticky notes: A quick and effective way to categorize sentiments until permanent dividers are made.
- Organizing stamps into categories: This simplifies retrieval and helps maintain a tidy collection.
- Enhancing workflow: A structured system makes crafting more enjoyable and efficient.
Supplies Needed for Sentiment Stamp Organization
Here’s a comprehensive list of supplies I used to organize my sentiment stamps effectively:
- Copy paper – For stamping and categorizing sentiments.
- 3-ring binder – For storing the stamped sheets of copy paper
- Black pigment ink – Prevents staining and keeps stamps in good condition.
- Rubbing alcohol / stamp cleaning solution – Helps clean stamps quickly and effectively.
- Clear Tape – To create hinges for stamp sets for better organization.
- Sticky notes – Temporary dividers until permanent ones are made.
- Label stickers – Used for easy identification; I got a set of several sheets from my local dollar store
Step 1: Creating Your Sentiment Categories
The first step is to create your sentiment categories so they’re easy to find based on specific occasions. For example, I have the following categories:
- Birthday
- Thank you
- Hello
- Get Well
- Sympathy
- Encouragement
- Baby
- Congratulations – anything that is congratulatory – anniversary, graduation, engagement, etc.
- Miscellaneous
You can create your own categories or use the ones above as a starting point.
Once you have the categories, write them on sticky notes so you can use them as temporary tab dividers inside the binder while you build up your catalogue. Having temporary dividers will allow you to rename the categories or merge multiple categories together once you’ve figured out which best suits your organizational needs.
Step 2: Stamp Your Sentiment
Take your first stamp set and remove/fold the acetate cover sheet to expose the stamps inside. Leave the stamps on the backer sheet as they are.
If it’s a new set of stamps, you can either rub your fingers over them to condition them or use rubbing alcohol to wipe them down.
Apply the ink pad all over the stamps, hold the stamp set firmly with both hands and turn it face down on the copy paper to create crisp impressions. Alternatively, you can take the copy paper, place it over the inked stamps, and press the paper down very firmly so the ink transfers onto the copy paper.
Carefully remove the stamp set (or copy paper) and let the ink dry for a few seconds before handling it.
If you find the impressions aren’t crisp, you can use a black gel pen or similar to write in the missing words. This is just a catalogue for your reference and won’t be used elsewhere. Plus, unless you’re using a stamp positioning tool, you won’t be able to stamp it a second time.
Step 3: Clean & Label Your Stamp Set
Clean your stamp set with rubbing alcohol or stamp cleaner and return the cover sheet to the stamp set.
Adhere a label to the acetate cover sheet and identify the stamp set using an alphanumeric code (for example, A1).
Write the code you just created on a second label and adhere this label to the sheet with the stamped sentiments. I usually adhere mine to the top right corner of the stamped sheet and the stamp set, so I always know where to look for the code without wasting time looking all over.
File the stamped sheet with the code in your 3-ring binder.
TIP: To avoid missing labelling or confusing one set with another, I write out the code on both labels first and then adhere them to the stamp set and stamped sheet.
Step 4: Categorize the Sentiments
Attach the sticky note with the appropriate category to a blank sheet of copy paper.
Place this sheet in the 3-ring binder as the divider sheet for the sentiment category you just created.
Continue repeating Steps 2 through 4, until all your stamps are catalogued.
Step 4: Search & Retrieval Process
Now, imagine you’re creating a birthday card!
You’ll consult your binder now under the Birthdays section. While flipping through all the sentiments classified in that category, you decided on one from the set labelled A4 in the binder.
Now, all you need to do is retrieve the stamp set marked A4 and pick out the sentiment you want to use on your card!
How simple is that!
Final Thoughts
Organizing sentiment stamps may seem like a daunting task, but with a simple and structured approach, you can significantly improve your efficiency. By transitioning to categorized storage, using cost-effective materials, and implementing smart labeling, you can create a system that makes finding and using your stamps effortless.
How do you organize your sentiment stamps? Share your methods in the comments below—I’d love to hear your tips and tricks!


Leave a comment