If you have a small craft space and need help with photographing your cards or other small projects, you may want to consider using a lightweight and easy-to-store backdrop. This will allow you to create a clean and simple setting for your projects without taking up too much space in your work area. With this solution, you can quickly and easily take photos without having to spend time clearing up your workspace every time you need to take a picture.
In my latest video, I’ll demonstrate how you can create something using minimal and affordable supplies within a few minutes. Please feel free to watch the short video linked below, but alternatively, you can also follow the instructions in this blog post.
So let’s first talk about the supplies.
- You need a base for your background. I used a foam core board in the video, but you can use a piece of cardboard or plywood or anything lightweight if you’d like to go that way. Do keep in mind that foam core boards are light, but very sturdy and durable, and definitely my first choice of material to use.
- Next, you need a sufficient amount of contact paper to cover the length and width of your base. The one I chose looks like faux wood but you should pick a design or pattern of your choice. However, remember that keeping the background neutral and as clean as possible is best for creating beautiful photos.
- You need a scraping tool to remove the air bubbles. But if you don’t have a scraping tool, a credit card will work just fine.
- Next of course, we need a pair of large scissors and that’s all we need to get started.
But before you adhere the contact paper to the base, make sure your base is nice and clean and completely free of dust because any dust particles on the base would create bumps and air bubbles.
To proceed, remove small bits of the backing paper to avoid getting the contact paper misaligned and stick it down to the base.
With the scraping tool, slide it across the base that you’ve adhered the paper to and try to remove all the air bubbles.
Make sure you are releasing the backing paper bit by bit because removing too much at a time will make it hard to get all the air bubbles out.
Also, it might get misaligned because the contact paper is sticky and large swathes can become hard to handle.
Continue to remove all the air bubbles, and when you reach the edge of the base, take the pair of scissors and just take away the extra contact paper. If there is a little bit of overhang, it doesn’t matter. You can wrap it over the edge and stick it to the reverse side of the board.
You can save the release paper you’re left with because it comes in handy when you’re glueing since it’s non-stick in nature and prevents your paper crafts from sticking to it.
If you still see bumps and air bubbles on the surface, give the base one final scrape down until it’s nice and evened out.
Your background is ready to be used!
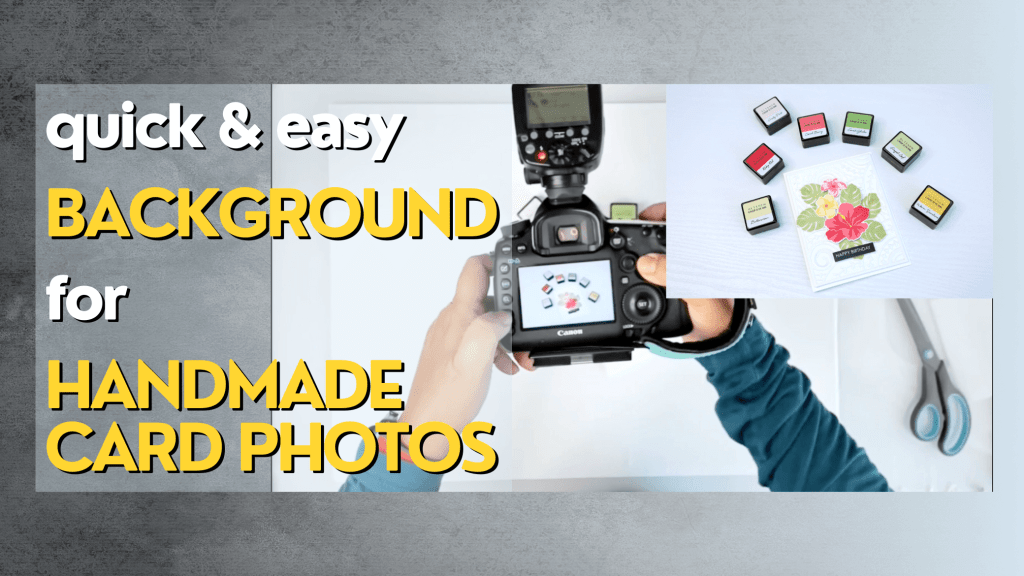
Please check out the video if you’d like to see how I photographed my card project. I also share some tips and tricks on getting excellent photos with even lighting.
I plan on going to the dollar store or my nearest Home Depot to check for wallpaper that I can use to make more backgrounds. It’s nice to have a selection of light and dark for different projects.
I hope you found this useful. Do leave me a comment to let me know if you will make one of these backgrounds and in what colours and patterns.
Disclosure: As an Amazon Associate, I earn from qualifying purchases.


Leave a comment