Hi there! Welcome to this step-by-step tutorial, where I’ll guide you through creating a beautiful birthday card using Altenew products.

This is my second assignment for my AECP program, and I had a lot of fun mixing things up with a partial washi background and silver heat-embossed accents.
TIP: I like using the stamp’s outline layer with light-coloured ink as my first layer. This helps with the accuracy of positioning for the subsequent layers. For my convenience, I reverse the logical order of the layers. Please try playing with the different layers to see what works best for you.
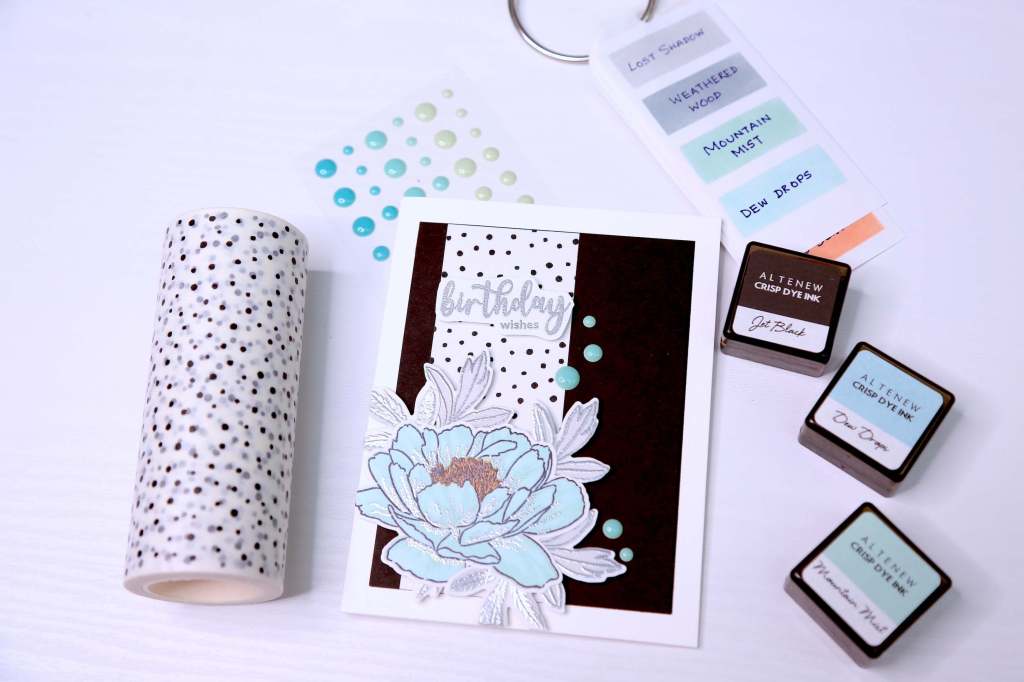
Here are the supplies I used for this project:
- 110 lb black card stock measuring 3 ¾ in. x 5 in. for the card mat
- 110 lb white card stock measuring 8 ½ in. x 5 ½ in. scored at 4 ¼ in.
- 80 lb white card stock 5 in. x 6 in. for stamping
- Hawaiian Coral layering stamp set by Altenew
- Hawaiian Coral coordinating die by Altenew
- Sentiment from Sweet Buttercup by Altenew (any sentiment will work)
- Altenew Ink Cubes
- Dew Drops
- Mountain Mist
- Caramel Toffee
- Jet Black
- Distress Oxides:
- Lost Shadow
- Weathered Wood
- Antistatic powder for embossing
- Sizzix embossing/watermark ink
- Gina K fine detail Silver embossing powder
- Foam tape
- Liquid glue
- Stamp positioning tool (optional)
Step 1: Stamping and Die-Cutting
- Select a stamp set and coordinating dies for your card. In this tutorial, I’ll be using the Hawaiian Coral set.
- If the stamps are brand new, condition your stamps by gently rubbing them with your fingers to remove any residue from the manufacturing process.
- You can use a stamping platform like the MISTI to ensure precise stamping since the layers must align to create a crisp image. If you don’t have a stamp positioning tool, just use some washi or other low-tack tape to adhere the card stock to your work surface. That way, you can use your acrylic block to stamp your layers without fear of your card stock shifting and ruining the perfect layering.
- Stamp the layers of your images using different ink colours – go in whichever order of stamps you’d like. See my tip above.
- The details in the flower petals will come to life and create depth and dimension when you use a darker ink or several layers of the same ink.
- Stamp the leaves using Lost Shadow for the base layer.
- Use Weathered Wood for the detailed and outline layers. This step is optional. You can skip this step entirely, if you’re planning to heat emboss the leaves.
- Make sure the stamped image is dry before you use the outline layer again with the Jet Black ink to create the final outline. A well-inked stamp and light pressure are essential if you want a really crisp outline on the image.
Step 2: Heat Emboss the Flower and Leaves
- After stamping the images, wait for the ink to dry before heat embossing. Alternatively, you can use a heat tool to dry it quickly if you’re in a hurry. 😉
- Apply some kind of antistatic powder to the stamped images and use embossing ink to stamp the leaves.
- I used the WOW embossing pen to add precise details to the flower petals. Use a light flicking motion to get the desired results.
- Pour the embossing powder over the images stamped with embossing ink.
- Take a fine tip brush and brush away the excess powder to avoid creating heavy lines of embossing.
- Once you’ve stamped your images, get the powder melted with your heat tool.
- Now, go ahead and use the coordinating dies or just fussy cut the flower and leaves out.
Step 3: Creating the Card Background
- Apply the dotted washi tape to a piece of card stock, creating a decorative panel for your card background.
- Trim the edges of the washi tape panel and cut it down to 1 3/4 in. x 5 in.
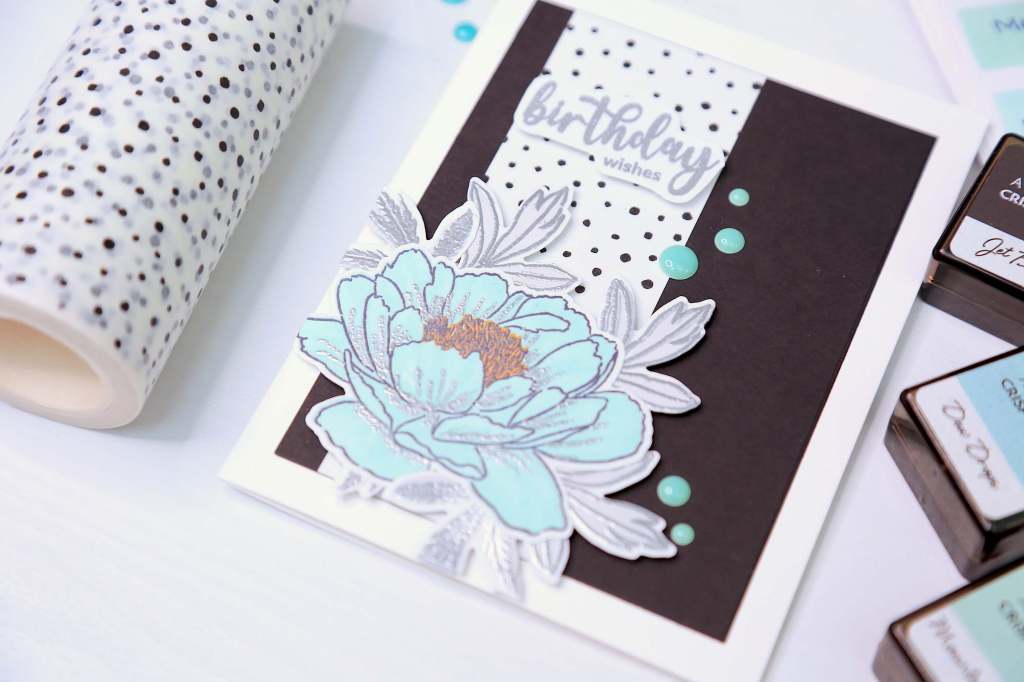
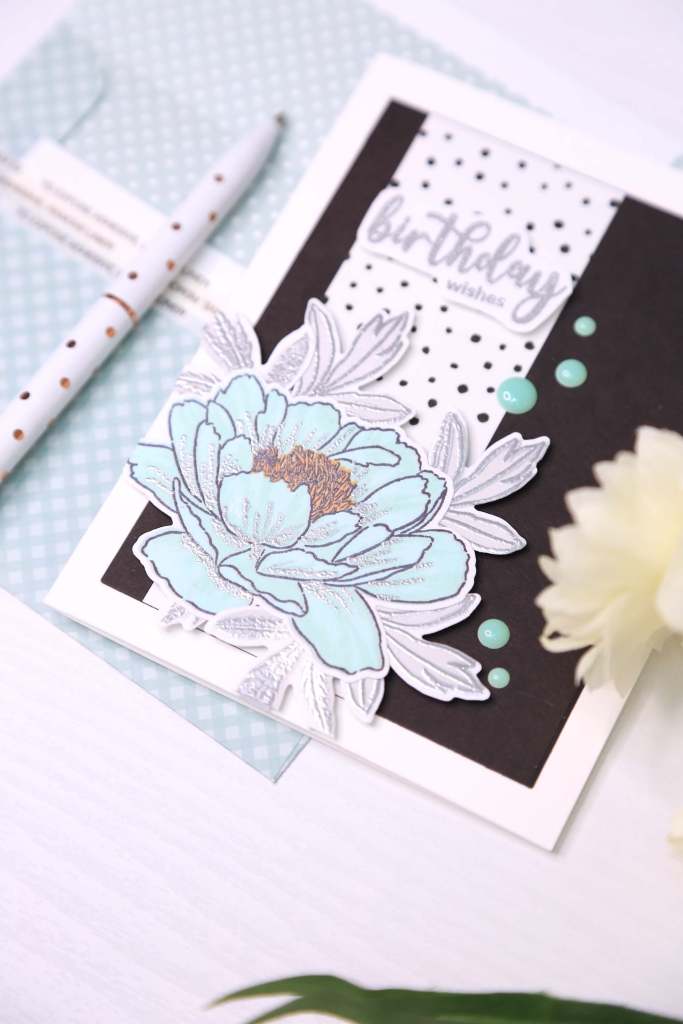
Step 4: Assembling the Card
- Use glue or double-sided tape to adhere the panel to the card mat, ensuring it’s centred and secure. You could also use some dimensional foam taper if you choose. I chose to keep it flat.
- Arrange your stamped and die-cut images on the card mat, creating a pleasing composition.
- Use liquid glue or foam tape to adhere the images to the card mat, adding dimension as desired.
- Trim any overhanging elements to ensure a neat and polished look.
Step 5: Create the Sentiment
- Decide on a sentiment for your card and stamp it onto a separate piece of card stock using embossing ink.
- Heat emboss the sentiment with the embossing powder for a metallic finish.
- Use a coordinating die or fussy cut the sentiment and adhere it to the card using foam squares for dimension.
- Embellish the card with enamel dots or other decorative elements as desired.
If you’re like me and prefer to watch a step-by-step video or craft along while watching the tutorial, please check out my corresponding video on YouTube:


Leave a comment