Christmas in July is here, and if you’re like me, you probably start collecting ideas or even get started making your cards. In this post, you’ll find four festive projects that are cozy, cute, and totally craft-worthy! You’ll learn how to make a gingerbread man, a cocoa-filled penguin mug, and a sweet pair of hands holding a holiday greeting—all made using some must-see dies from Spellbinders. Plus, you’ll discover a surprising embossing trick that turns a regular hot foil plate into a dimensional background!
You can watch the detailed YouTube tutorial here. I’ve included a complete visual list of supplies at the end of the blog post for your convenience:
Supplies You’ll Need
July 2025 Club Kit:
- Deluxe Caboodle Value Club Membership
- Mugs & Mittens – Large Die of the Month
- Cocoa Greetings – Small Die of the Month
- Arctic Glimmer Set – Glimmer of the Month
- Speckled Prism Foil
- Warm & Woven – Stencil of the Month
- Stay Snuggly – Clear Stamp & Die of the Month
- Nordic Noel – Embossing Folder of the Month
- Starry Snowfall – 3D Embossing Folder of the Month
Card Stock:
- Craft Card Stock – 2 ¼ in. x 3 in.
- Brushed Gold Card Stock – 4 in. x 5 ¼ in. for card 4
- Fog Card Stock – 4 ¼ in. x 5 ½ in. panel for card 3
- Indigo Cardstock –
- 5 in. x 7 in. panel for card 1
- 4 ¼ in. x 5 ½ in. panel for card 3
- Neenah Crest White Card Stock – 2 ¼ in. x 6 in.
- White note cards (A2 size)
- White note cards (A7 size)
- Altenew Milky Way Glitter Card Stock – Black & Moonstone
- Altenew Fairy Dust Glitter Card Stock – Dazzling Blue & Glowing Green
- Altenew Brilliant Red Glitter Card Stock – Garnet
Dies:
- A-2 Matting Basics B Card Creator Etched Dies
- Spellbinders Label Die
Other Tools:
- Alcohol Markers
- Ribbon (Blue and White Gingham)
- Water-Based Markers
- Black Gel Pen
- White Gel Pen
- Scoring Board
- Foam Tape
- Painter’s Tape
- Hot Foil Machine
Step-by-Step Instructions
Card #1: Sending Winter Hugs

- Create the Background: Start by creating the background for your first card using the Starry Snowfall 3D embossing folder with the .
- Create the Focal Point: For the focal point, use the Mugs & Mittens Large Die of the Month to create the mittens and sweater sleeves. You can skip the dies for the hot chocolate cup for this card.
- The mittens have three parts: the inside, the main body, and the thumb. Each die cut has etched guides to help with assembly, making it easy to fit the thumb into the correct section.
- The sleeves also have three parts. You can use the die that cuts out the patterned centre of the sleeve, or you can use a solid piece and stencil a pattern using the Warm & Woven Stencil of the Month.
- Die cut the cuff pieces. You can also cut half a snowflake from brushed silver card stock to tuck behind the sentiment for extra shine.
- Since the sentiment foil plates do not come with coordinating dies, cut the foiled sentiment into a strip and use a corner rounder to give it a soft oval look.
- You could consider doing some ink blending to add more interest, but keeping it simple works too.
- Create the Sentiment: From the Arctic Glimmer set, hot foil the “Sending Winter Hugs” sentiment.
- Assemble the Card:
- Once your foiling is complete and the rest of your die cutting is done, you’ll assemble the pieces.
- Glue down the mitten pieces, allowing them to dry before adding the thumb piece. The etched guides will ensure perfect alignment
- For the sleeves, there’s a guide on the die cut to show you where to position the pieces. You can also layer the smaller set of cuffs onto larger ones for a different look.
- Apply glue to the sleeves, ensuring the mittens do not peek out. Use a tool to poke out any tiny bits from the holes for a clean finish.
- Attach the embossed panel to the card base using foam tape and a bit of glue to allow for adjustment. Use your scoring board to help align the card base and panel. A small piece of rolled-up painter’s or washi tape can hold the card base shut while you adhere the panel.
- Line up the sleeves at the bottom and place the sentiment in the middle to create the look of hands holding it.
- Glue the hands directly onto the card base to avoid too much bulk for mailing.
- Add foam tape behind the sentiment to pop it up, plus a little more glue for precise positioning.
- Apply glue to the half snowflake, use a scrap card stock to remove excess glue, and slide the snowflake under the greeting.
#2 Gift Tag: Gingerbread Man
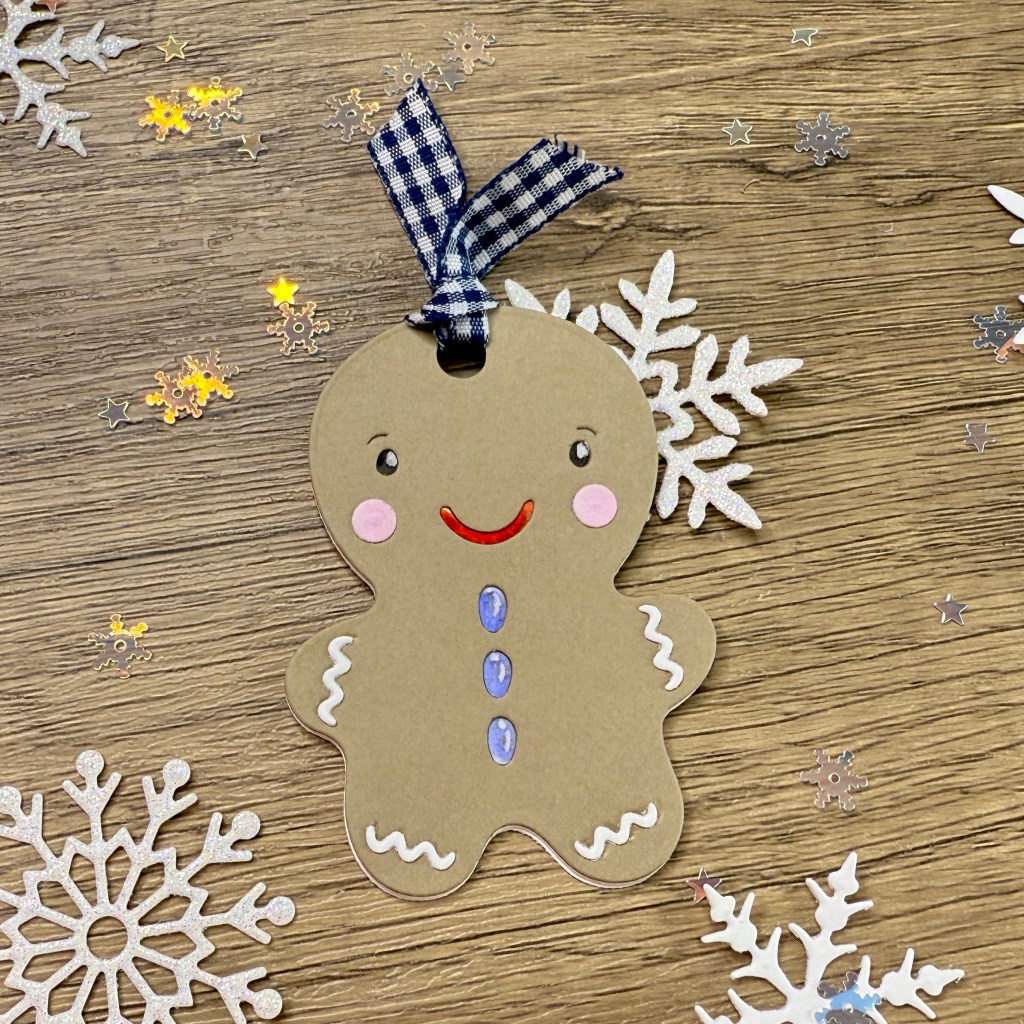
- If you purchased the Deluxe Caboodle, you can use the cute Ginger Sip gingerbread man die to make a gingerbread man gift tag using an adorable die set. This die set includes both the outline and the gingerbread man insert piece that creates the detailed body, so you’ll need to cut both layers together for the complete design.
- Create the Gift Tag:
- The outline measures just under 3 inches. To make a folded tag, you’ll need a piece of card stock that is about 6 inches in length and about 2 1/4 inches wide. Cut a piece that is 2.5 inches wide by 6 inches long.
- Score the card stock at the 3-inch mark, right in the middle, using your scoring board.
- To create a folded tag, position the die to just slightly hang over the folded edge so it stays connected at the top when cut.
- Cut out the gingerbread man from the folded card stock.
- Cut out the front layer of the gingerbread man with both the outline and insert pieces from the Craft Card Stock. Also, cut out the cheeks and other trimmings separately from white card stock.
- Add Details to the Gingerbread Man:
- Lightly sketch outlines for the eyes, mouth, and buttons with a pencil where you need to colour behind the die openings, ensuring accurate placement.
- Use water-based markers to colour in the eyes, cheeks, and mouth to prevent bleeding through the card stock. Use a black gel pen for the eyes, colouring slightly outside the penciled outline to avoid white spaces. Do the same for the mouth, then erase any visible pencil marks.
- Add accents to the eyes and buttons with a white gel pen. Glue the top layer of the gingerbread man to the gift tag.
- Add the trims for the arms and legs.
- Colour the cheeks with a light pink and adhere them to the face.
- Create the Gift Tag:
- Punch a hole through the tag and use a piece of ribbon.
- Stamp “From” and “To” on the inside of the tag.
Card #3: Winter Cheers Penguin
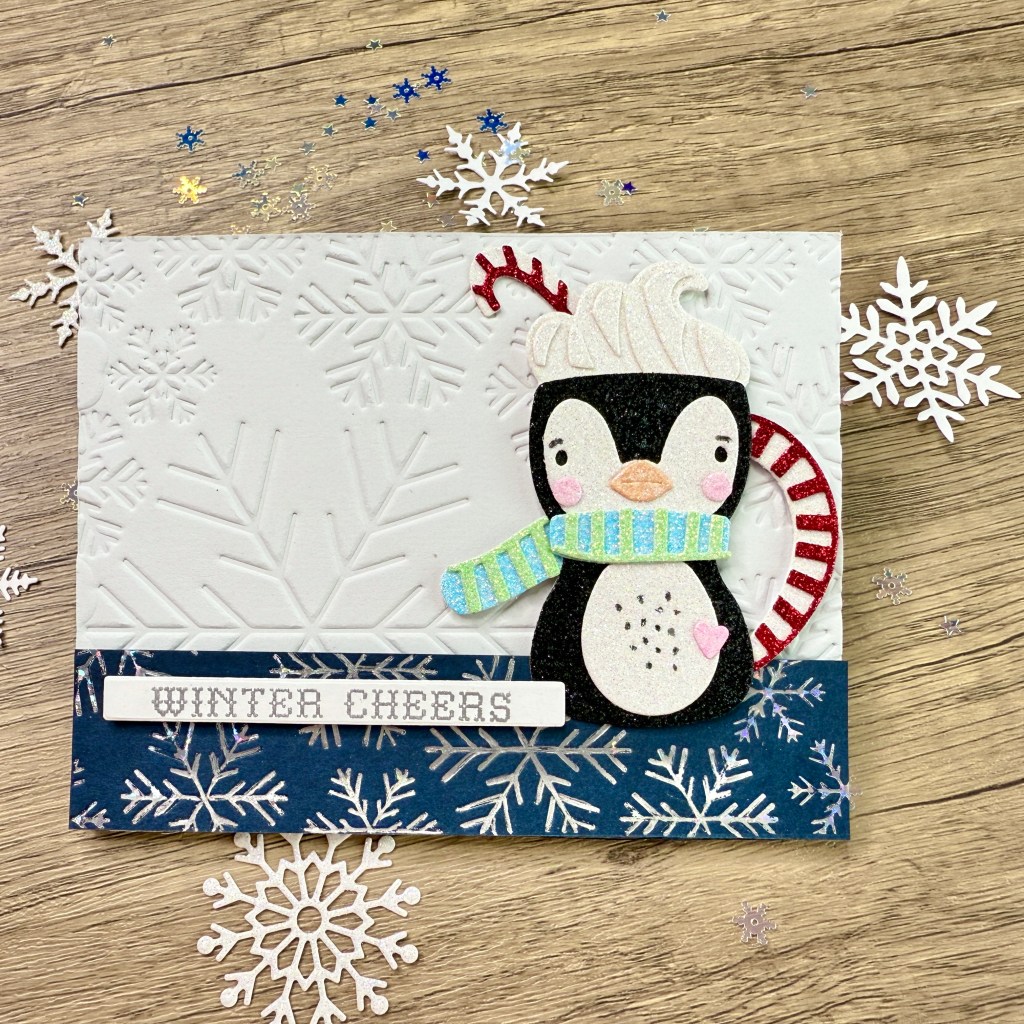
- Create the Background:
- Hot foil the Indigo 4 ¼ in. x 5 ½ in. panel using the Arctic Glimmer Set – Glimmer of the Month with the Speckled Prism Foil. Cut a 1 in. x 5 ½ in. strip for the layering panel and save the rest for another project. This strip hides imperfections created by the irregular edge of the hot foil plate while it also adds dimension and interest to the card front.
- Now for the surprise technique: Dry emboss the A2 piece of Fog card stock using the hot foil plate with a rubber embossing mat in your Spellbinders Platinum 6 or other die cutting machine of your choice.
- Create the Focal Point:
- Use the Cocoa Greetings – Small Die of the Month to cut out all the pieces for your penguin mug. You can use a mix of glitter card stock.
- Cut the body from Altenew Milky Way Glitter Card Stock – Black. You’ll see an etched line that guides where to place the face and belly.
- Cut the belly from white glitter card stock.
- Cut the mug handle and candy cane with Altenew Brilliant Red Glitter Card Stock – Garnet and Altenew Milky Way Glitter Card Stock – Moonstone.
- Cut the whipped cream layers using Altenew Milky Way Glitter Card Stock – Moonstone.
- Cut the scarf layers using Altenew Fairy Dust Glitter Card Stock – Dazzling Blue & Glowing Green.
- To assemble the penguin, use the included instructions to adhere the penguin’s body, face, belly.
- Colour the tiny beak die cut with an orange alcohol marker and the cheeks with a pink marker before gluing them on, aligning them with the etched guide. Alcohol markers work well on glitter paper.
- Create the Sentiment: Use the Stay Snuggly – Clear Stamp & Die of the Month. Heat emboss the “Winter Cheers” sentiment and cut it out using the coordinating label die.
- Assemble the Mug:
- Adher e the layers of the mug handle, whipped cream and candy cane.
- Align the top of the mug to the base of the whipped cream, along the straight edge and adhere them with liquid glue. Let it set while you work on the scarf layers.
- Add a small heart embellishment, then attach the mug handle.
- Assemble the Card:
- Add foam tape behind the narrow hot foiled panel for dimension.
- Attach the main panel to your card base with foam tape. Use the corner of your scoring board to help align everything while you close the card.
- Use foam tape behind the upper portion of the mug since it will hang over the raised narrow panel. You want to support the areas that will rest on the embossed background. To curve the narrow foam tape along the handle’s contour, remove the backing paper. Add glue as well, because the bumpy embossed background will benefit from extra adhesive.
- Adhere the sentiment with a narrow strip of foam tape along the top of the Indigo hot foiled panel.
- Adhere the candy cane.
Card #4: Gingerbread Man
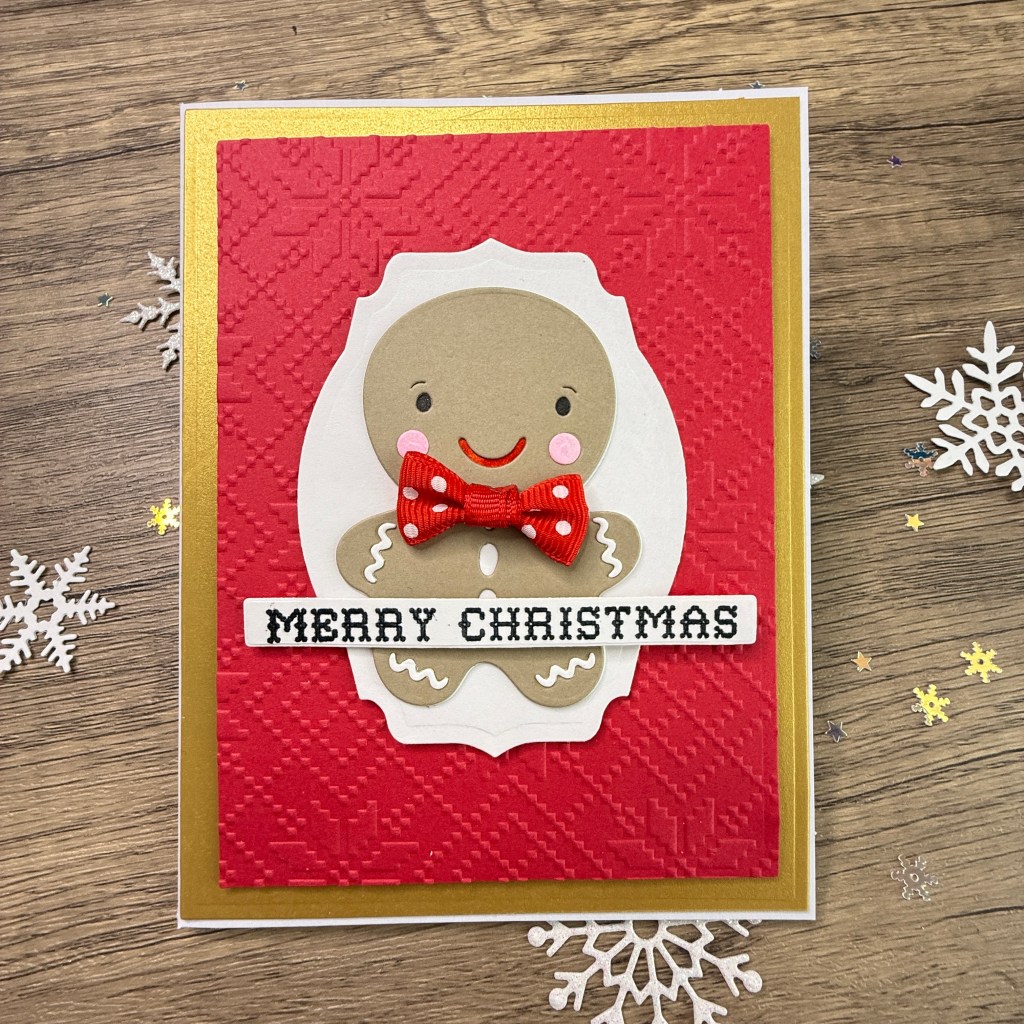
- For this card, use the Nordic Noel Embossing Folder of the Month for the red background.
- Mat the embossed panel with some Brushed Gold Card Stock.
- Use a label die from Spellbinders to create a grounding element for your gingerbread man. Create the gingerbread man exactly as you did for the gift tag.
- Add a heat-embossed sentiment using the Clear Stamp and Die of the Month.
- Complete the design with a cute bow from your stash.
Here’s the detailed list of supplies I used for the card: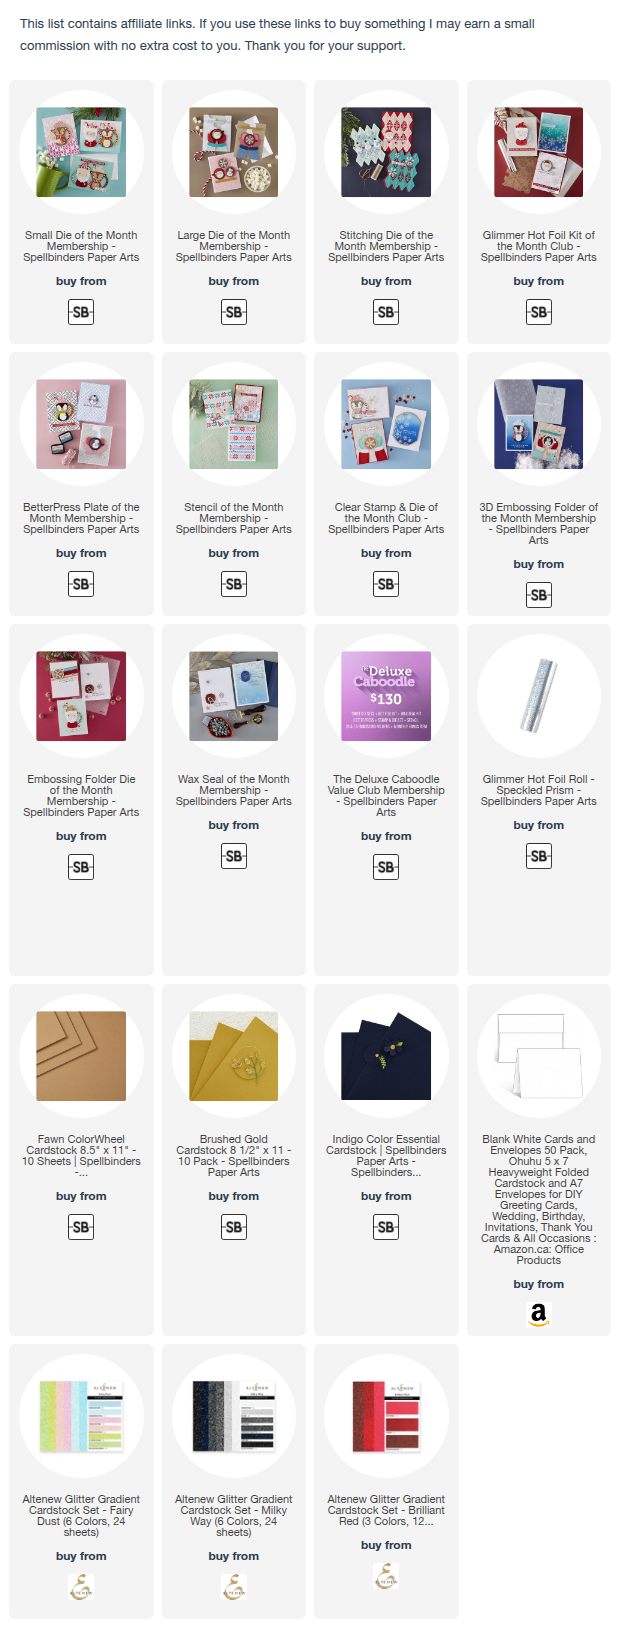
https://linkdeli.com/widget.js?id=f5e8378456858c916708
Here is a list of all the crafting tools I use on a regular basis to create my card projects:


Leave a comment