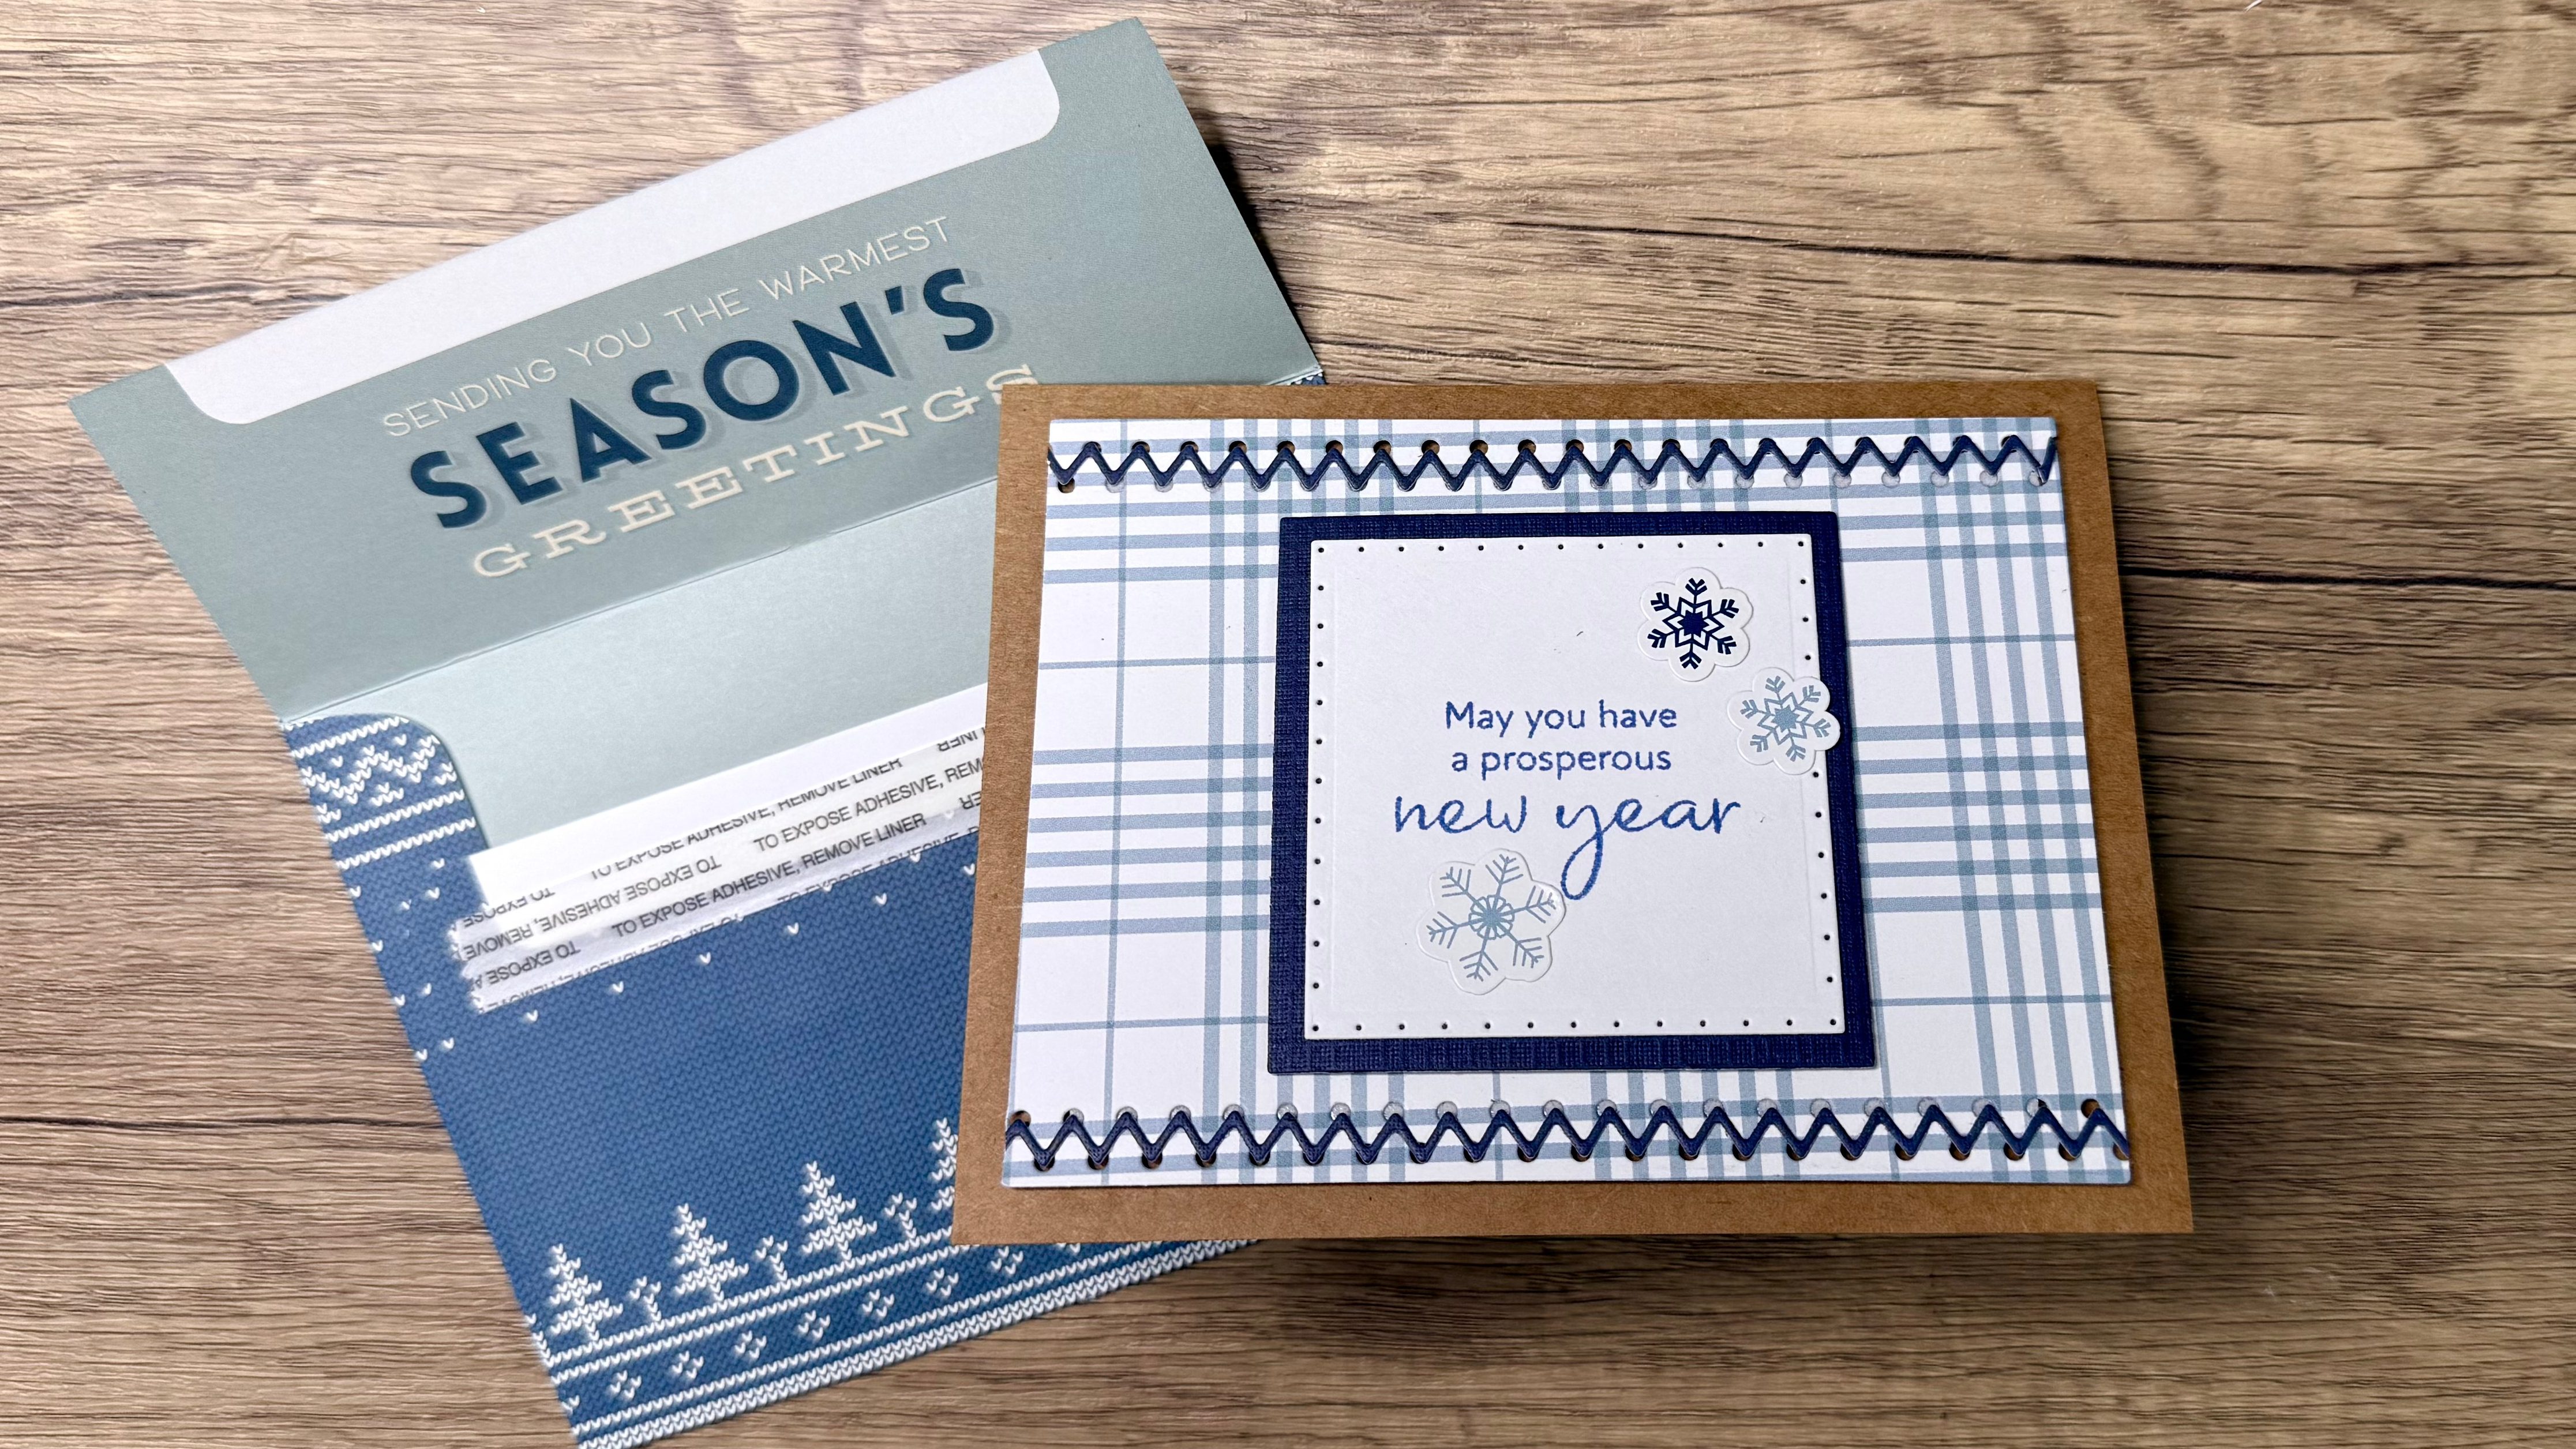
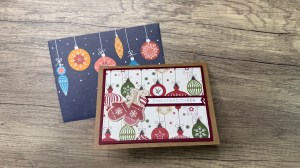
If you ever struggle to make masculine cards, you are going to love this project! We’re making holiday cards that double as gift card holders, and they look incredibly clean and modern. The best part? They are so easy to create, you can make one in minutes with just an A2 panel, some paper scraps, and a basic die (or even just a pair of scissors!).
This is also a fantastic project for using up some of your patterned paper scraps.
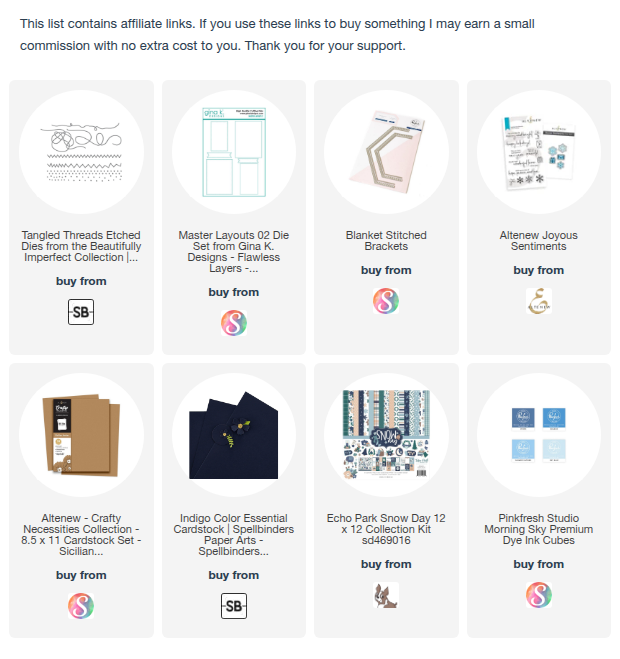
You can watch the detailed YouTube tutorial here. I’ve also included a complete visual list of the supplies that are currently available at the end of the blog post for your convenience:
🛠️ Supplies Used
Here is a list of the materials and tools used for this project:
- A2 Card Base (Cardstock)
- A2 Cardstock Panel (for the gift card holder)
- Patterned Paper Scraps for the car
- Coordinating Cardstock (e.g., Indigo and Kraft Cardstock)
- Die Set for Pocket Opening: A basic die (like a rectangle, bracket or circle) or a pair of scissors
- Optional Die Sets for Layers/Embellishment:
- Master Layouts Dies (for perfect layers)
- Tangle Threads Dies (for faux stitching)
- Sentiment (from your stash)
- Snowflake Stickers or other embellishments
- Low-tack Washi Tape
- Bearly Art Liquid Glue
- Foam Tape (for popping up the sentiment)
- Bone Folder
- Die-cutting Machine
- Trimmer/Scissors
- A gift card or credit card (for checking the size)
📝 Step-by-Step Instructions
We’ll be creating a masculine card by pairing patterned paper with kraft cardstock.
Step 1: Prep the Card Base and Panel
- Score and Fold the Card Base: Score and fold your A2 kraft card base. Use a bone folder to crease and reinforce the fold to ensure the card lies perfectly flat.
- Trim the Gift Card Panel: Take your A2 cardstock panel (the kraft one for the gift card holder) and trim it down to 5 inches along the long edge, which helps prevent it from hanging over the edges of the card base.
Step 2: Create the Gift Card Pocket Opening
- Score the Panel: Score the 5-inch panel at 2 ⅛ inches and fold it in half.
- Cut the Opening: Use a die to cut an opening, or use a pair of scissors to cut a simple shape like a rectangle.
- TIP: Use the grid lines on your glass mat to line up the die straight, and secure it with low-tack washi tape.
- Die Cutting: Run the panel through your die-cutting machine.
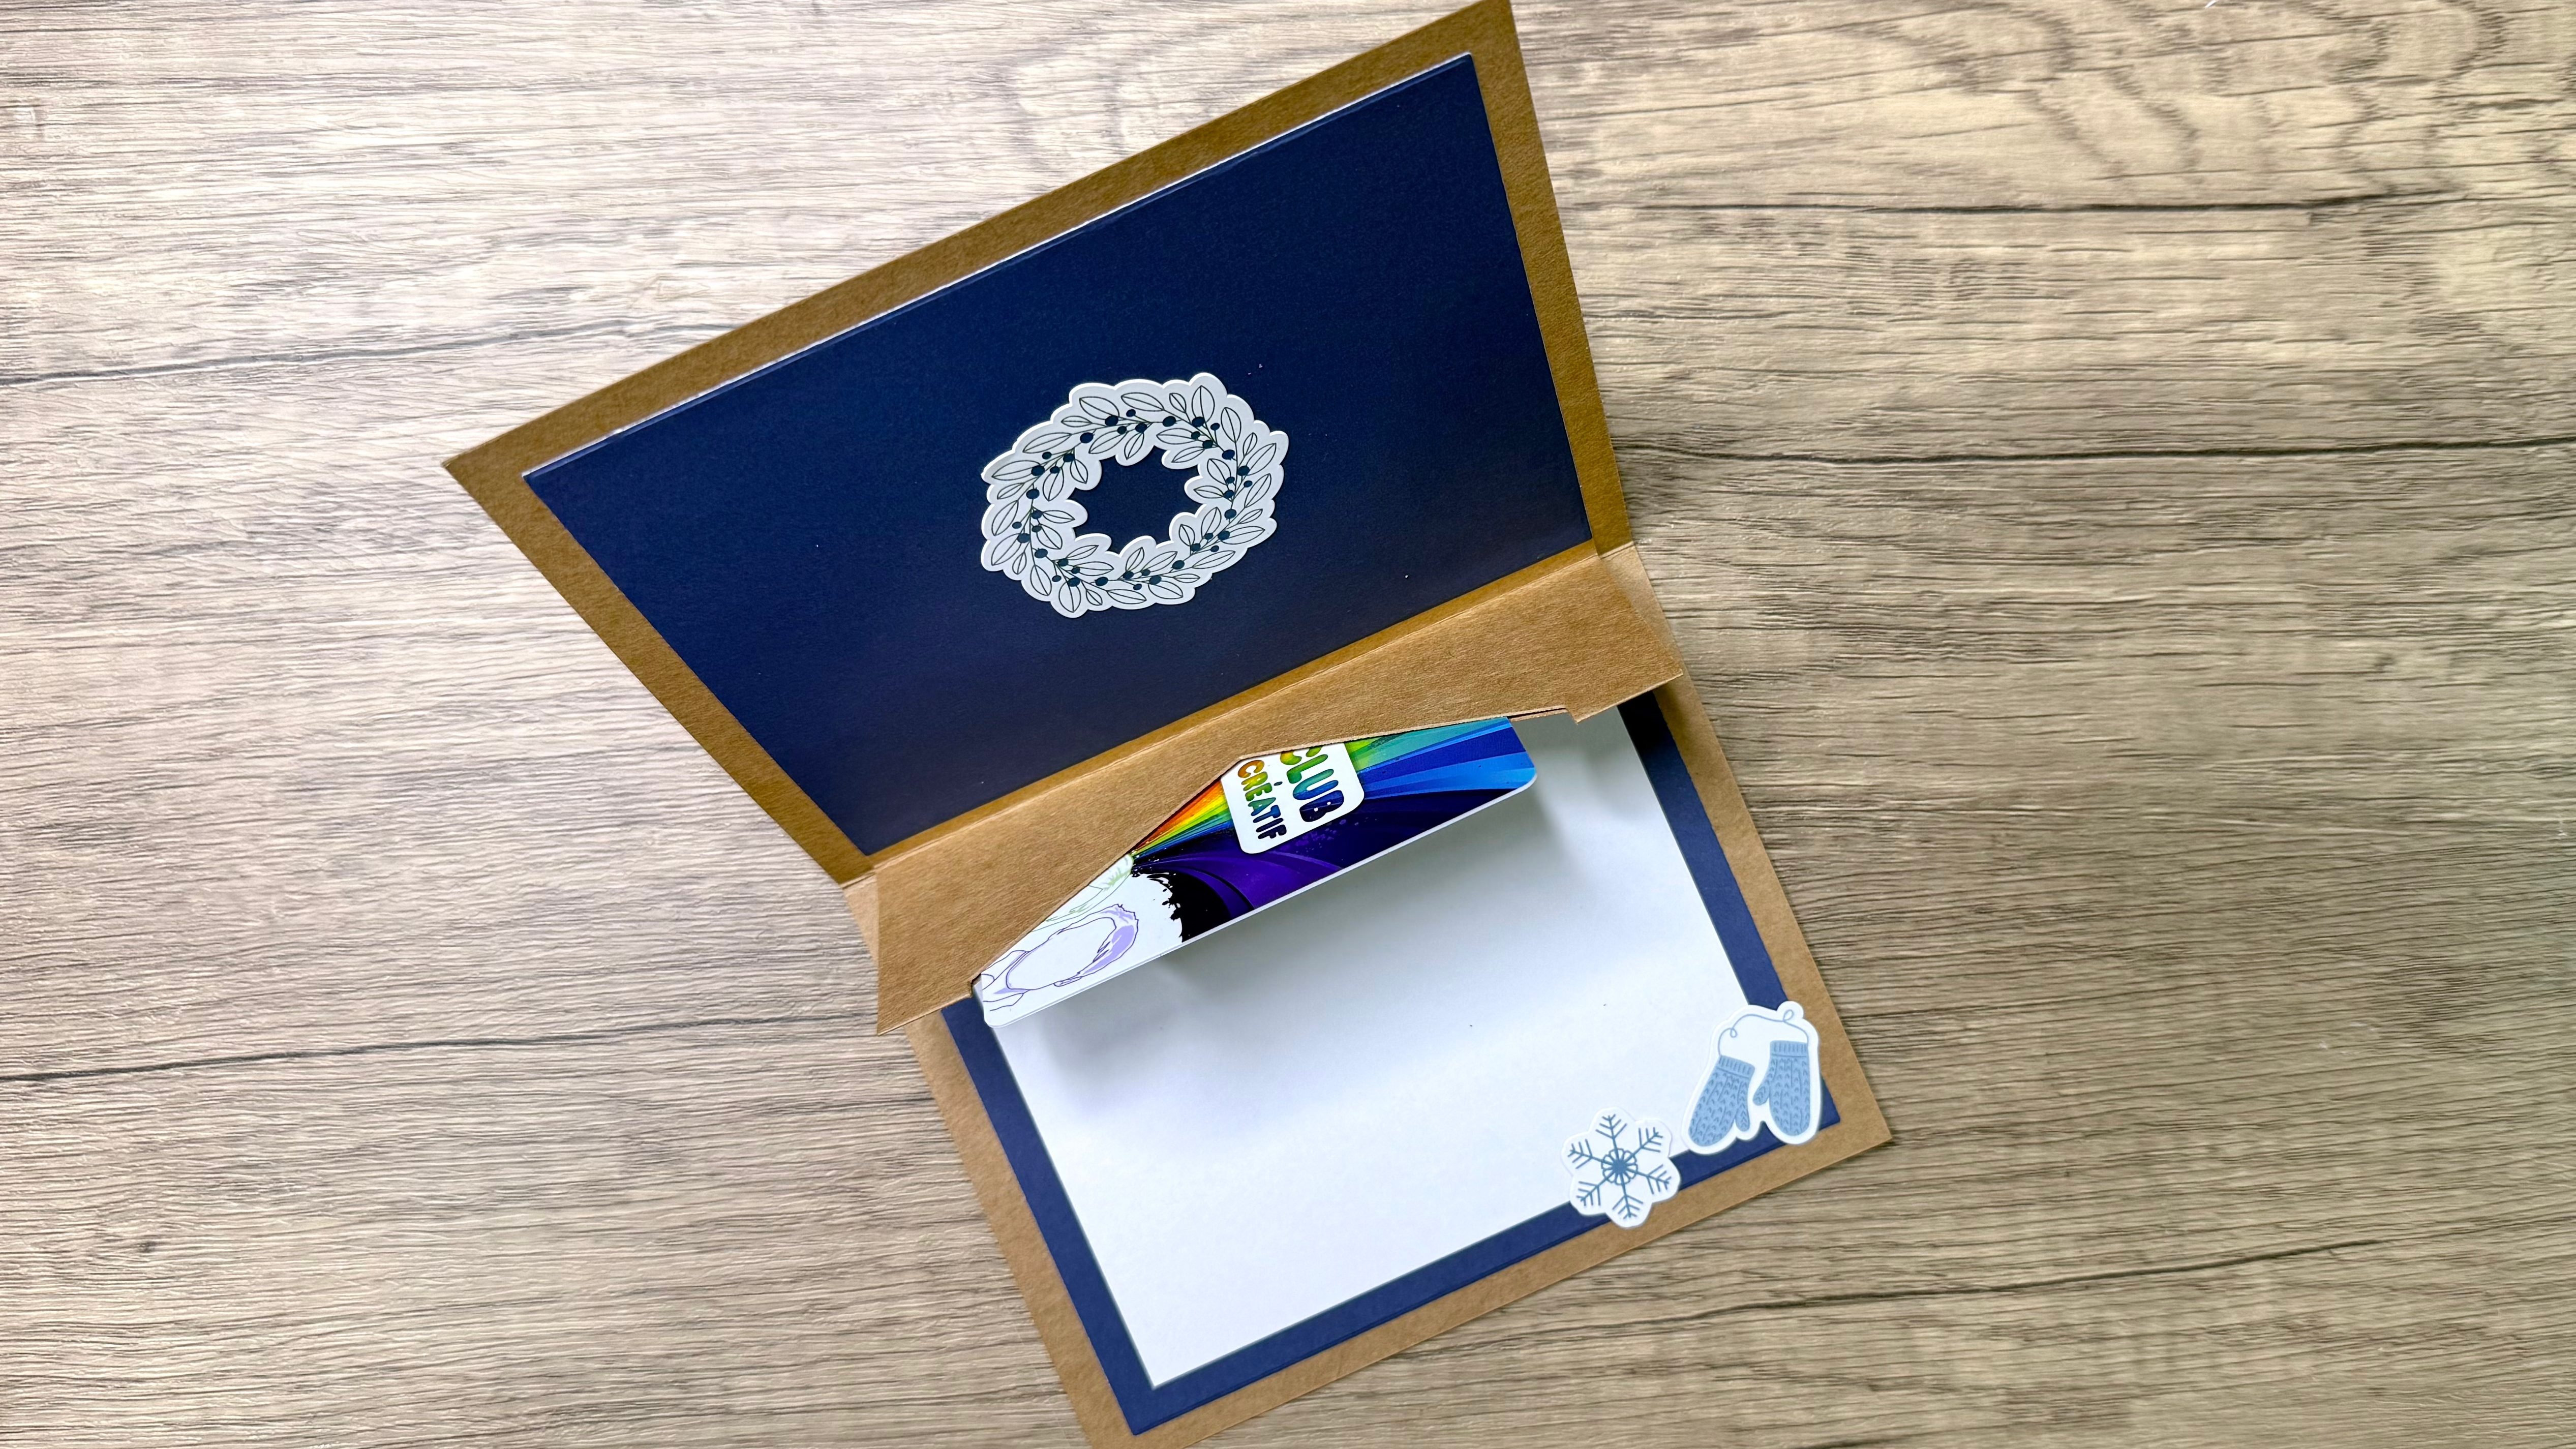
- Test the Fit: Check to make sure a gift card or credit card fits in the opening.
Step 3: Attach the Pocket to the Card Base
- Create the Flaps: To attach the holder to the card base, you need flaps that you can attach to the card base. Score the panel at 3 ¾ inches on both the left and right edges. Fold the scored edges to create the flaps.
- Adhere the Pocket: Apply liquid glue to the under side of the flaps (you want a strong adhesive here). Glue the pocket panel inside the card base, making sure to line it up with the inner fold line of the card base so everything is straight.
- Burnish and Set: Close the card and burnish it really well since you’ve added bulk to the center fold. Let it sit under some magnets or weights for a moment.
Step 4: Secure the Pocket Fit
- Check for Looseness: Open the card and check the fit of the gift card again. If the gift card feels loose and could fall out easily, you need to tighten the pocket.
- Tighten: Apply a small amount of liquid glue to the inside edges of the pocket and stick them together. Hold the card closed for a second while the glue grabs. This ensures the gift card will stay securely in place.
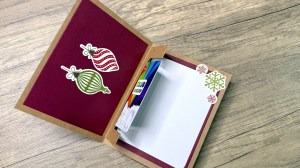
Step 5: Finish the Inside and Front Panels
- Cut Inside Layers: Die-cut the indigo cardstock for the inside layering panels using the second-largest rectangle die from the Master Layouts 2 set. Glue these down to hide the pocket flaps. Alternatively, cut two panels measuring 3 3/4 inches x 5 inches.
- Add Embellishments (Inside): Add a white panel for writing a message, and decorate with a few stickers to keep it simple but finished.
- Add Card Front: Use the rectangle die again to cut out a panel of patterned paper. Alternatively, cut a panel measuring 3 3/4 inches x 5 inches for the card front.
- Create Faux Stitching (Front): Use the narrow Tangle Threads die to add faux stitching to the top and bottom borders of your front panel. Layer the thread die cuts over the little holes to give the illusion of stitching.
- Assemble the Card Front: Adhere your patterned paper panel to the card front. It should align perfectly with the edges of the gift card holder panel, giving you an even border on all sides.
- Add Sentiment and Stickers: Pop the sentiment label up with foam tape and adhere it to the centre. Finish the card front by adding a few snowflake stickers from your matching sticker sheet.
And there you have it—a clean, modern, and easy-to-create gift card holder perfect for the holidays!
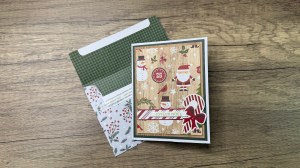
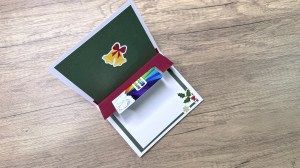
Card Inspiration
https://linkdeli.com/widget.js?id=f5e8378456858c916708
Here is a list of all the crafting tools I use on a regular basis to create my card projects:


Leave a comment