Creating unique, gender-neutral baby cards is a wonderful way to celebrate a new arrival without sticking to traditional pink or blue palettes. In this tutorial, I’ll walk you through four creative techniques—ranging from subtle backgrounds and embossed panels to shaped cards and interactive shakers—using soft greys, yellows, and mints that work for any baby.
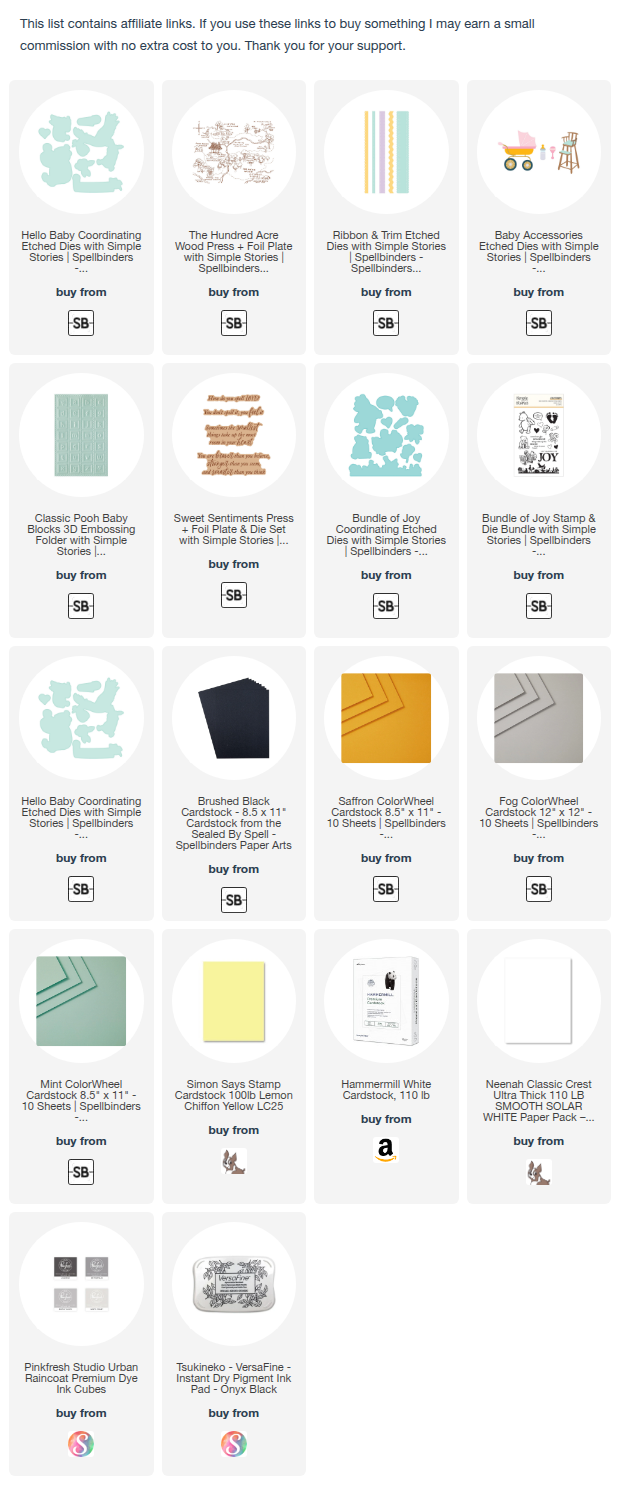
I have also included a complete visual list of the supplies that are currently available at the end of the blog post for your convenience. However, you can use any supplies from your stash if you don’t have the products demonstrated in this video. You can watch the detailed YouTube tutorial here:
Supplies You’ll Need
- Cardstock:
- White (heavyweight and lightweight) – Neenah Classic Crest & Hammermill
- Spellbinders Fog – A2 panel measuring 4 ¼ in. x 5 ½ in.
- Spellbinders Saffron – small piece
- Spellbinders Mint
- A2 panel measuring 4 ¼ in. x 5 ½ in.
- 1 in. x 5 ½ in. strip for the trims on Card #4
- Spellbinders Brushed Black – A2 panel measuring 4 ¼ in. x 5 ½ in.
- Simon Says Stamp Lemon Chiffon
- A2 panel measuring 4 ¼ in. x 5 ½ in.
- Smaller panel measuring 2 ½ in. x 5 ½ in.
- Stamps & Dies:
- Spellbinders “Hello Baby” collection
- Spellbinders BetterPress plate –
- Spellbinders Ribbon & Trim die set
- Spellbinders Scalloped and Stitched Edge Oval Dies
- Spellbinders Baby Accessories Etched Dies
- Spellbinders A2 Matting Basics
- Inks:
- Pinkfresh Studio “Rocky Slope” (grey),
- Alcohol-proof dye ink (e.g., Spectrum Noir Finesse)
- Versafine Clair Onyx Black
- Colouring:
- Ohuhu alcohol markers.
Card #1: Clean and Simple Card
This design focuses on a sophisticated, minimal look using a soft grey and yellow palette.
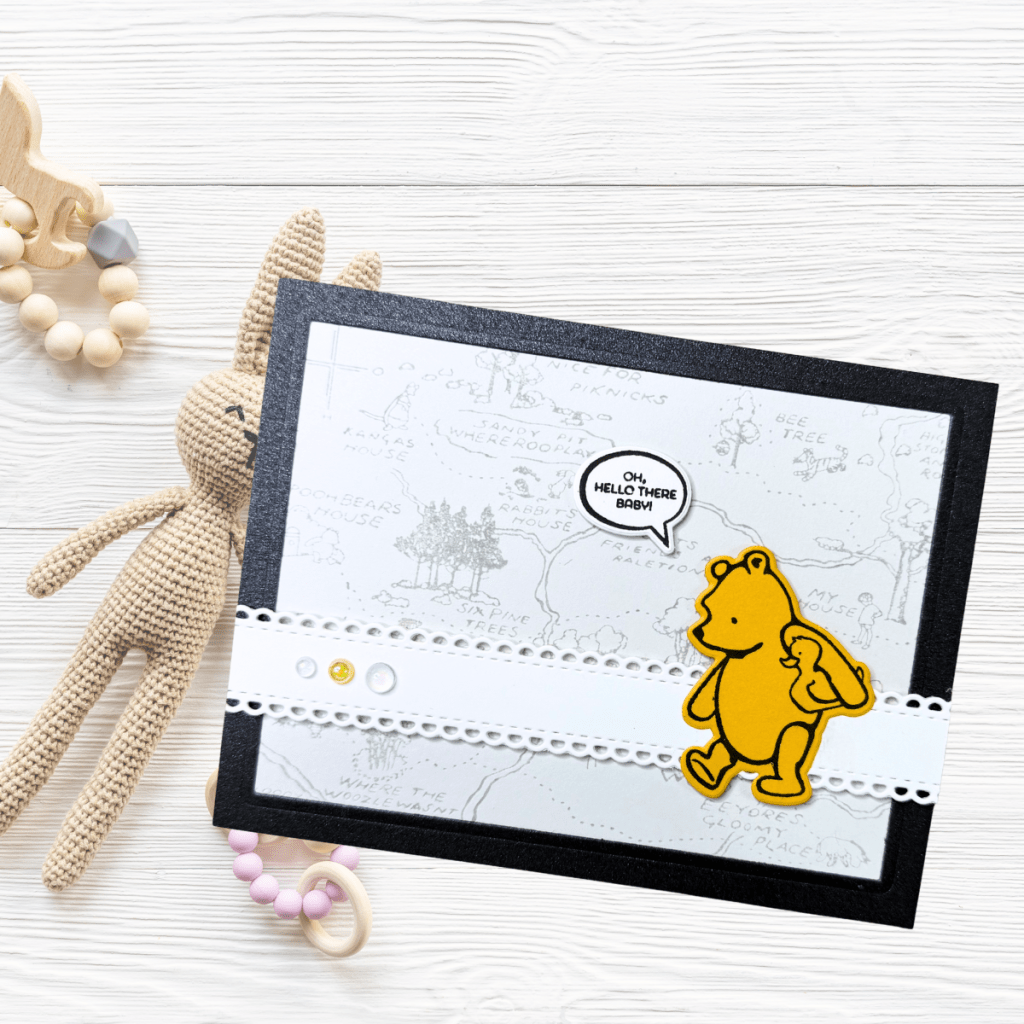
- Create the Background: Use a soft grey ink (like Rocky Slope) with a BetterPress plate on Fog cardstock. This creates a subtle, professional-looking texture.
- Create the Focal Point: Stamp your main image onto Saffron cardstock to provide a pop of colour and use the coordinating die to cut it out.
- Create the Sentiment: Stamp your sentiment onto white cardstock and use the coordinating die to cut it out.
- Add Contrast: To keep the card from looking too plain, die-cut a thin frame using two sizes of nesting dies from brushed black cardstock. I used the largest two dies from the Spellbinders A2 Matting Dies set.
- Add Anchoring Point: Add a decorative band using the Spellbinders Ribbon & Trim die set to anchor the main image.
- Assemble with Dimension: Use thin strips of foam tape to pop up the main image and sentiment.
- Pro Tip: If your foam tape is too wide, place it on non-stick paper first to trim it down easily.
- Finish: Adhere the panel to a horizontal A2 card base and add a few gems for a bit of sparkle.
Card #2: Cute & Shaped Card
A shaped card adds an instant “wow” factor. This design features a vintage-style pram and a tone-on-tone heat-embossed background.
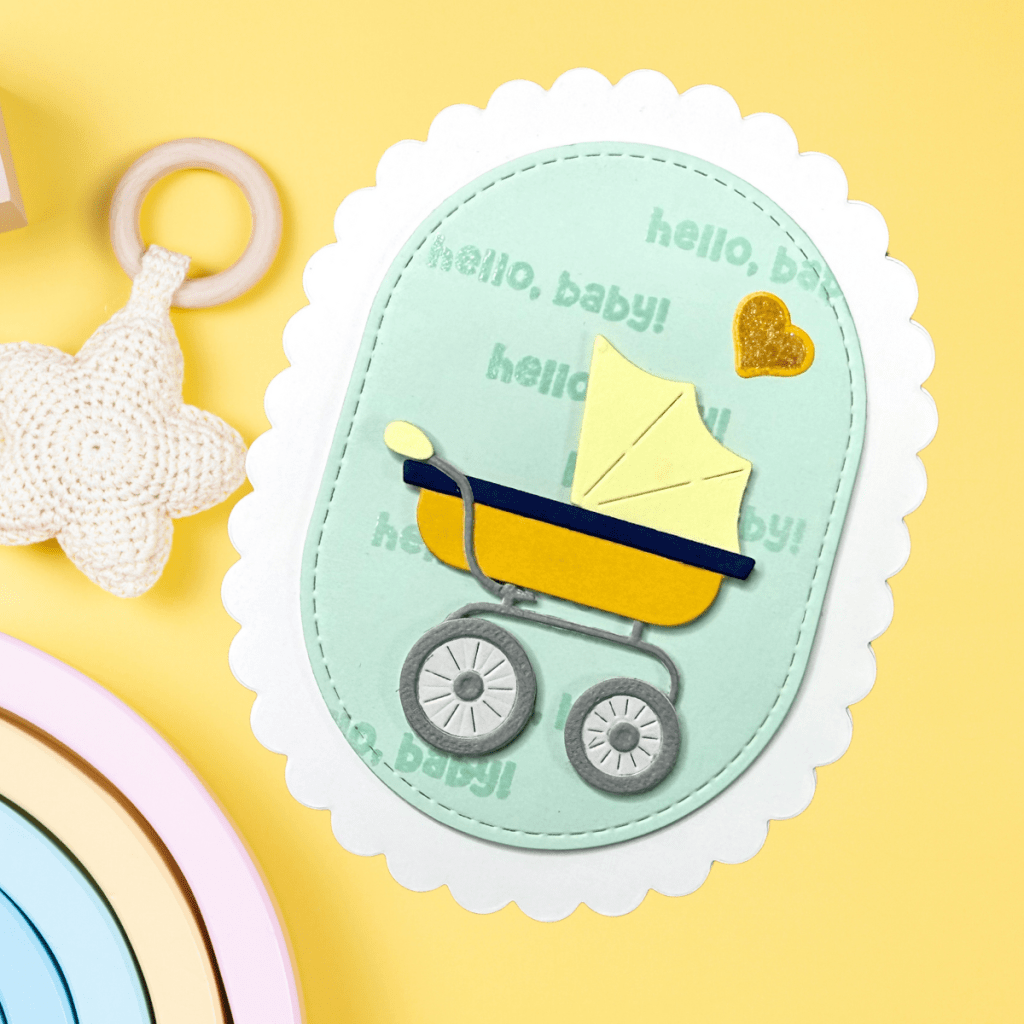
- Build the Shaped Base: Die-cut two scalloped (or a shape of your choice) panels from white cardstock. Score the bottom panel at 3/8 of an inch to create a hinge, then glue it to the top panel.
- Cut the Card Panel: Use a nesting die or another die of an appropriate size to cut out the main card panel. I used Mint cardstock and the Spellbinders Scalloped and Stitched Edge Oval Dies for this.
- Pro Tip: Use an A2 card panel and cut the panel out from the centre, so you can use the leftover panel on another project.
- Heat Emboss the Background: Use clear embossing ink and clear embossing powder to stamp a sentiment (I used “Hello Baby” by Spellbinders) on the main card panel. This creates a beautiful tone-on-tone effect.
- Pro Tip: Heat from the back of the cardstock first to get a smoother finish.
- Assemble the Pram: Die-cut the various pieces of the pram using Lemon Chiffon, Fog, and blue accents. Glue the pieces together using a jewel picker for the tiny details.
- Final Layout: Pop the Mint background panel onto the shaped base with foam tape, then centre the pram on top. Add embellishments if you like.
Card #3: Chunky Shaker Card
Shaker cards are perfect for as baby cards because they offer movement and sound.
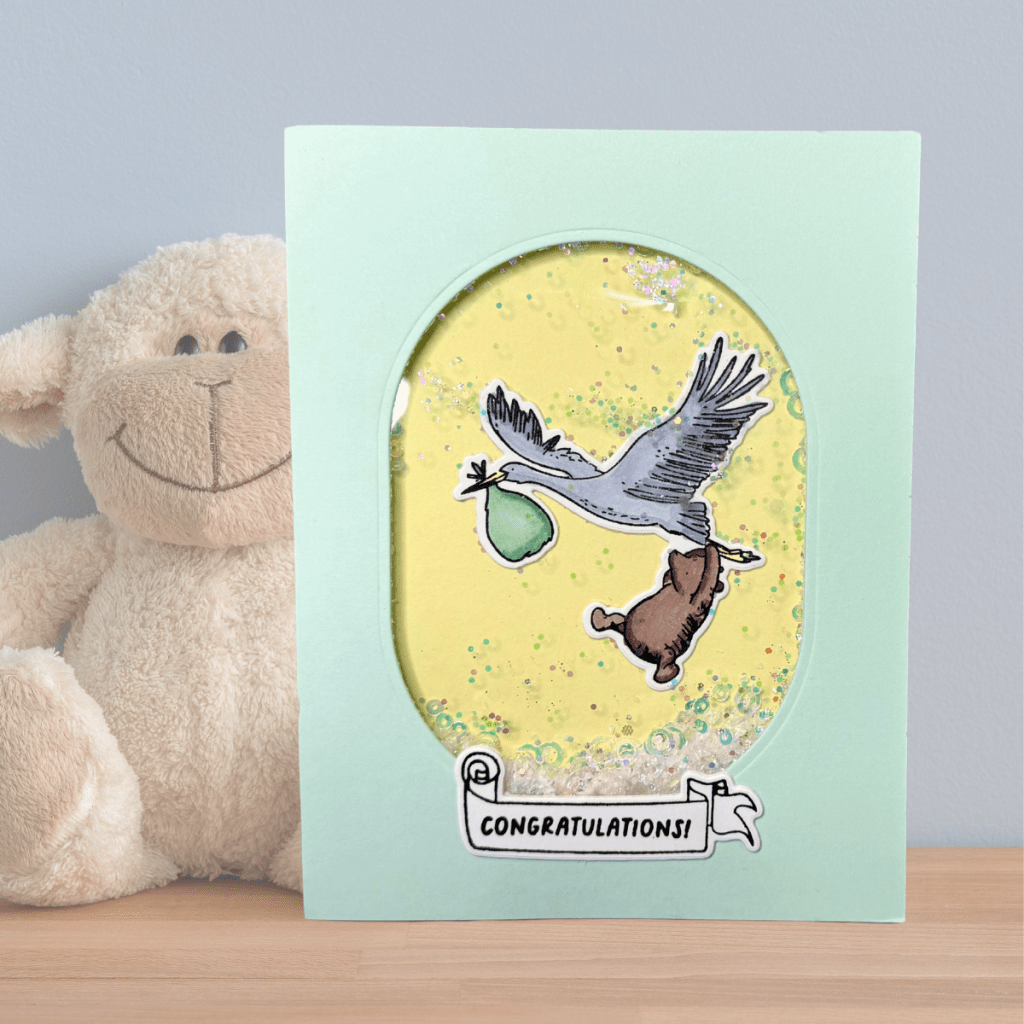
- Prepare the Window: Use the leftover frame from the previous card to create an aperture. Adhere a piece of acetate behind the window.
- Colour the Characters: Stamp the stork, bear and bundle using alcohol-proof ink. Colour them with alcohol markers, adding light shading a slightly darker shade for contrast
- Stack for Strength: Instead of foam tape for the characters, die-cut the images multiple times and glue them together. This gives a “chipboard” feel that is sturdy but not too bulky.
- Build the Shaker Well: Apply two layers of foam tape around the shaker window on the back of the panel. This ensures the shaker bits have enough room to move freely.
- Fill and Seal: Add your shaker bits (glitter or sequins) to the centre of your card base. Apply a little liquid glue to the top of the foam tape for “wiggle room,” then press the window panel down to seal.
Card #4: Partially Embossed Card
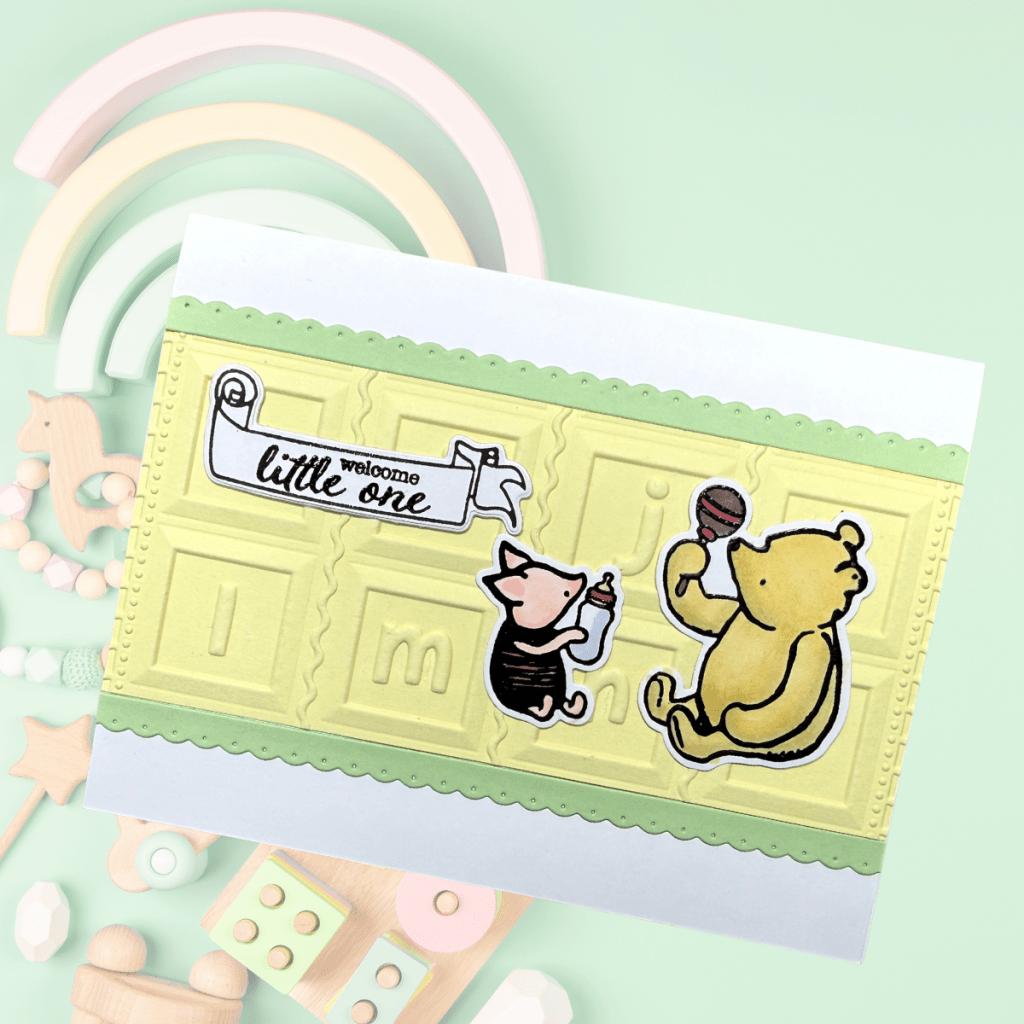
This card uses a 3D embossing folder to create a high-end, tactile finish.
- Emboss the Panel: Lightly spritz your cardstock with water before running it through your machine in a 3D embossing folder. This prevents the paper from cracking and gives a deeper impression.
- Heat Emboss for Texture: Stamp Pooh and Piglet using pigment ink and clear embossing powder. This gives the characters a glossy texture that complements the embossed background. Cut them out using the coordinating dies for a clean finish.
- Time-Saving Die Cutting: For the sentiment, fold a piece of lightweight cardstock in half and glue it together before die-cutting. This creates a thick, dimensional sentiment in one pass through the machine.
- Create the Border Strips: Use the 1 in. strip of Mint card stock and the scalloped edge die from the Spellbinders Ribbon & Trim die set to create two trims for either side of the panel.
- Assemble: Trim the embossed panel so the pattern looks symmetrical. Use a generous amount of liquid glue to adhere the pieces, as the “bumpy” surface of the 3D embossing requires more adhesive to hold properly. Add the characters and the sentiment to the panel using more liquid glue.
https://linkdeli.com/widget.js?id=f5e8378456858c916708
Here is a list of all the crafting tools I use on a regular basis to create my card projects:


Leave a comment