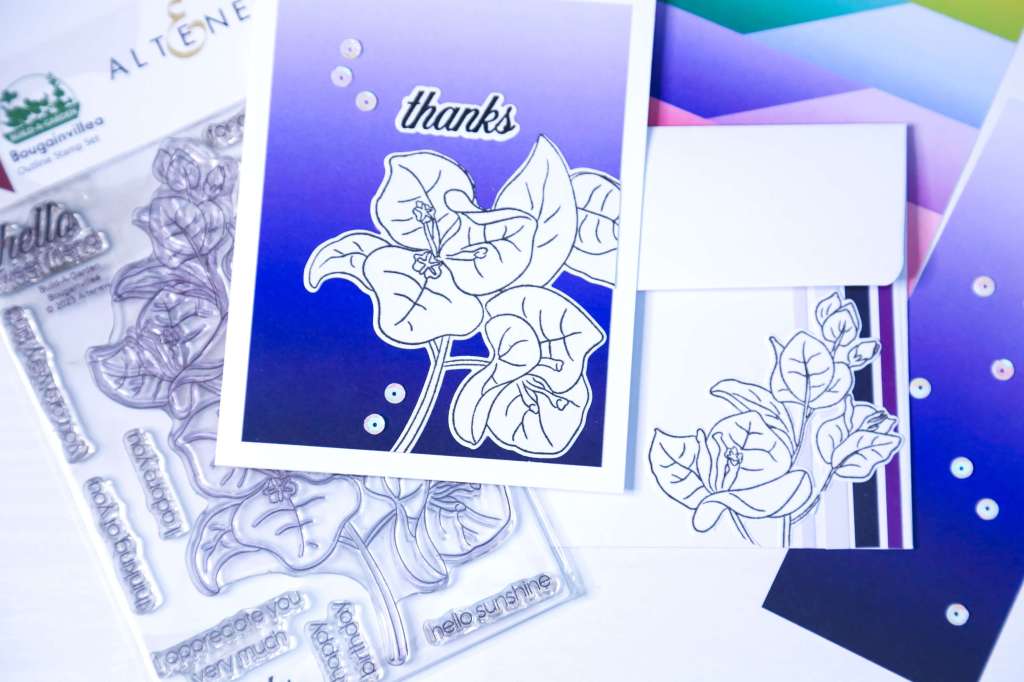
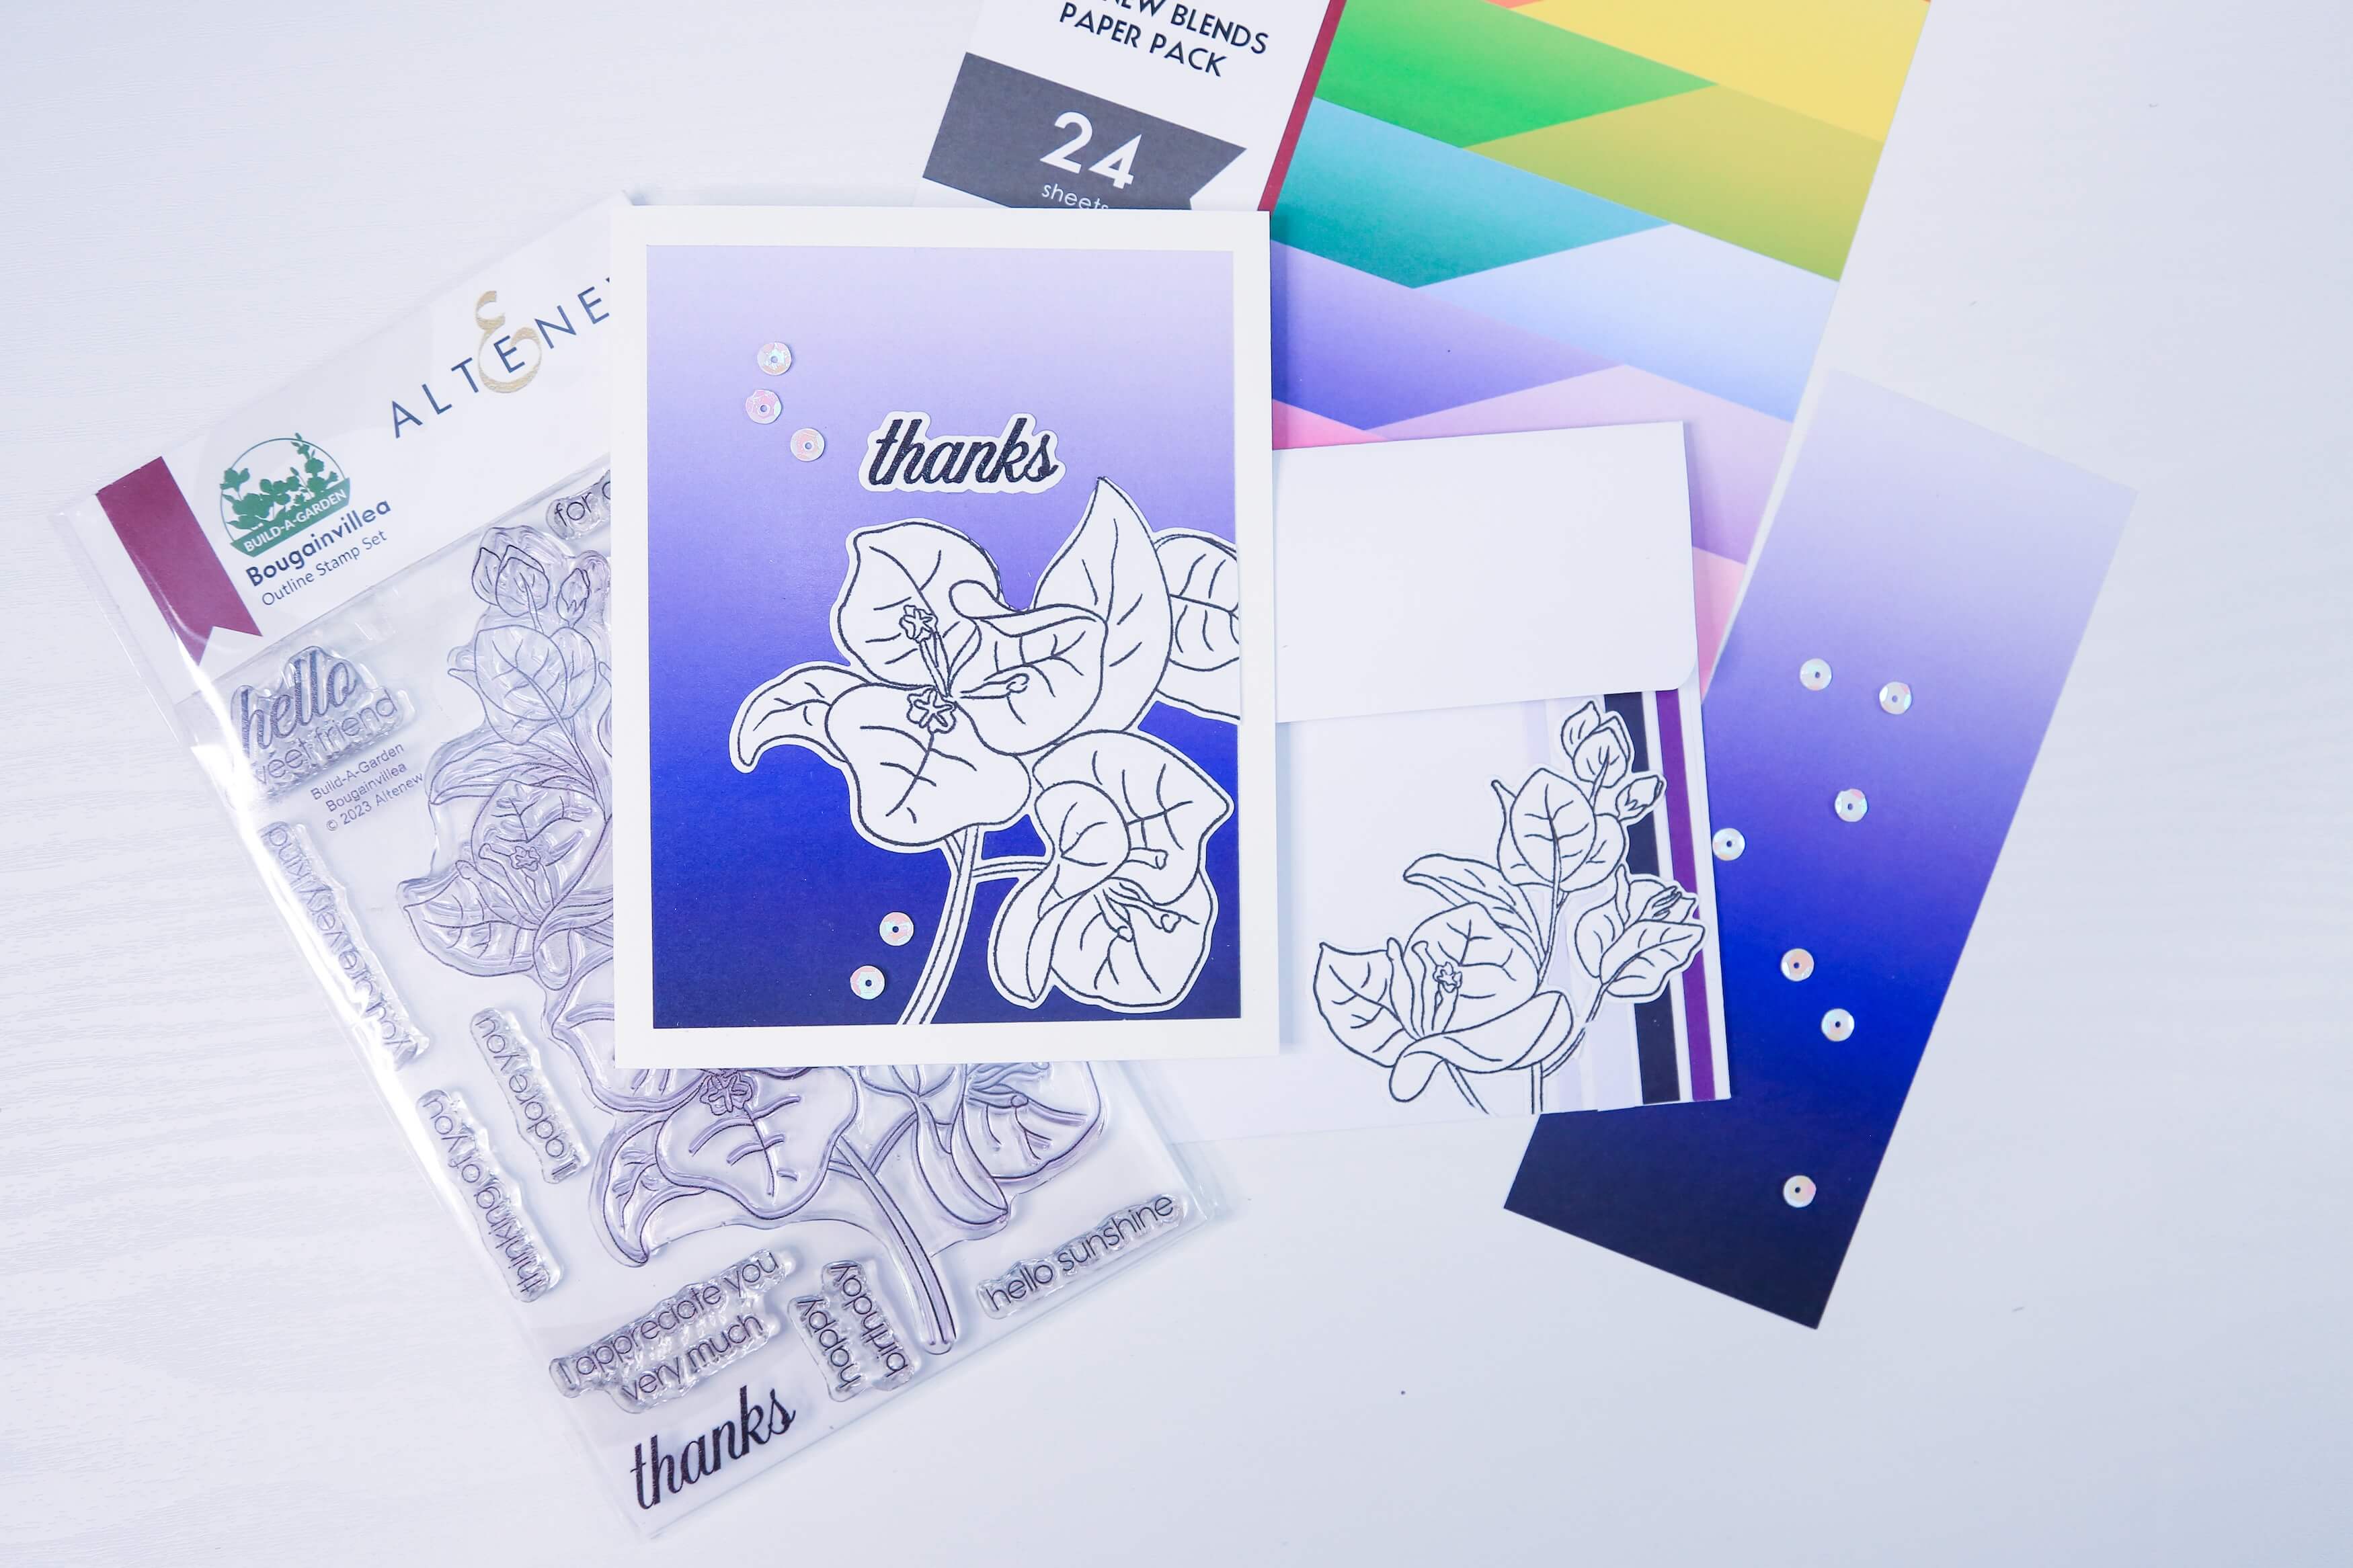
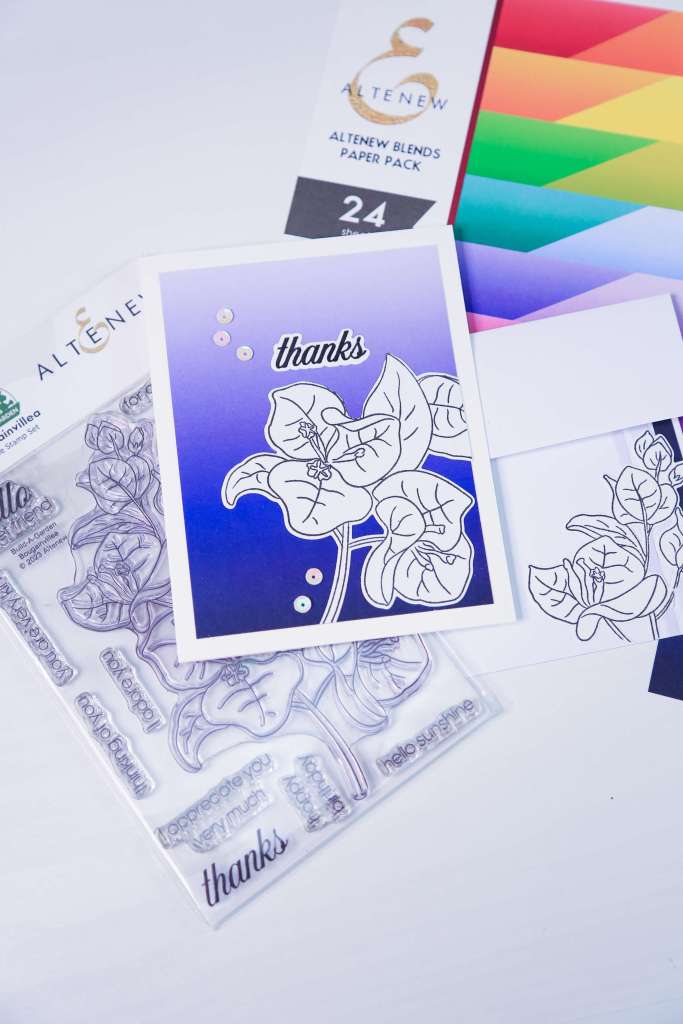
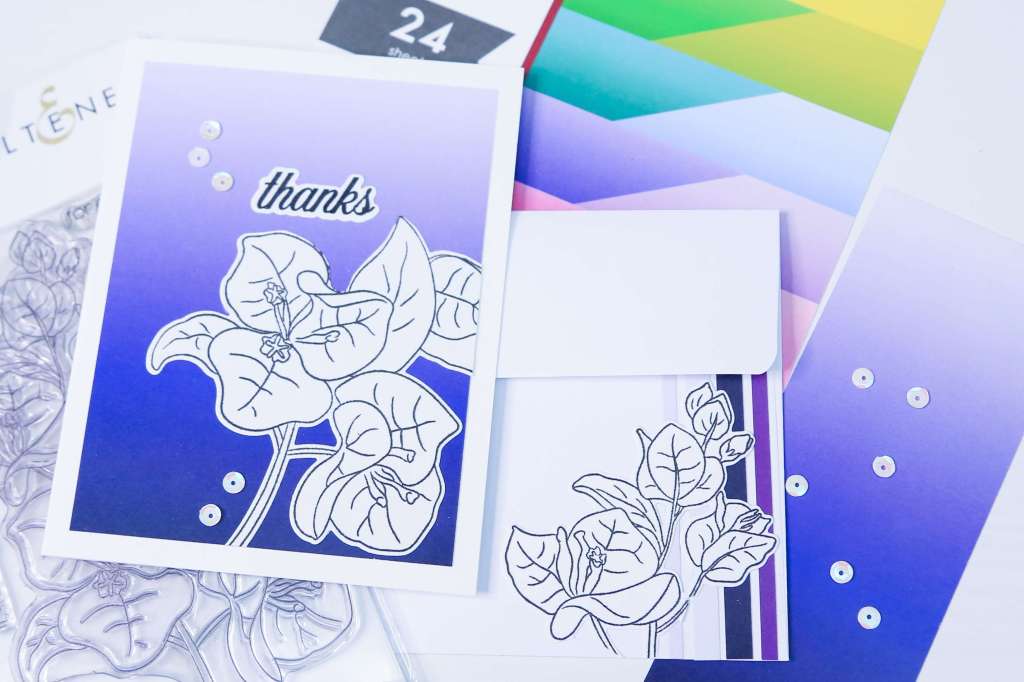
If you’re looking for a quick and delightful card-making project, you’re in the right place! In this tutorial, I’ll walk you through how I utilized just three crafty supplies to craft the main focal elements on this beautiful card. So, gather your supplies and let’s get started!

I created this card as part of my third assignment for the Altenew Educator Certification Program (AECP). I’m having so much fun and learning different techniques, but especially to dig into my stash of supplies and actually using them.
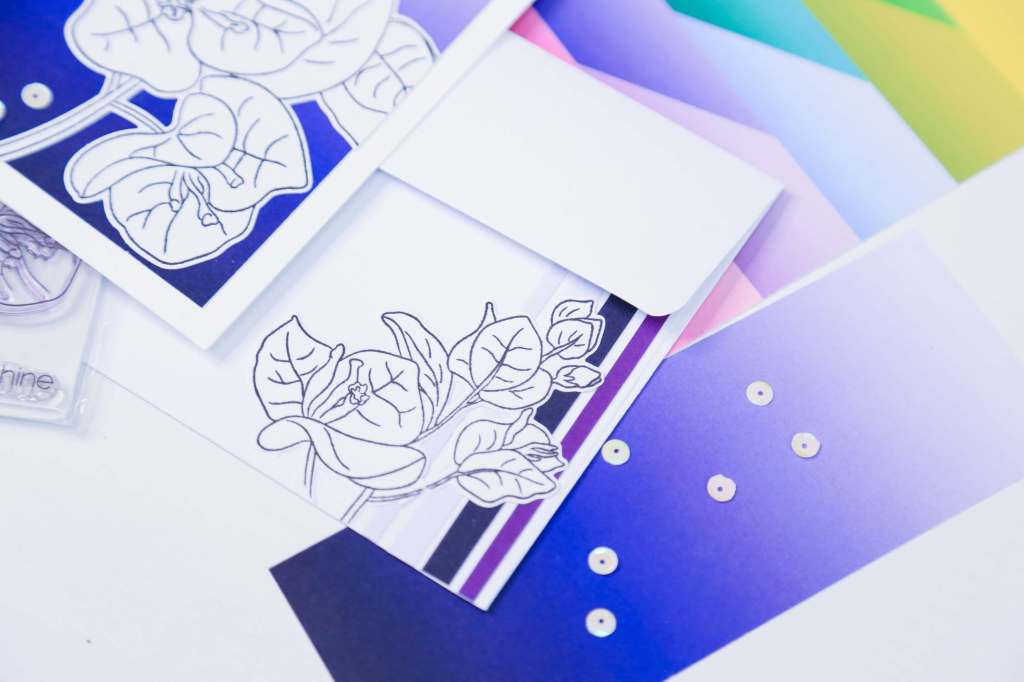
Supplies Needed:
- Altenew Bougainvillea Stamp and Die Set
- Altenew Blends Paper Pack
- Altenew Jet Black Ink
- Neenah Solar White 110lbs Card Base – 8 ½ in. x 5 ½ in. scored at 4 ¼ in.
- Layering weight card stock for stamping – 8 ½ in. x 4 in.
- Clear Embossing Powder (optional)
- Bearly Art Liquid Glue
- Fussy Cutting Scissors
- Die-Cutting Machine (or similar)
- Anti-Static Powder
- Sequins (optional embellishment)
- Stamp Positioner (e.g., MISTI)
Step 1: Prepare Your Background
- Begin by selecting a sheet of paper from the Altenew Blends paper pack.
- Cut it to approximately 3 ¾ by 5 inches, so it leaves a thin white border around the edges of the card base for a clean look. This will serve as the background for your card.
Step 2: Stamp Your Image & Sentiment
- Place the layering card stock inside your stamp positioning tool if you’re using one.
- Using the Altenew Bougainvillea Stamp and Altenew Jet Black Ink, stamp the floral image onto a piece of white card stock.
- If necessary, stamp multiple times for a crisp impression.
- For the sentiment, stamp it separately on the same or a different piece of card stock using the same ink.
- (Optional Step) You can also opt for heat embossing with clear embossing powder for a glossy finish.
Step 3: Die-Cut Your Elements
- Secure the coordinating dies with washi tape onto the stamped images to prevent shifting during cutting.
- Pass them through your die-cutting machine.
- Trim any excess or unwanted parts from the die-cut elements. For this card, I cut away the top part of the image since it was too large for the card base. I used the saved bit for embellishing the envelope.
Step 4: Arrange and Adhere
- Carefully arrange your die-cut elements on the prepared background, ensuring a balanced composition.
- Once you’re satisfied with the placement, use liquid glue to adhere them onto the background.
- Allow a couple of minutes for the glue to set before trimming off any overhanging pieces.
Step 5: Embellish (Optional)
If you so desire, you can add embellishments such as sequins to enhance the card’s visual appeal. Experiment with placement until you achieve the desired look.
Step 6: Final Touches
Once everything is in place, adhere the completed panel onto the Neenah Solar White card base using liquid glue (or your choice of adhesive).
Step 7: Personalize the Envelope
Don’t forget about the envelope!
Utilize remaining scraps of the Altenew Blends paper and the die-cut image to decorate the envelope, adding a cohesive touch to your card ensemble.
And there you have it—a beautifully crafted card using just three main supplies! And it was so quick, too!
If you’d like to watch the video tutorial to see exactly how quickly this card came together, click on the thumbnail below and please don’t forget to subscribe to my channel for more creative content.
Thank you for joining me on this crafting journey! Until next time, happy crafting!


Leave a comment