Step-by-Step Tutorial: Creating Stunning Cards with the Build a Plaid Stencil
In this tutorial, we’re diving into a versatile crafting technique using Spellbinders’ “Build a Plaid” Stencil designed by Wendy Vecchi. With five layering stencils, this set allows for endless creativity as you mix and match the layers to create unique plaid designs. Let’s break down the process step-by-step, using various samples I created.
Supplies You Will Need:
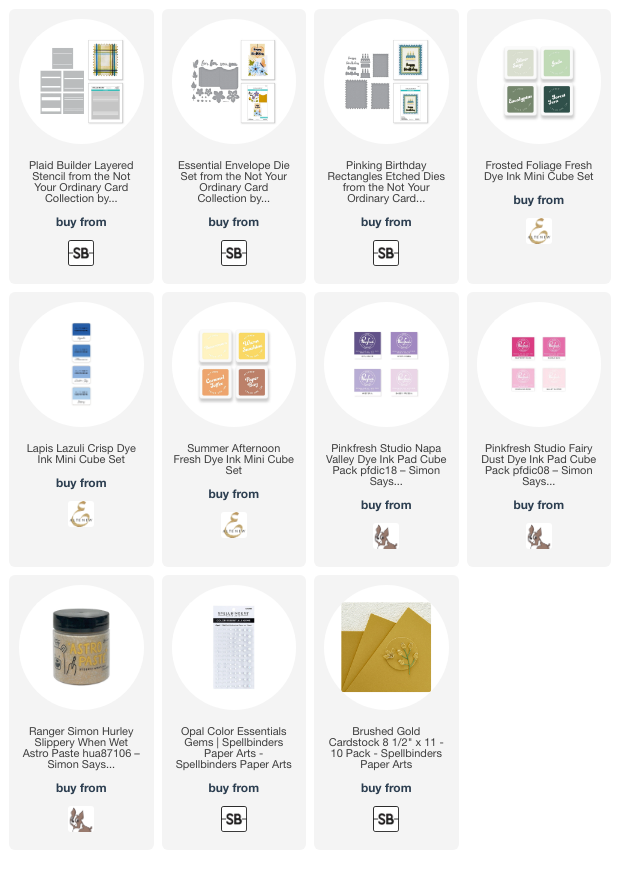
A list of visual supplies is included at the end of this post for your convenience.
- Stencil: Spellbinders “Build a Plaid” stencil set by Wendy Vecchi
- Cardstock: Neenah Solar White 110 lbs card stock, Spellbinders Island Blue card stock
- Inks: Altenew inks (Silver Sage, Buttercream, Jade), Distress Oxide inks
- Blending tools: Ink blending brushes or dome foam blenders
- Grid mat: For stencil alignment
- Painter’s or washi tape: To hold down stencils
- Texture paste: Glitter texture paste (optional) from Aliexpress or any brand
- Dies: Spellbinders Essential Envelope die set, Pinking Edge Birthday Add-ons die set
- Alcohol markers: To colour details like candles
- Foam tape: For adding dimension (optional)
- Card embellishments: Opal gems, brushed gold card stock for added flair
Step 1: Set Up Your Workspace
- Prepare your grid mat and cardstock. Ensure that your grid mat is clean, and lay your 6 x 6-inch cardstock onto the mat.
- Align the stencil: Start with the widest layer of the stencil from the “Build a Plaid” set. Use the grid mat to ensure the stencil is straight and aligned correctly, especially if you’re working with 6 x 6 cardstock.
- Secure with tape: Gently place painter’s tape or washi tape at the edges of the stencil to prevent movement during ink blending.
Step 2: Create the First Layer
- Choose your first colour: For the widest stencil, I used Silver Sage ink from Altenew. Load your ink blending tool with ink, tapping off any excess onto scrap paper.
- Ink the stencil: With a light hand, apply the ink through the stencil in circular motions. Don’t worry if the ink appears blotchy—once dry, it will smooth out beautifully.
- Offset the stencil: After finishing the first layer, gently move the stencil down or to the side to create a second layer of plaid. Ensure the edges remain aligned.
- Repeat the process: Apply the same colour or switch to another if you prefer variation.
Step 3: Add the Medium Layer
Switch to the medium stencil: Align the medium layer stencil over your previous work, either directly or slightly offset.
Apply your second colour: I used Buttercream ink, blending it more intensely to create bold, contrasting stripes.
Offset again for a dynamic look: After applying the first layer, shift the stencil and add a second layer for additional depth.
Step 4: Incorporate the Thin Layer
- Add thin stripes: Now use the thin stencil layer to create delicate lines. I opted for Jade ink, which I applied with varying intensity for a striking look.
- Blend with previous layers: Overlap this stencil with the existing layers to blend colours. This creates a rich, layered plaid design.

Step 5: Experiment with Colour and Texture
- Play with offsets and colours: For a more dynamic design, experiment by offsetting the stencils again and applying colours like purple and pink. In one of my samples, I layered pink vertically and added double stripes for extra dimension.
- Use texture paste: For a holiday-themed card, I added dimension by applying glitter texture paste over the stencil using a palette knife. This gives the plaid a shimmering, textured finish.
Step 6: Blend the Background
- Lightly blend a background colour (optional): To add depth, you can choose to blend a soft ink colour around the design’s edges. This adds dimension without overpowering the plaid pattern.
- Try different ink types: I used Altenew inks for their smooth finish, but Distress Oxide inks give a chalky, matte look that adds a vintage feel.
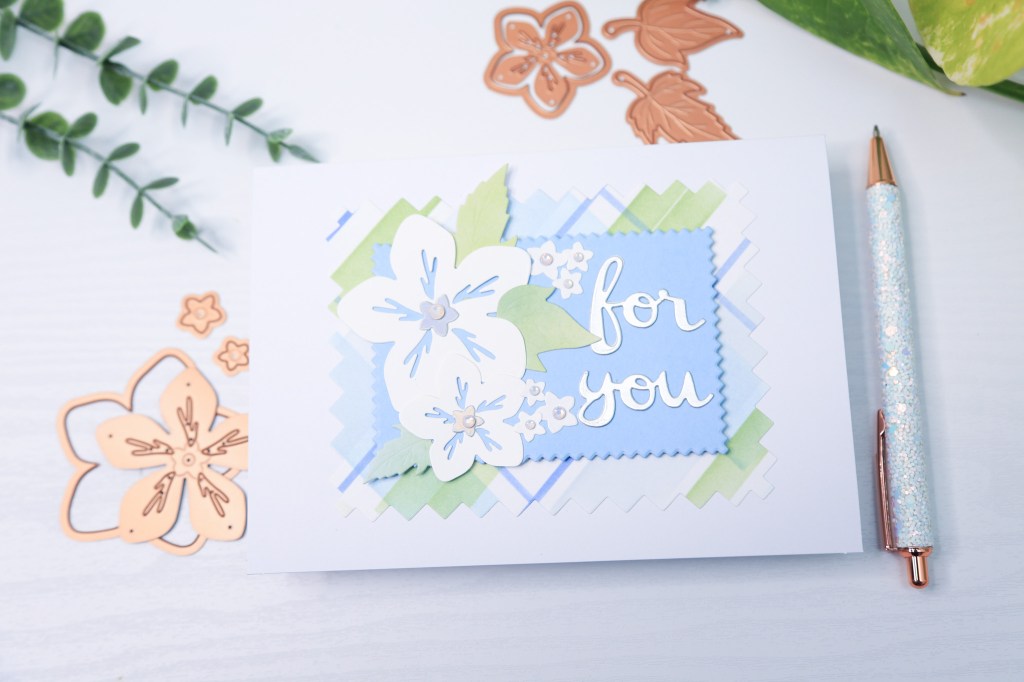
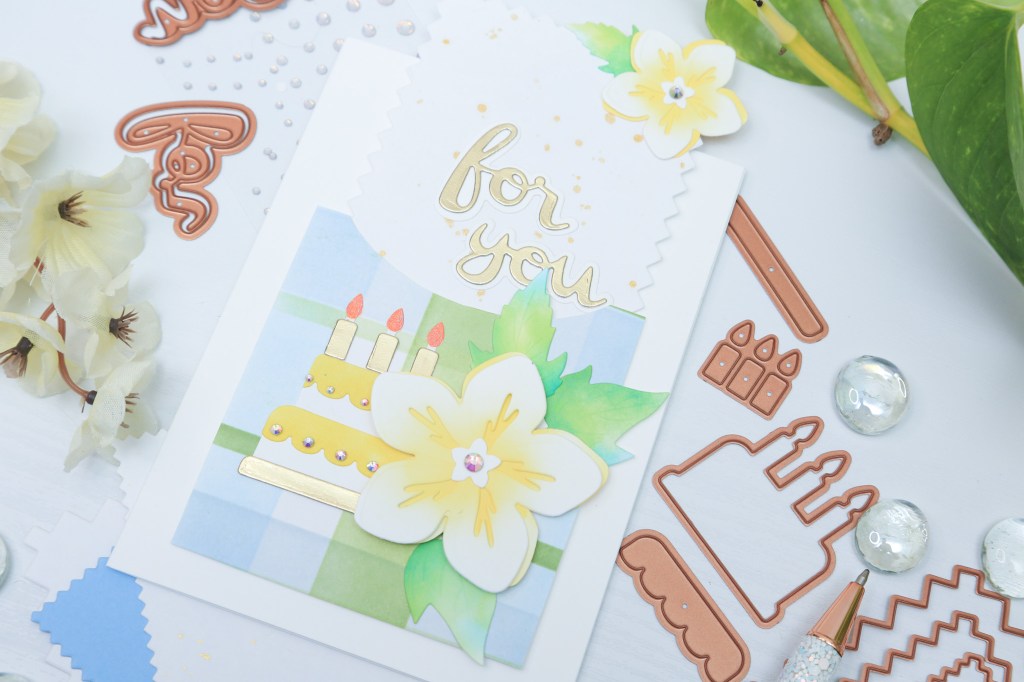
Step 7: Build Your Cards
Now that your background is ready, it’s time to create your cards! Here are a few card ideas to inspire you:
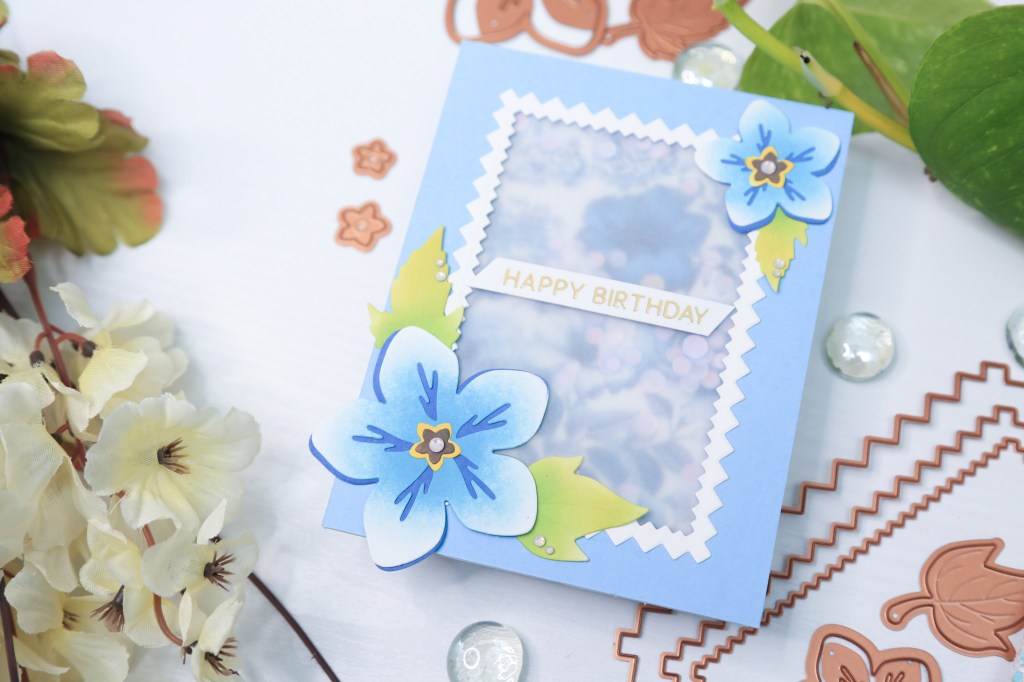
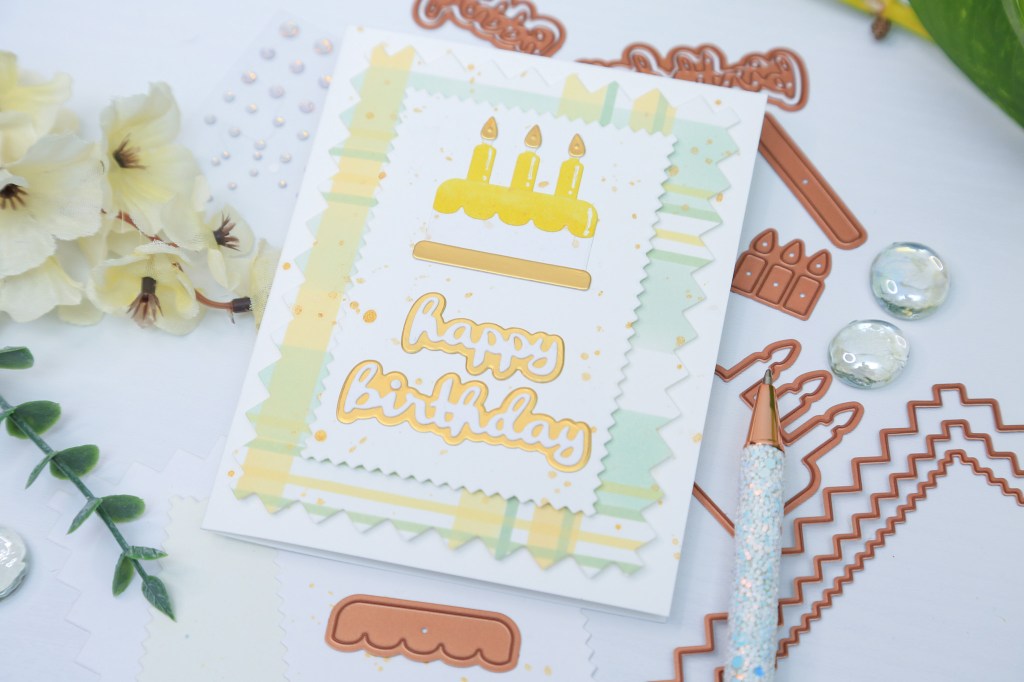
Card: Simple Plaid Birthday Card
- Cut your plaid background: Trim it to fit an A2-sized card base (4.25 x 5.5 inches).
- Add a birthday cake die cut: I used the Spellbinders Pinking Edge Birthday Add-ons die set to create a cake. Layer the die cuts using foam tape for added dimension.
- Embellish with gems: Add Opal gems to the cake for a touch of sparkle.
Tips and Tricks
- Stencil alignment: Use a grid mat to keep your stencil straight. This is especially crucial when using multiple layers or offsets.
- Mark your stencils: To easily replicate designs, mark your stencils with a Sharpie. Cover the marks with clear tape to prevent them from rubbing off.
- Blending intensity: Vary the pressure of your blending tool to create different intensities of ink, adding depth to your designs.
I hope this step-by-step guide inspires you to experiment with layering stencils and create your own beautiful plaid backgrounds. For more tips on ink blending and card-making techniques, check out my video tutorial linked below!
Here’s a visual list of the main supplies I’ve used on my cards:
https://linkdeli.com/widget.js?id=f5e8378456858c916708
If you’d like to see what basic tools I use for for card making, here’s the list:

https://linkdeli.com/widget.js?id=f5e8378456858c916708
Happy crafting!


Leave a comment