Using vellum to craft a double shaker card is an excellent way to highlight bold patterned papers while keeping your design elegant. This 5×7 card combines layered elements, soft ink blending, and eye-catching sequins for a unique handmade creation.

If you’d like to jump straight to the video tutorial, you can watch it here:
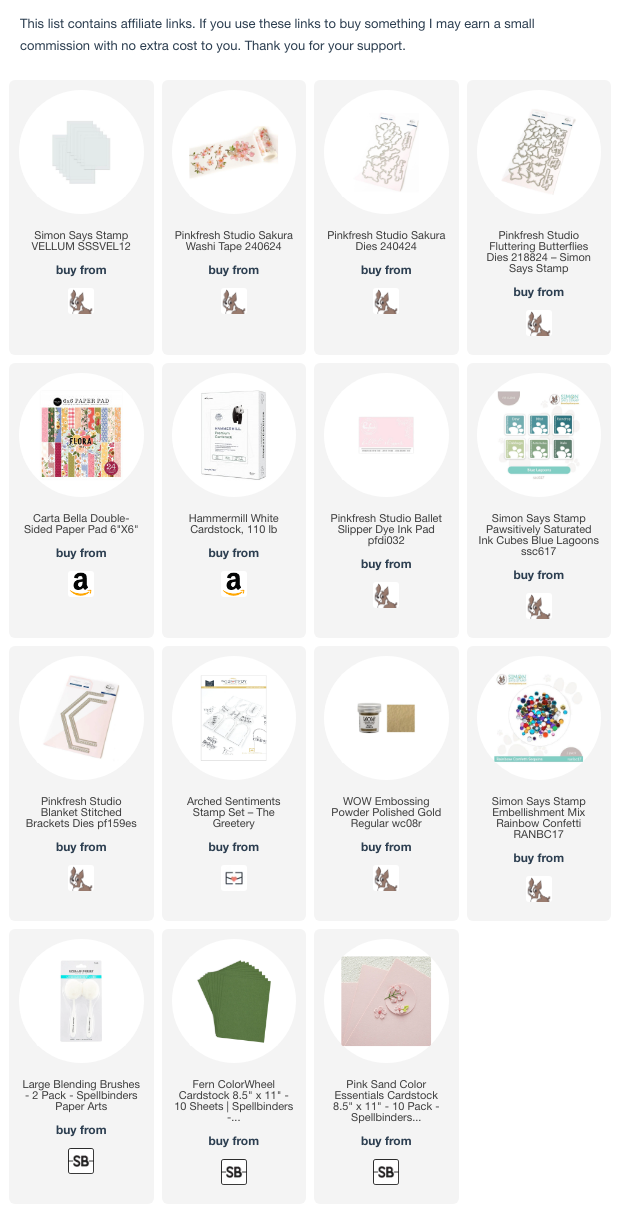
Supplies Needed
- Simon Says Stamp Lightweight Vellum Pieces
- 5 ½ in. x 4 in.
- 4 ¼ in. x 3 ½ in.
- 110-Pound Hammermill Paper – 5 in. x 7 in.
- Patterned Paper Scraps (I used Carta Bella Flora No. 3)
- Pinkfresh Studio Ballet Slipper Ink
- Simon Says Stamp Cabbage Ink
- Blanket Stitch Brackets Die Set by Pinkfresh Studio
- Spellbinders Ink Blending Brushes
- Arched Sentiments Stamp Set by The Greetery
- Wow Gold Embossing Powder
- Simon Says Stamp Sequins Mix – Rainbow Confetti
- Ali Express Thin Foam Strips
- Glass Magnetic Mat (Optional)
- Assorted Coloured Card Stock Scraps – Spellbinders Pink Sand, Fern
- White Card Stock Scraps – Hammermill
- Low Tack Tape
Step 1: Create the Background
Start by ink blending a background panel using Ballet Slipper and Cabbage inks. Apply the pink ink in soft patches with a Spellbinders blending brush, ensuring a light-handed approach to avoid blotches. Repeat the process with green ink, carefully keeping the colours from overlapping to avoid muddy tones. Tap off excess ink on a glass magnetic mat to maintain even application. Allow the panel to dry, as the colours will lighten slightly over time.
Step 2: Die Cutting the Shaker Frames
Use the Blanket Stitch Brackets dies to cut out frames for the shaker windows. Combine the cutting and etching dies to create bordered shapes. Secure the dies with washi tape to maintain even alignment and avoid shifting. For stability, cut multiple layers of white cardstock for stacking, as well as pink and green cardstock for the top borders.
Step 3: Prepare the Shaker Components
Cut solid floral and green pieces for the larger and smaller shakers, respectively, using the etched dies. Match these with vellum shapes to form the shaker windows. Save any scraps of patterned paper for decorating an envelope or other projects.

Step 4: Assemble the Card Base
Adhere the ink-blended background panel to a 5×7 card base using foam tape for added dimension. Partially peel the backing of the foam tape before positioning the panel to avoid misalignment.
Step 5: Construct the Shaker Windows
Adhere the vellum shapes to the stacked die-cut frames. Apply glue sparingly to avoid smudging the vellum. If adding a sentiment, heat emboss it onto the vellum before assembly. Use an antistatic powder tool to prepare the vellum, then stamp the sentiment with embossing ink. Sprinkle Wow Gold Embossing Powder over the ink, tap off excess, and heat set.
Step 6: Build the Shaker Compartments
Stack and glue the die-cut frames together to form sturdy shaker windows. Attach thin foam strips to the back of each frame to create space for the shaker elements. Apply antistatic powder to the inner edges of the foam to prevent sequins from sticking.
Step 7: Fill and Seal the Shakers
Fill each shaker compartment with a mix of gold and multicoloured sequins. Carefully remove the foam strip backing, align the windows with their base panels, and seal them securely.

Step 8: Final Assembly
Attach the completed shaker windows to the card base. Add any additional embellishments, such as extra sequins, for a polished look. Trim any overhanging pieces with a paper trimmer for a clean finish.
Step 9: Add Finishing Touches
If the background ink appears too light after drying, lightly reapply ink to enhance the vibrancy. Use scraps from patterned paper to embellish the card’s envelope for a coordinated look.
This double vellum shaker card is a versatile design that can be customized with various shapes and colours. Happy crafting!
Here’s the list of all the supplies I used on this card:
 https://linkdeli.com/widget.js?id=f5e8378456858c916708
Here’s a list of my favourite tried and trusted tools that I work with on a daily basis:


Leave a comment