If you’ve ever struggled with using busy patterns in your card designs, this tutorial will surely help inspire you to break out your busy patterned paper pads and get crafting! These card designs use minimal supplies and let the patterns shine. They’re simple and quick and will help you find inspiration for when you need to make a quick card for someone.
I’ve included a list of supplies for each card. The list of my most favourite tools for my everyday card making is attached at the end of this blog post.
If you’d like to jump straight to the video tutorial, you can watch it here:
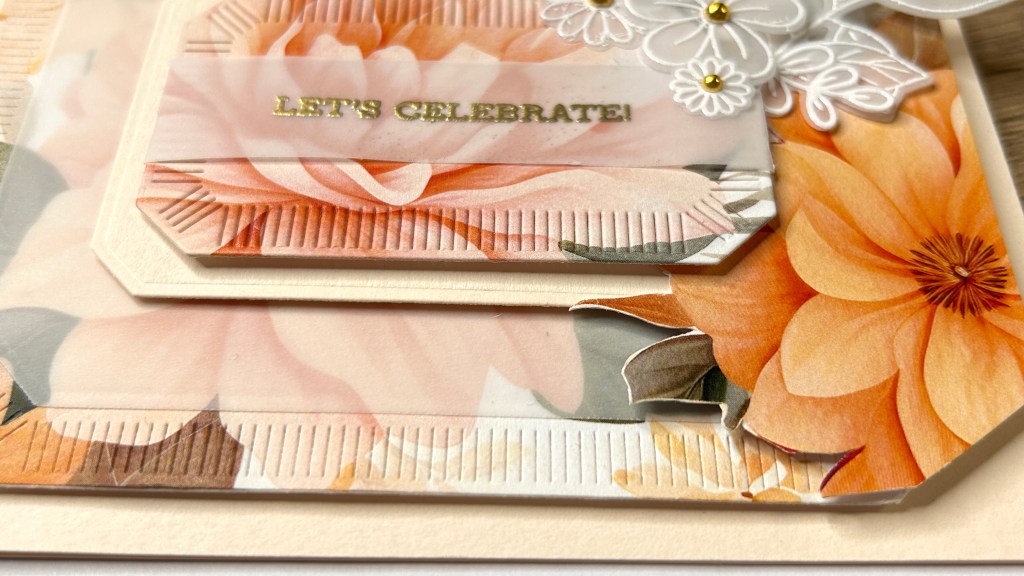
Card 1: Reconstructed Floral

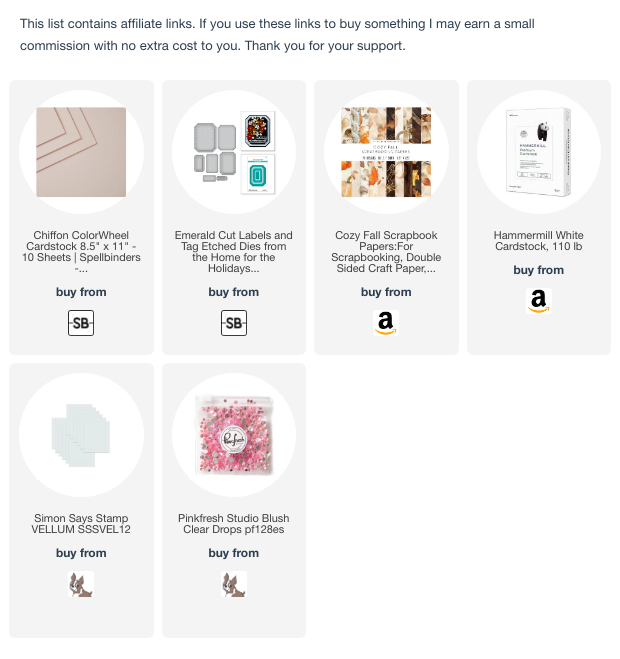
Supplies Used
- Spellbinders Die Set – Emerald Cut Labels & Dies
- Heavyweight Card Stock: Spellbinders Barely Peach Card Stock (Discontinued – best alternative is Chiffon)
- Printed Patterned Paper – Cozy Fall Scrapbook Paper
- Lightweight White Card Stock – scrap pieces + one piece of 4 in. x 5 ½ in. for card inside
- Simon Says Stamp Vellum
- Altenew Sentiment Strip Stamp Set 2
- Gold Embossing Powder
- Bearly Art Liquid Glue
- Heat-Embossed Vellum Flowers and Leaves (optional – created using an Altenew Stamp Set)
- Pinkfresh Studio Blush Clear Drops
Step-by-Step Instructions
Step 1: Create the Card Layers
- Begin by creating a card base using heavyweight card stock. The measurement for this base is slightly different from standard sizes – I created one measuring 4 ½ in. x 6 in.
- Select a printed patterned paper and use a frame die to cut out a section featuring a large floral design. To achieve the desired focal point, angle the die strategically before cutting. The leftover scraps can be used for envelope embellishments or another card.
- Since the patterned paper is thin, reinforce it by adhering it to a lightweight white card stock backing. This ensures stability and durability when layering.
- Prepare the layered pieces by cutting:
- A frame from Barely Peach card stock.
- A second, smaller frame from the centre of the first frame to maintain design continuity when stacked.
- A vellum sheet using the same die size as one of the frames.
- A partial flower from the patterned paper, mounted onto white card stock and fussy cut for added dimension.
- Adhere a white card stock panel inside the card base to provide a smooth writing surface, as the coloured card stock is not ideal for writing.
Step 2: Heat Emboss the Sentiment
- Stamp and heat emboss the sentiment “Let’s Celebrate” onto a narrow strip of vellum using gold embossing powder.
- Wrap the vellum around the topmost layer, forming a belly band that allows the floral design to remain visible.
Step 3: Assemble the Card
- Begin assembling the card:
- Attach the first patterned paper layer using foam tape for elevation.
- Carefully align and adhere the vellum layer with a piece of foam tape, ensuring it sits evenly on all sides.
- Position the solid card stock layer slightly raised with foam tape, leaving space at the top edge to tuck in vellum embellishments.
- Use tweezers for precision placement.
- Secure the heat embossed belly band in place by taping it down from the back with clear tape. If necessary, adjust the positioning to ensure it remains centred. If needed, apply a tiny dot of glue behind the vellum where the heat embossing is located. This prevents the glue from being visible.
- Use a scrap piece of card stock to apply glue precisely, sliding it behind the heat-embossed area to flatten the vellum layer effectively.
- Adhere the central frame layer making sure the print is aligned and the image looks whole again.
- Add the vellum flowers and foliage pieces if you’re using them. (I love using the stamp and die with Altenew’s Flowery Pattern to create vellum embellishments for my cards.
- Embellish the card front with gems of your choice (optional). I used gold pearls from my local dollar store for the vellum flower centres.
Here’s the list of all the supplies I used on this card:
https://linkdeli.com/widget.js?id=f5e8378456858c916708
Card 2: Flower Girl Motif

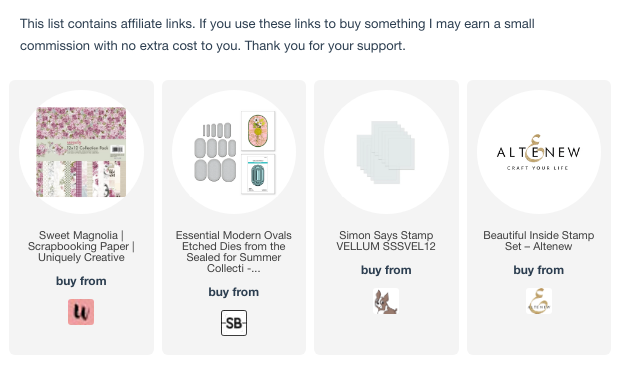
Supplies Used
- Pre-Made 5×7 Card Base by Ohuhu (or make your own with your preferred card stock)
- Patterned Paper from Uniquely Creative – Sweet Magnolia 12 x 12 Collection Pack
- Bright Pink Mirror Foil Card Stock
- Spellbinders Oval Dies
- Spellbinders Sentiment Die
- Altenew Sentiment Stamp
- Scrap Card Stock for Layering
- Vellum Scrap
- Heat-Embossing Supplies (Anti-Static Powder, Versafine Onyx Black Ink, Clear Embossing Powder, Heat Tool)
- Pinkfresh Studio Blush Glitter Drops
- Bearly Art Liquid Glue
Step-by-Step Instructions
Step 1: Create the Card Layers
- Start by cutting a 5 in. x 7 in. section of the beautiful patterned paper from the Sweet Magnolia paper pad, making sure to include the floral design. Since the 12×12 pack is sold out, you can find other beautiful options as well.
- To make measuring easier, use a pencil to mark where to cut, then trim it down with your paper trimmer.
- Next, cut another piece of coordinating patterned paper to act as a grounding layer for the girl motif. Choose a design that balances the visual elements without overpowering the focal image.
- Use an oval die to cut out one of the girl illustrations.
- Then, select another oval die that is one size larger to create two additional layers—one from the coordinating patterned paper and the other from a piece of vellum.
Step 2: Choosing the Sentiment Layer
- Cut the sentiment from the mirror pink foil card stock.
- To add dimension, cut two layers of scrap card stock and stack them behind the sentiment.
This technique helps lift the sentiment off the background since the die I’m using doesn’t have a shadow layer.
Step 3: Adding Another Floral Element
Fussy cut a floral swag from the cut-apart sheet along with two tiny flowers that can be used as embellishments.
Step 4: Heat Embossing the Sentiment
- Before heat embossing the “Happy Birthday” sentiment onto the card base, carefully arrange the layout inside a stamp positioning tool. A stamp positioner helps keep everything in their proper places.
- Position the “Happy Birthday” stamp as desired.
- Once the layout looks good, use the door of the stamp positioner to pick up the sentiment stamp and remove the extra pieces.
Step 5: Stamping and Embossing
- To emboss, prep the background with anti-static powder.
- You can use a spare acetate sheet and stamp the sentiment on it first to ensure the sentiment appears straight.
- Confirm that the sentiment is aligned correctly, then wipe the acetate sheet and set it aside.
- Stamp the background using Versafine Onyx Black ink.
- Finally, apply clear embossing powder for heat setting. This will give a bold, crisp finish.
Step 6: Assembling the Card
- To start assembling the card, use a generous amount of glue to adhere the card panel to the background and ensure it stays flat.
- Add a few Pinkfresh Studio Blush Glitter drops around the card background.
Now that everything is positioned and adhered, the card is complete! The combination of layered elements, vellum accents, and embossed sentiment creates a beautifully balanced design.
Here’s the list of all the supplies I used on this card:
https://linkdeli.com/widget.js?id=f5e8378456858c916708
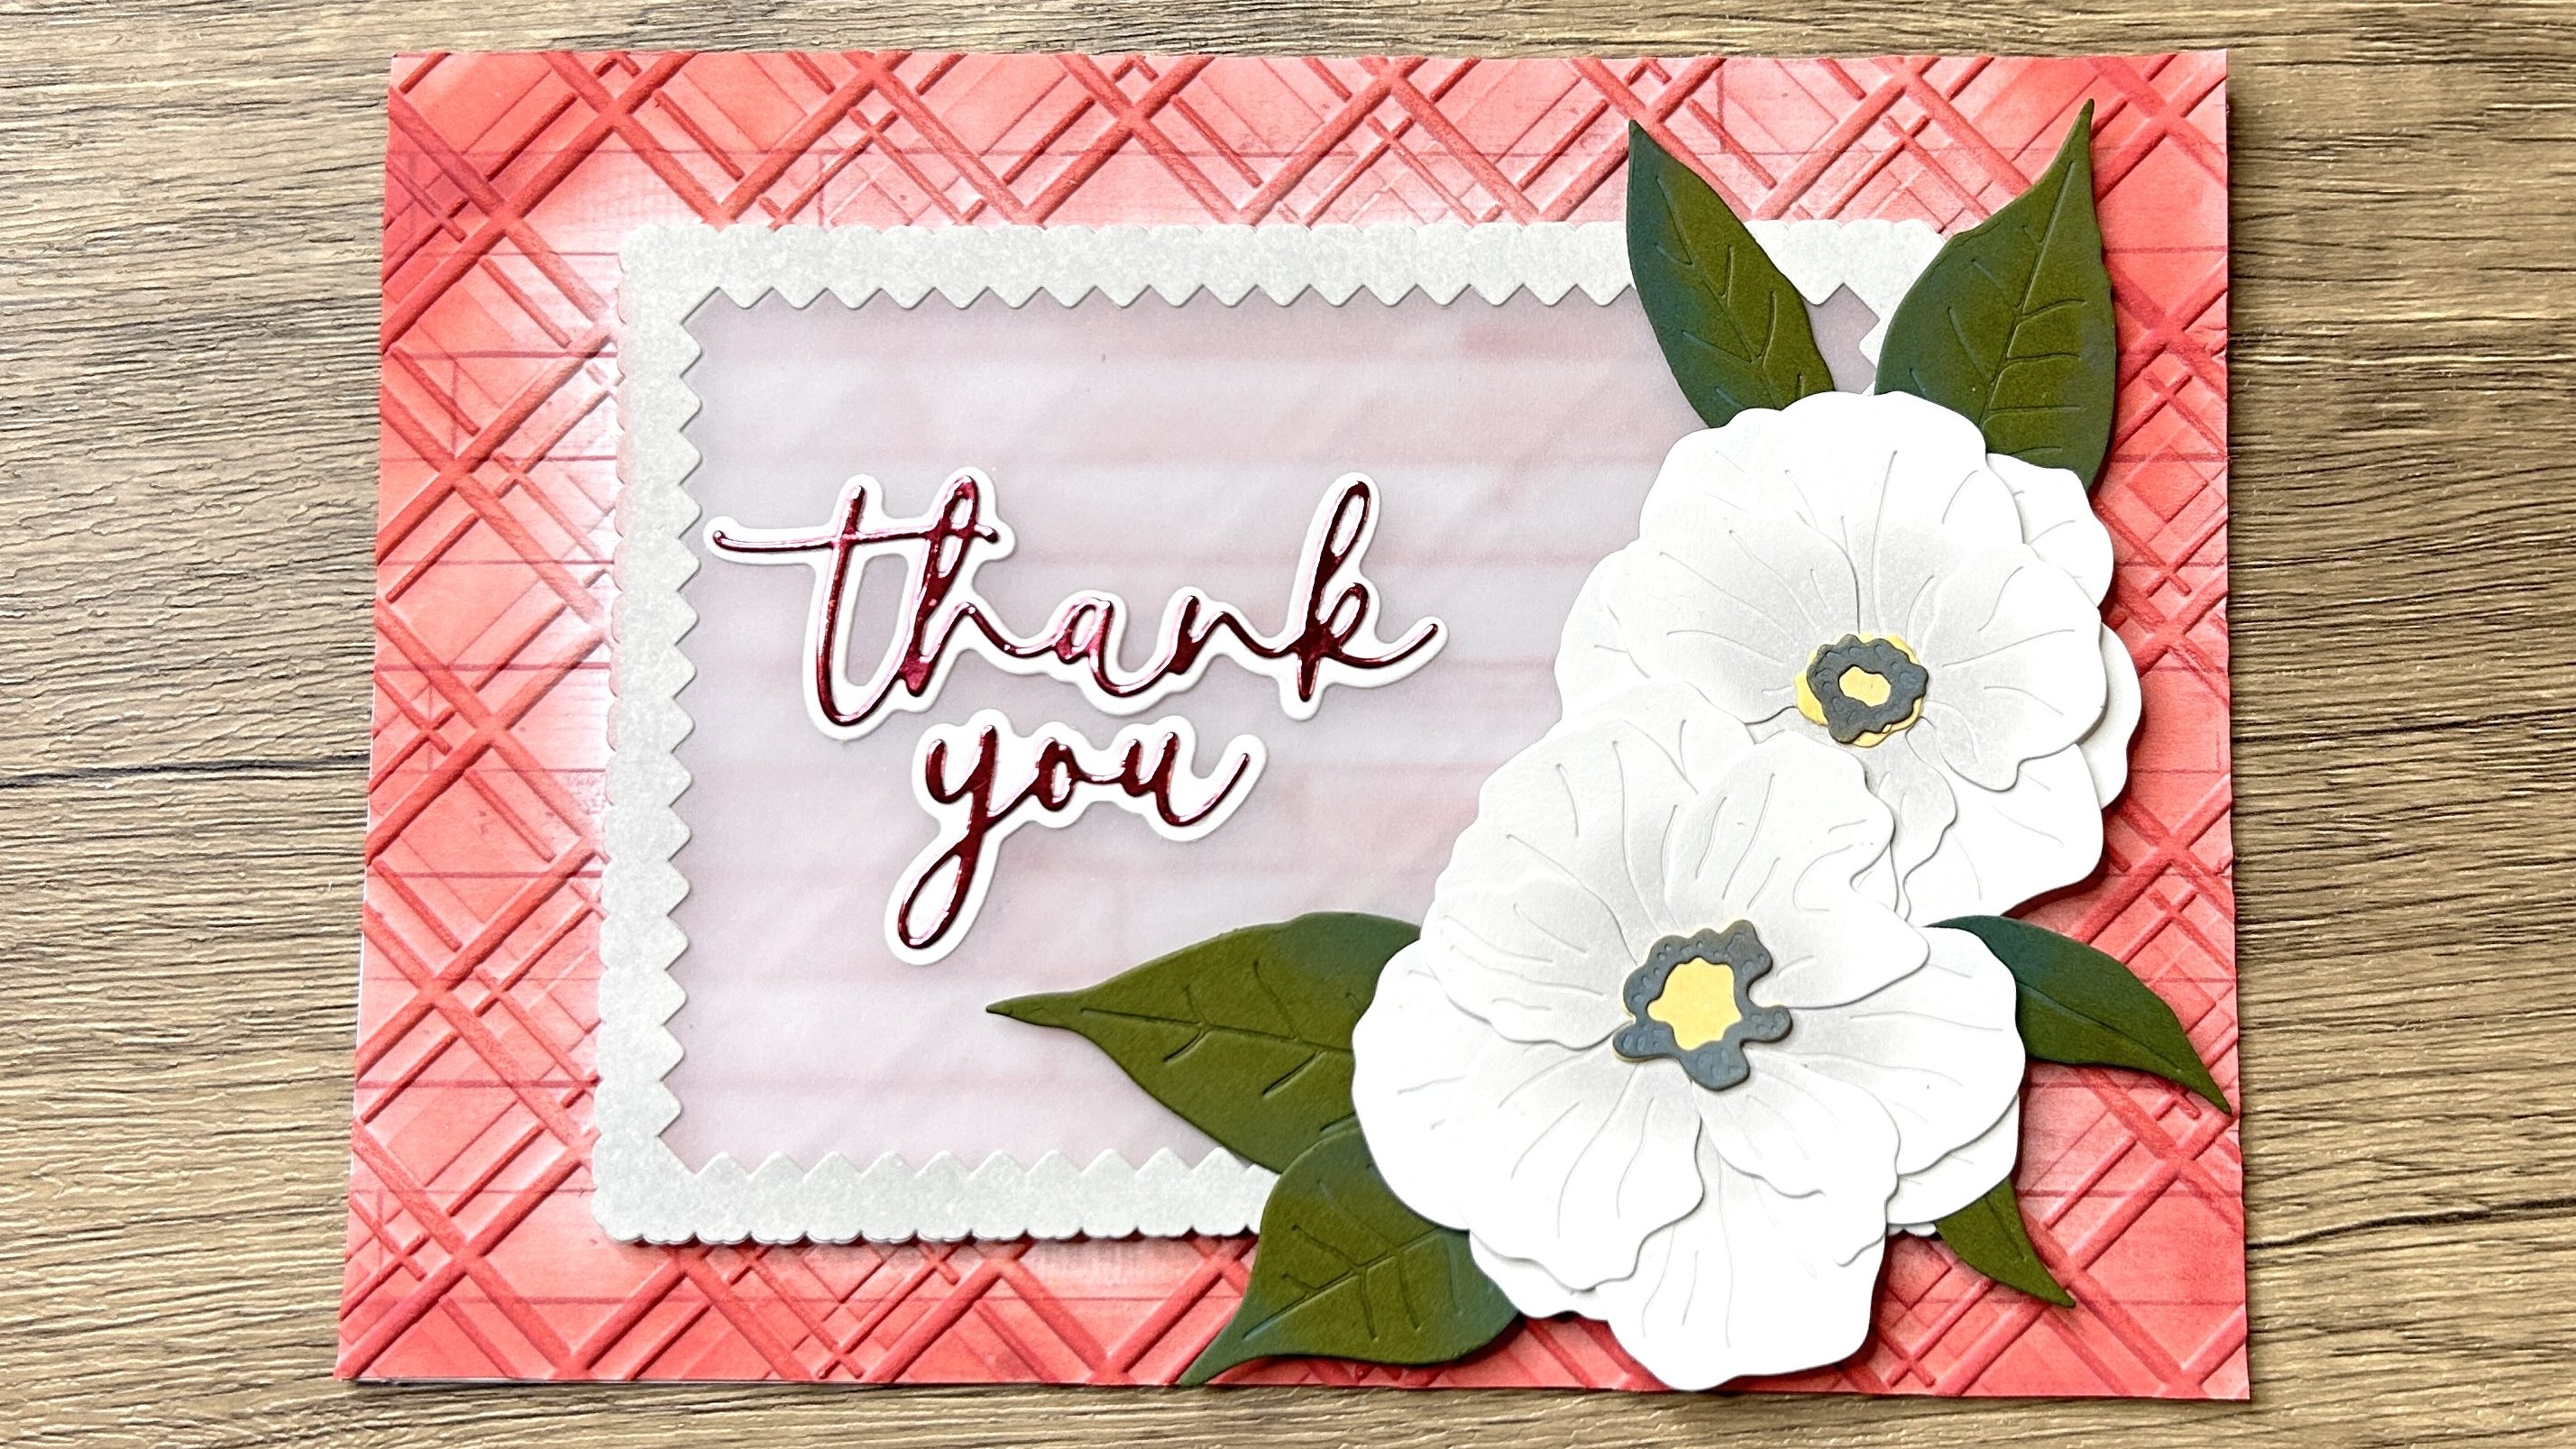
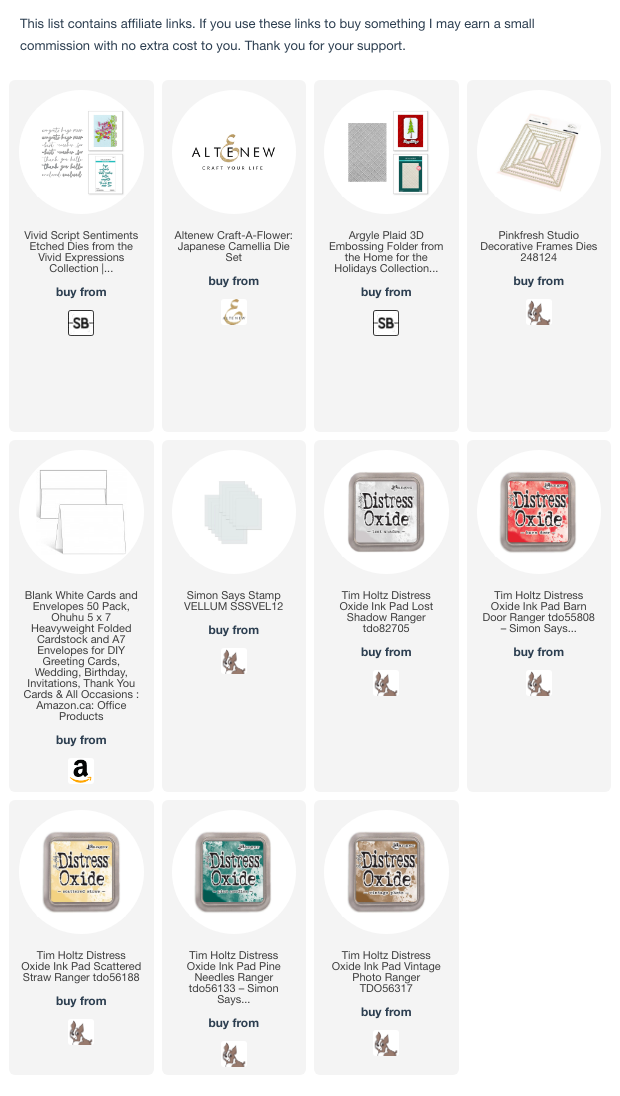
Card 3: Embossed & Inked Patterned Paper Background
Supplies Used:
- Pre-Made 5×7 Card Base by Ohuhu (or make your own with your preferred card stock)
- Spellbinders Argyle 3D Embossing Folder
- Pinkfresh Studio Decorative Frames Dies
- Japanese Camellia Layering Die Set (Altenew)
- Spellbinders Vivid Script Sentiment Die Set
- Simon Says Stamp Vellum
- Distress Oxide Inks:
- Lost Shadow
- Barn Door
- Scattered Straw
- Vintage Photo
- Pine Needles
- Forest Moss
- Bright Pink Mirror Foil Card Stock
- Spellbinders Card Stock (Fern) – scraps for the leaves
- Altenew Sticky Mat
- Foam Squares
- Narrow Foam Strips
- Press and Seal
Step-by-Step Instructions
Step 1: Preparing the Card Base and Background
- Cut the paper vertically, slightly larger than needed, to allow for trimming after embossing.
- Use the Argyle 3D embossing folder to add texture to the background. This creates an elegant base with added dimension.
Step 2: Cutting and Inking the Frames
- Use the Decorative Frames die set twice to cut two sets of frames for layering. Since the set cuts multiple frames at once, select the same frame from each set.
- Apply glue behind one of the frames and stack it over the other to create dimension and reinforce the layers.
- For contrast, blend Distress Oxide Ink in Lost Shadow onto the frame for a soft grey effect.
Step 3: Preparing the Floral Elements
The Japanese Camellia layering die set from Altenew features an easy-to-use system with arrows and keyholes for alignment.
- Use the Japanese Camellia layering die set to cut out all the flower layers and leaves.
- To add variation, apply Distress Oxide Ink in Lost Shadow to the flower centres for added depth.
- Enhance the centres further with Scattered Straw and Vintage Photo Distress Oxide inks.
- For the leaves, blend Pine Needles and Forest Moss Distress Oxide inks.
Step 4: Trimming and Adhering the Background Panel
- Trim the short side of the embossed background to 5 inches. Since the trimmer only measures up to six inches, mark the 7-inch length with a pencil and cut along the line for precision.
- Apply a generous amount of glue to adhere the embossed panel to the card base, ensuring it remains flat. Reposition if necessary before it dries completely.
Step 5: Assembling the Floral Layers
Organize the flower die cuts into two groups—one with arrows and one with keyholes. Following the etched numbers, align and glue each layer in sequence:
- Align Layer 1 and Layer 2 using the keyhole guide.
- Stack and adhere subsequent layers as indicated by the design.
- Complete the flower centres with the keyhole-marked pieces.
- Arrange and glue the leaves, ensuring they complement the floral elements.
Step 6: Adding the Frame and Sentiment
- Use narrow foam strips to adhere the frame. To make it easier to curve the foam strips, remove the backing before placement. Remove half of the backing to allow minor adjustments before fully securing it.
- Cut the sentiment using a script die set and pink foil card stock. Stack two layers of scrap card stock behind the sentiment to add dimension.
Step 7: Arranging and Attaching the Elements
- Decide on the card orientation—horizontal or vertical—by testing both layouts.
- Take a photo of the arrangement before committing to placement.
- Consider shifting elements, such as placing blooms at the bottom, if necessary.
- Once satisfied with the layout:
- Adhere the sentiment in the centre.
- Arrange flowers per the reference photo.
- Use press and seal to hold the design in place.
- Attach the flowers using glue, ensuring secure contact with the frame and leaves.
- Carefully lift off the press and seal while maintaining alignment.
- Apply additional glue as needed using a paper scrap.
Step 8: Finishing Touches
Assess the final design. If necessary, use residual ink on a blending brush to soften any stark white areas. The transformed patterned paper, combined with embossing and layering, adds a beautiful textured effect.
Embellishments are optional, but in this case, the simplicity of the design stands out. The patterned paper adds to the visual texture of the finished card and showcases a balance of depth, texture, and elegance.
Here’s the list of all the supplies I used on this card:
https://linkdeli.com/widget.js?id=f5e8378456858c916708
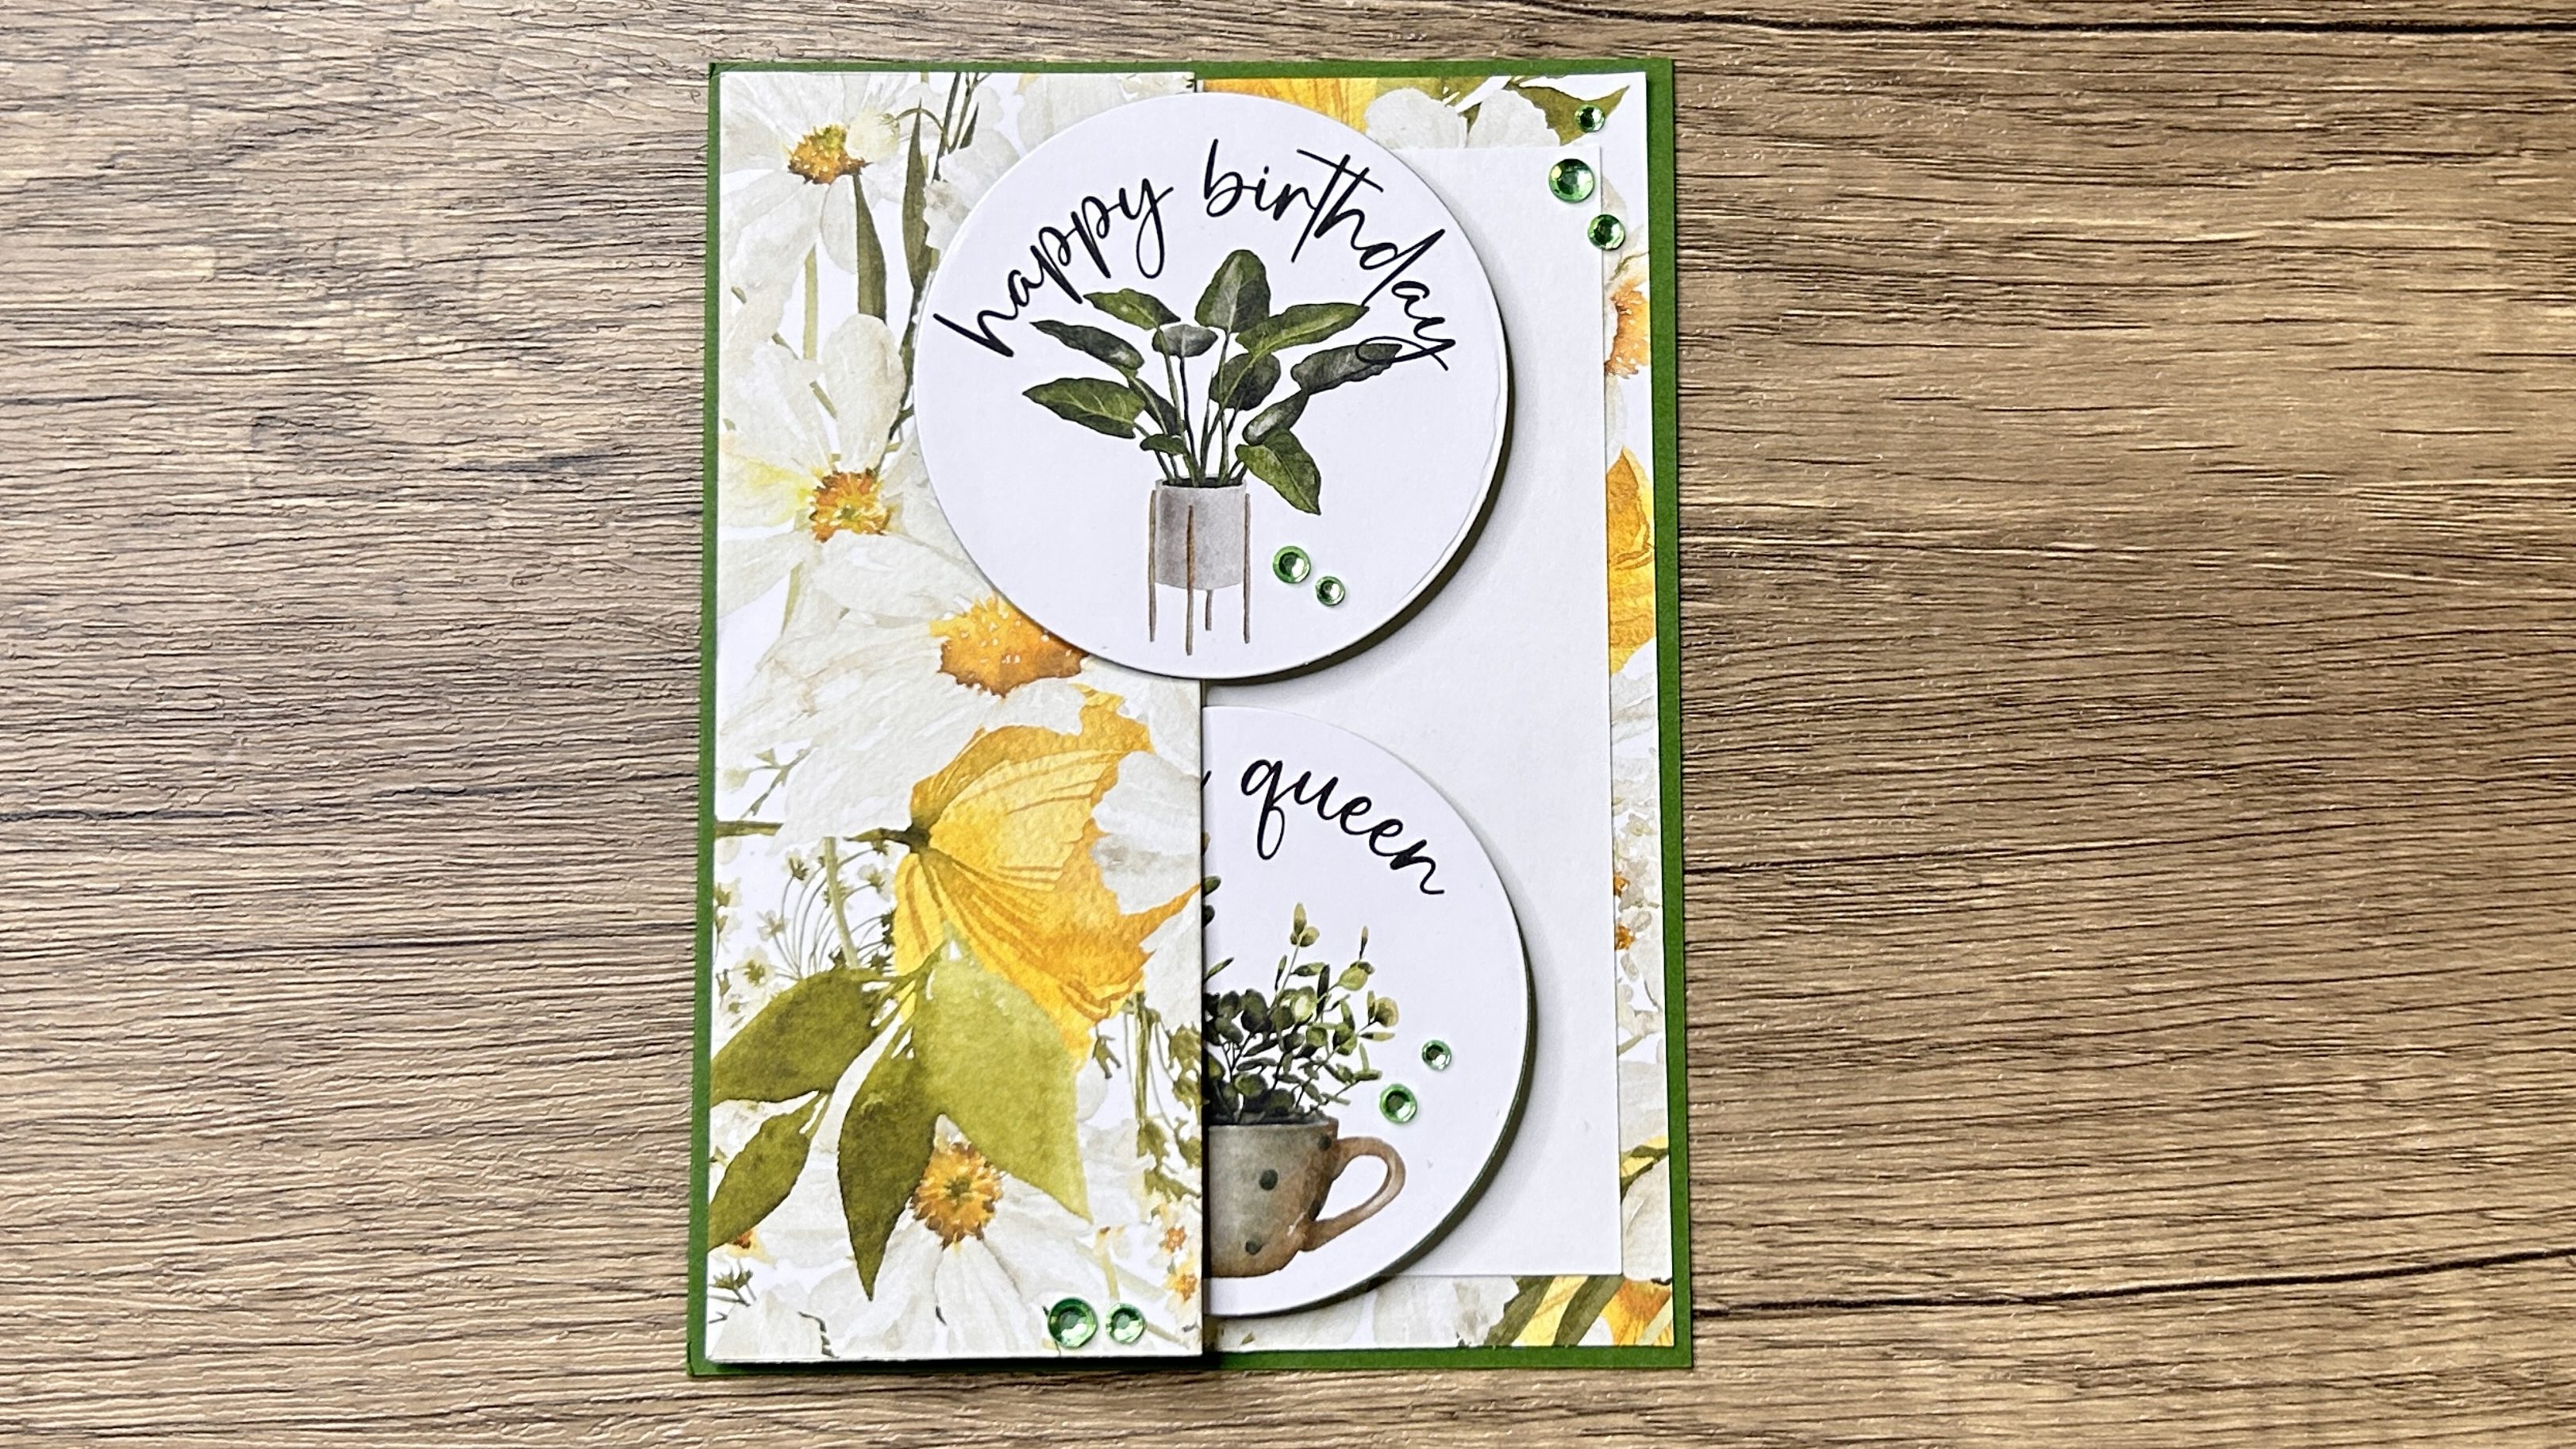
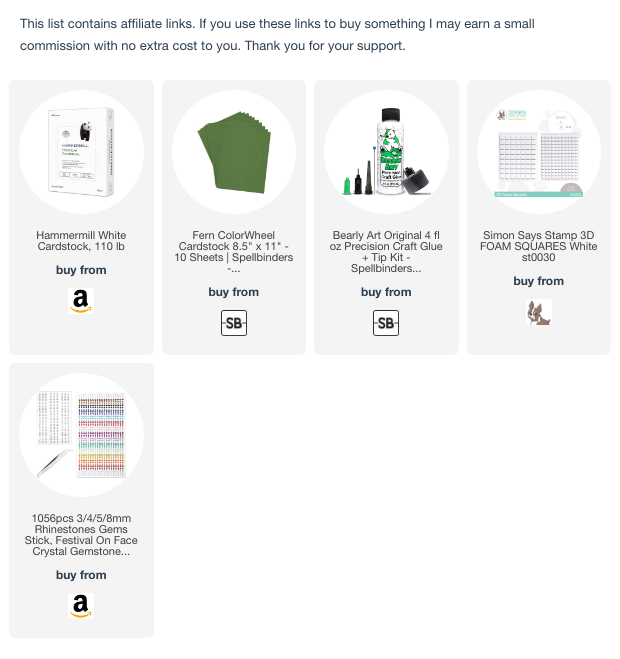
Card 4: Fun Fold Card with Paper Pad Toppers
Supplies Used:
- Patterned Paper (12×12) – I used Garden Path by Uniquely Creative
- Spellbinders Card Stock (Fern) – 4 ¼ in. x 5 ½ in., in addition, two circles as backers for the round card toppers
- Hammermill White Card Stock – 4 in. x 5 ¼ in.
- Bearly Art Liquid Glue
- Foam Squares
- Green Gems
Step-by-Step Instructions
Step 1: Create the Accordion Fold Base
- To begin, cut down a beautiful but busy 12×12 patterned paper to 5 ¼ by 12 inches.
- Next, score the paper at multiple points—2 inches, 4 inches, 6 inches, and 8 inches—to create an accordion fold. Since the paper is directional, make sure it’s facing the right way before making your folds.
- Start by locating the 8-inch score line and folding it, pressing down firmly. Use a bone folder to crease the folds well—this helps create sharp, clean lines.
- Continue making accordion folds along the remaining score lines, ensuring that the edges align properly.
- Once the folds are in place, adhere the folds together from the outer part of the accordion so they resemble a book. You can use liquid glue or tape runner, but glue is recommended for a strong hold.
Step 2: Prepare the Card Base
Now that the accordion fold is ready, create a card base.
Use a piece of Spellbinders Fern cardstock, and cut it to measure 5½ inches by 4¼ inches. The other side needed to be cut to 4½ inches.
This will create an eighth of an inch border on all sides.
Step 3: Add the White Writing Panel
- Adhere the accordion-folded patterned paper onto the green base.
- Cut a piece of white cardstock to 3½ by 4¾ inches.
- Adhere the white panel on the base over the patterned paper. This panel is used for writing the message.
Step 4: Assemble the Toppers
- Use a circle die of an appropriate size to cut out the toppers from the cut-apart sheet.
- Cut out matching backing pieces from the Spellbinders Fern card stock and stick both layers together.
- Centre and place one topper on the front by only applying glue or foam squares to the left half that will sit on the card fold. Ensure to not apply adhesive to the entire backing piece.
- Do the sae with the other one that will sit on the inside flap.
Step 5: Fussy Cutting and Sentiment Placement
- You can fussy cut another image from the cut-apart sheet to use inside the card.
- Position the inside image on the card base so it’s hidden when the card is closed.
Since the second fold on the card front needs to lie flat, don’t use foam squares on this section.
Step 6: Finishing Touches
For the final embellishments, you can choose gems that coordinate with the colours on the card.
And that’s it! A beautiful layered fun fold card with a surprise inside. When first opened, it reveals a hidden message, making it perfect for any occasion. This card is a great way to use toppers creatively while adding depth and interest.
Here’s the list of all the supplies I used on this card, minus the patterned paper since it’s no longer available:
https://linkdeli.com/widget.js?id=f5e8378456858c916708
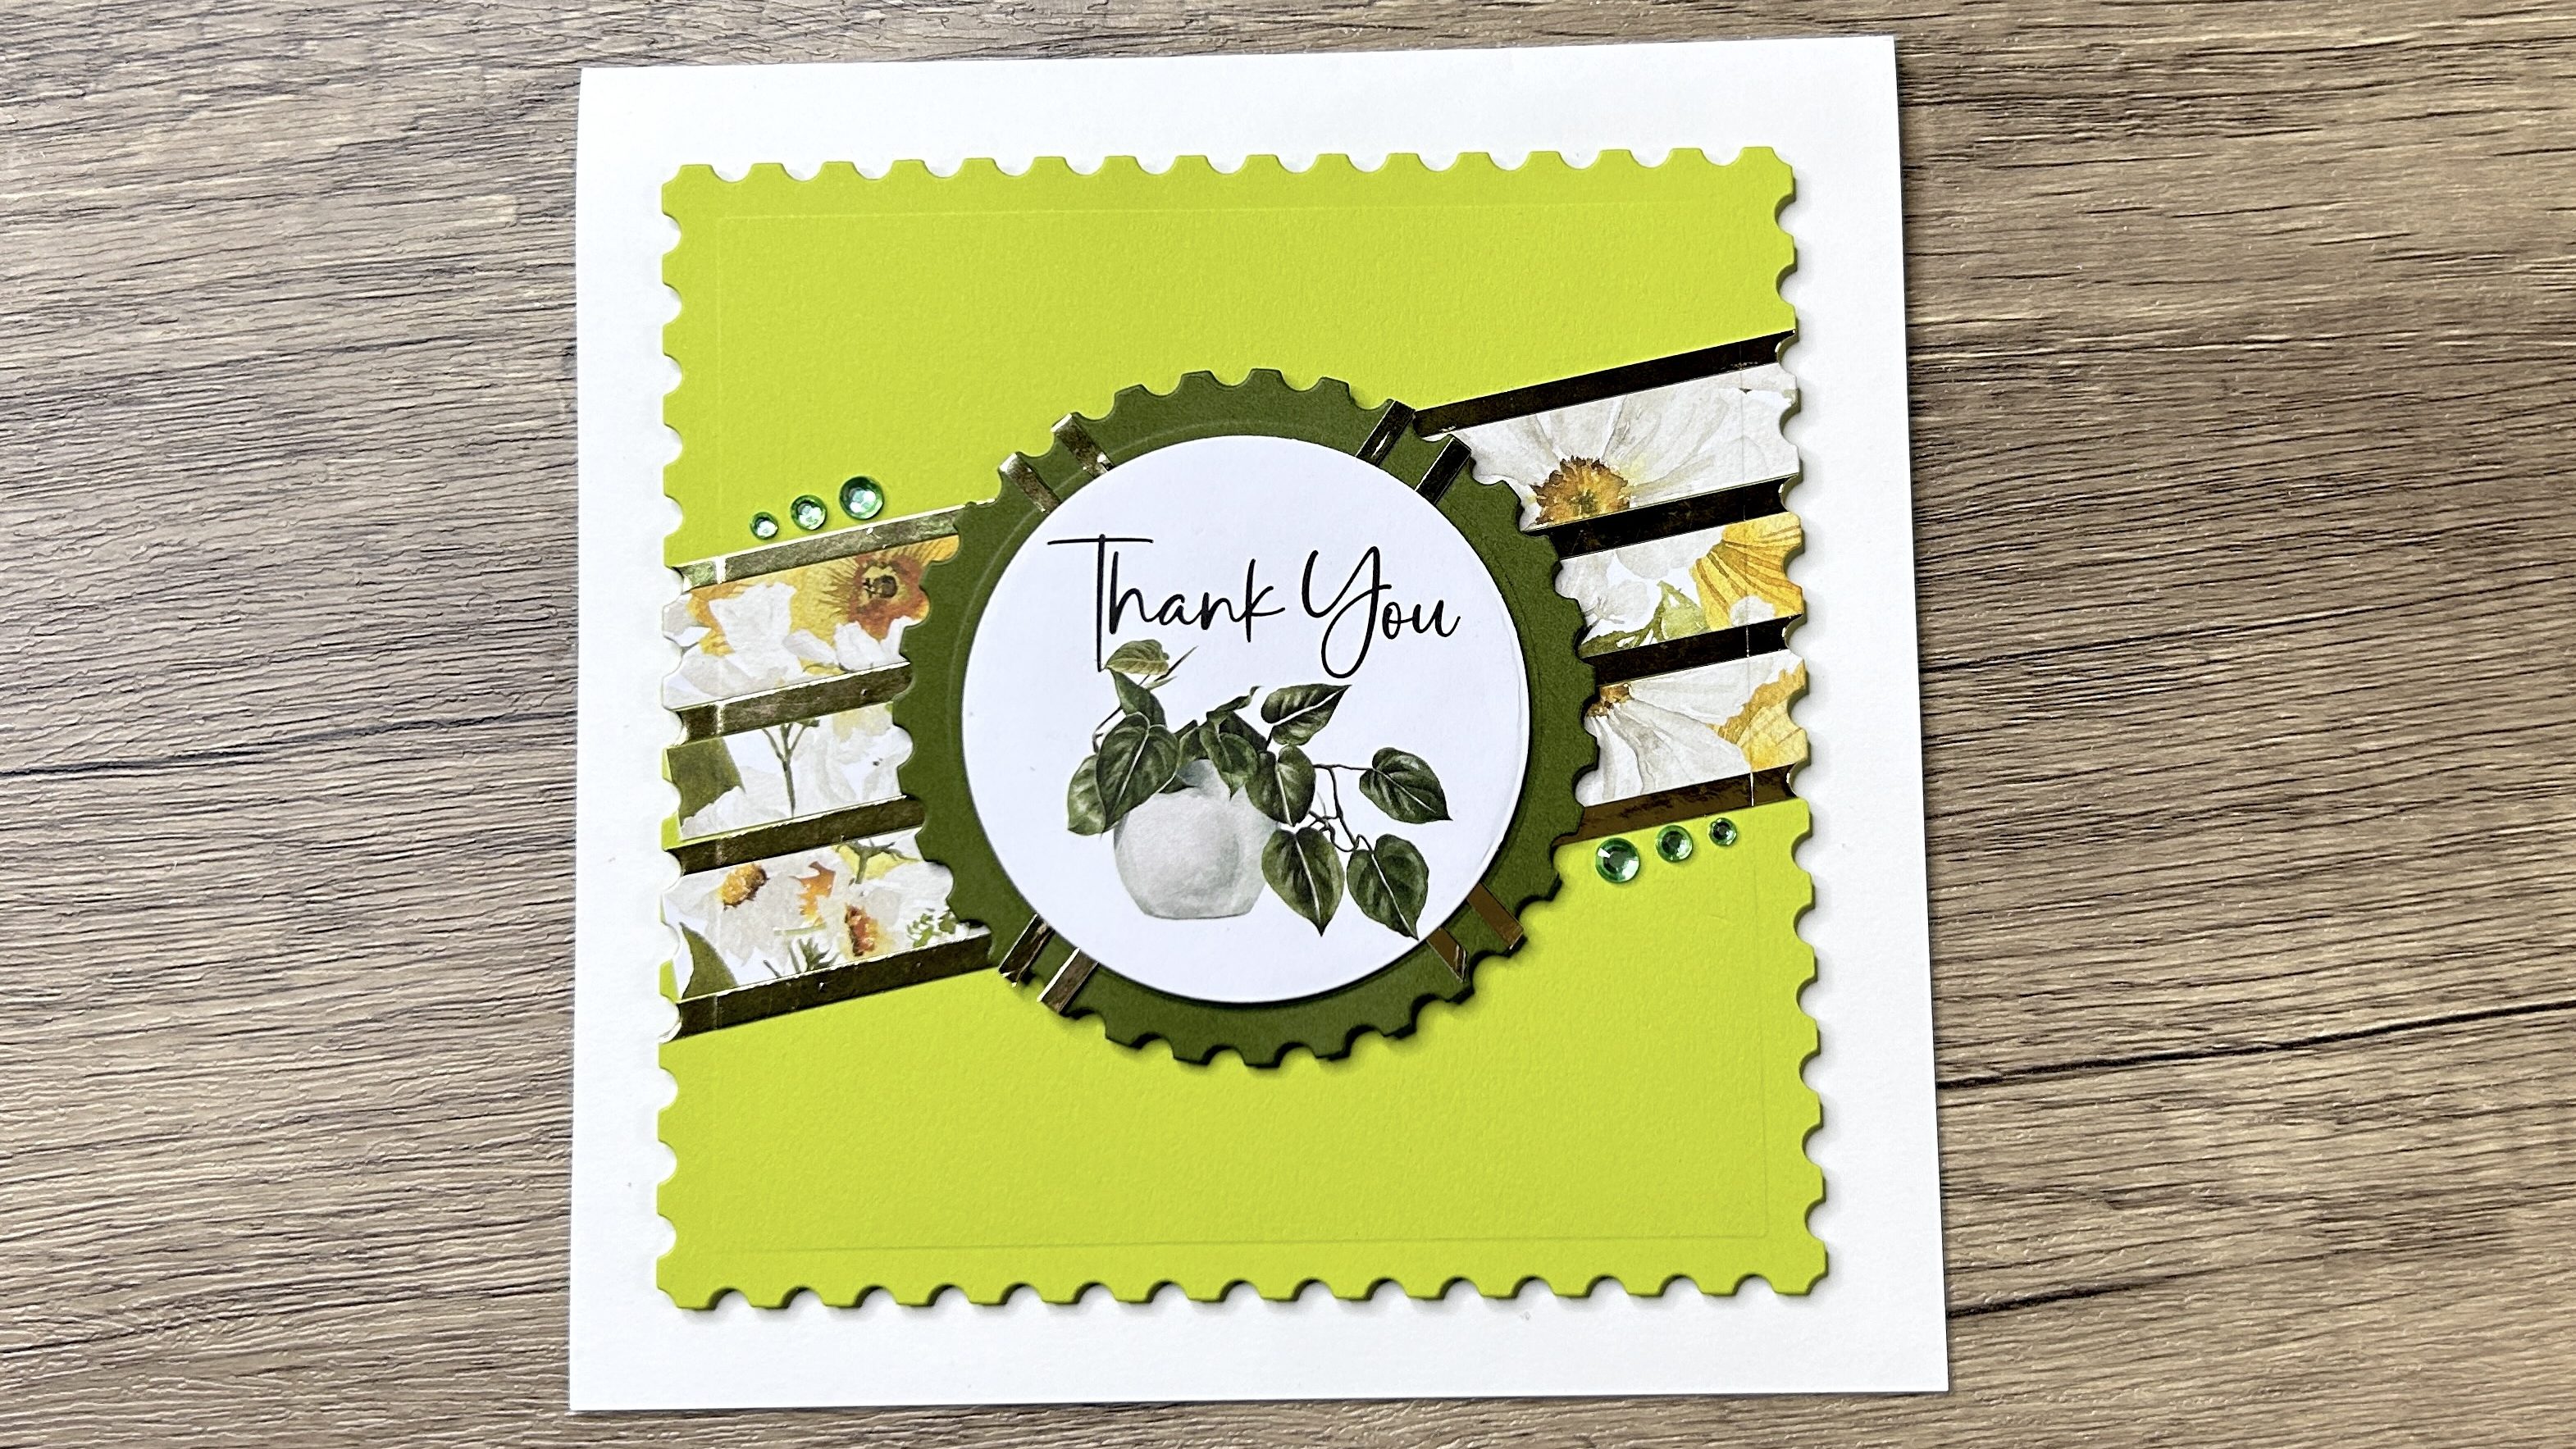
Card 5: Layered Card with Paper Strips & Gold Accents
Supplies Used:
- Patterned Paper Strips – I used Garden Path from Uniquely Creative (sold out)
- Spellbinders Mirror Gold Card Stock
- Spellbinders Circular Postage Die
- Spellbinders Square Postage Die
- Spellbinders Peridot Card Stock – measuring 5 ½ in. x 5 ½ in.
- Spellbinders Card Stock (Fern) – scrap to create a mat for the card topper
- White Card Stock – Neenah Solar White measuring 6 in. x 6 in.
- Foam Squares
- Bearly Art Liquid Glue
Step-by-Step Instructions
Step 1: Preparing the Paper Strips
- Create three ½ inch strips from some scrap patterned paper.
- Additionally, cut four to five strips measuring ⅛ inch from mirror gold card stock.
These paper strips, along with the gold foil strips, will serve as the grounding element for the topper.
Step 2: Creating the Background
- Adhere the patterned paper and gold foil strips at an angle to the Spellbinders Peridot card stock in an alternating arrangement with Bearly Art liquid.
- Once the glue dries, use the largest Spellbinders Square Postage Die to cut out the background ensuring that the paper strips go from edge to edge of the finished background.
Step 3: Enhancing the Topper
- Layer the circular topper on a green mat that you cut using the Spellbinders circular postage die.
- If the mat looks a little plain, add four gold foil stripes at an angle and trim the excess with scissors. This will draw the gold accents into the focal point and tie the design together.
Step 4: Assembling the Topper
Add foam squares behind the topper to give it dimension and adhere it to the green mat.
Step 5: Layering the Card
Layer the circular topper on a green mat that you cut using the Spellbinders circular postage die.
If the mat looks a little plain, add four gold foil stripes at an angle and trim the excess with scissors. This will bring the gold accents into the focal point and tie the design together.
Step 6: Adding Embellishments
Add a few green gems or any other embellishments of your choice to complete the card.
This layered design with gold accents adds elegance and makes excellent use of leftover patterned paper.
Here’s the list of all the supplies I used on this card:
https://linkdeli.com/widget.js?id=f5e8378456858c916708
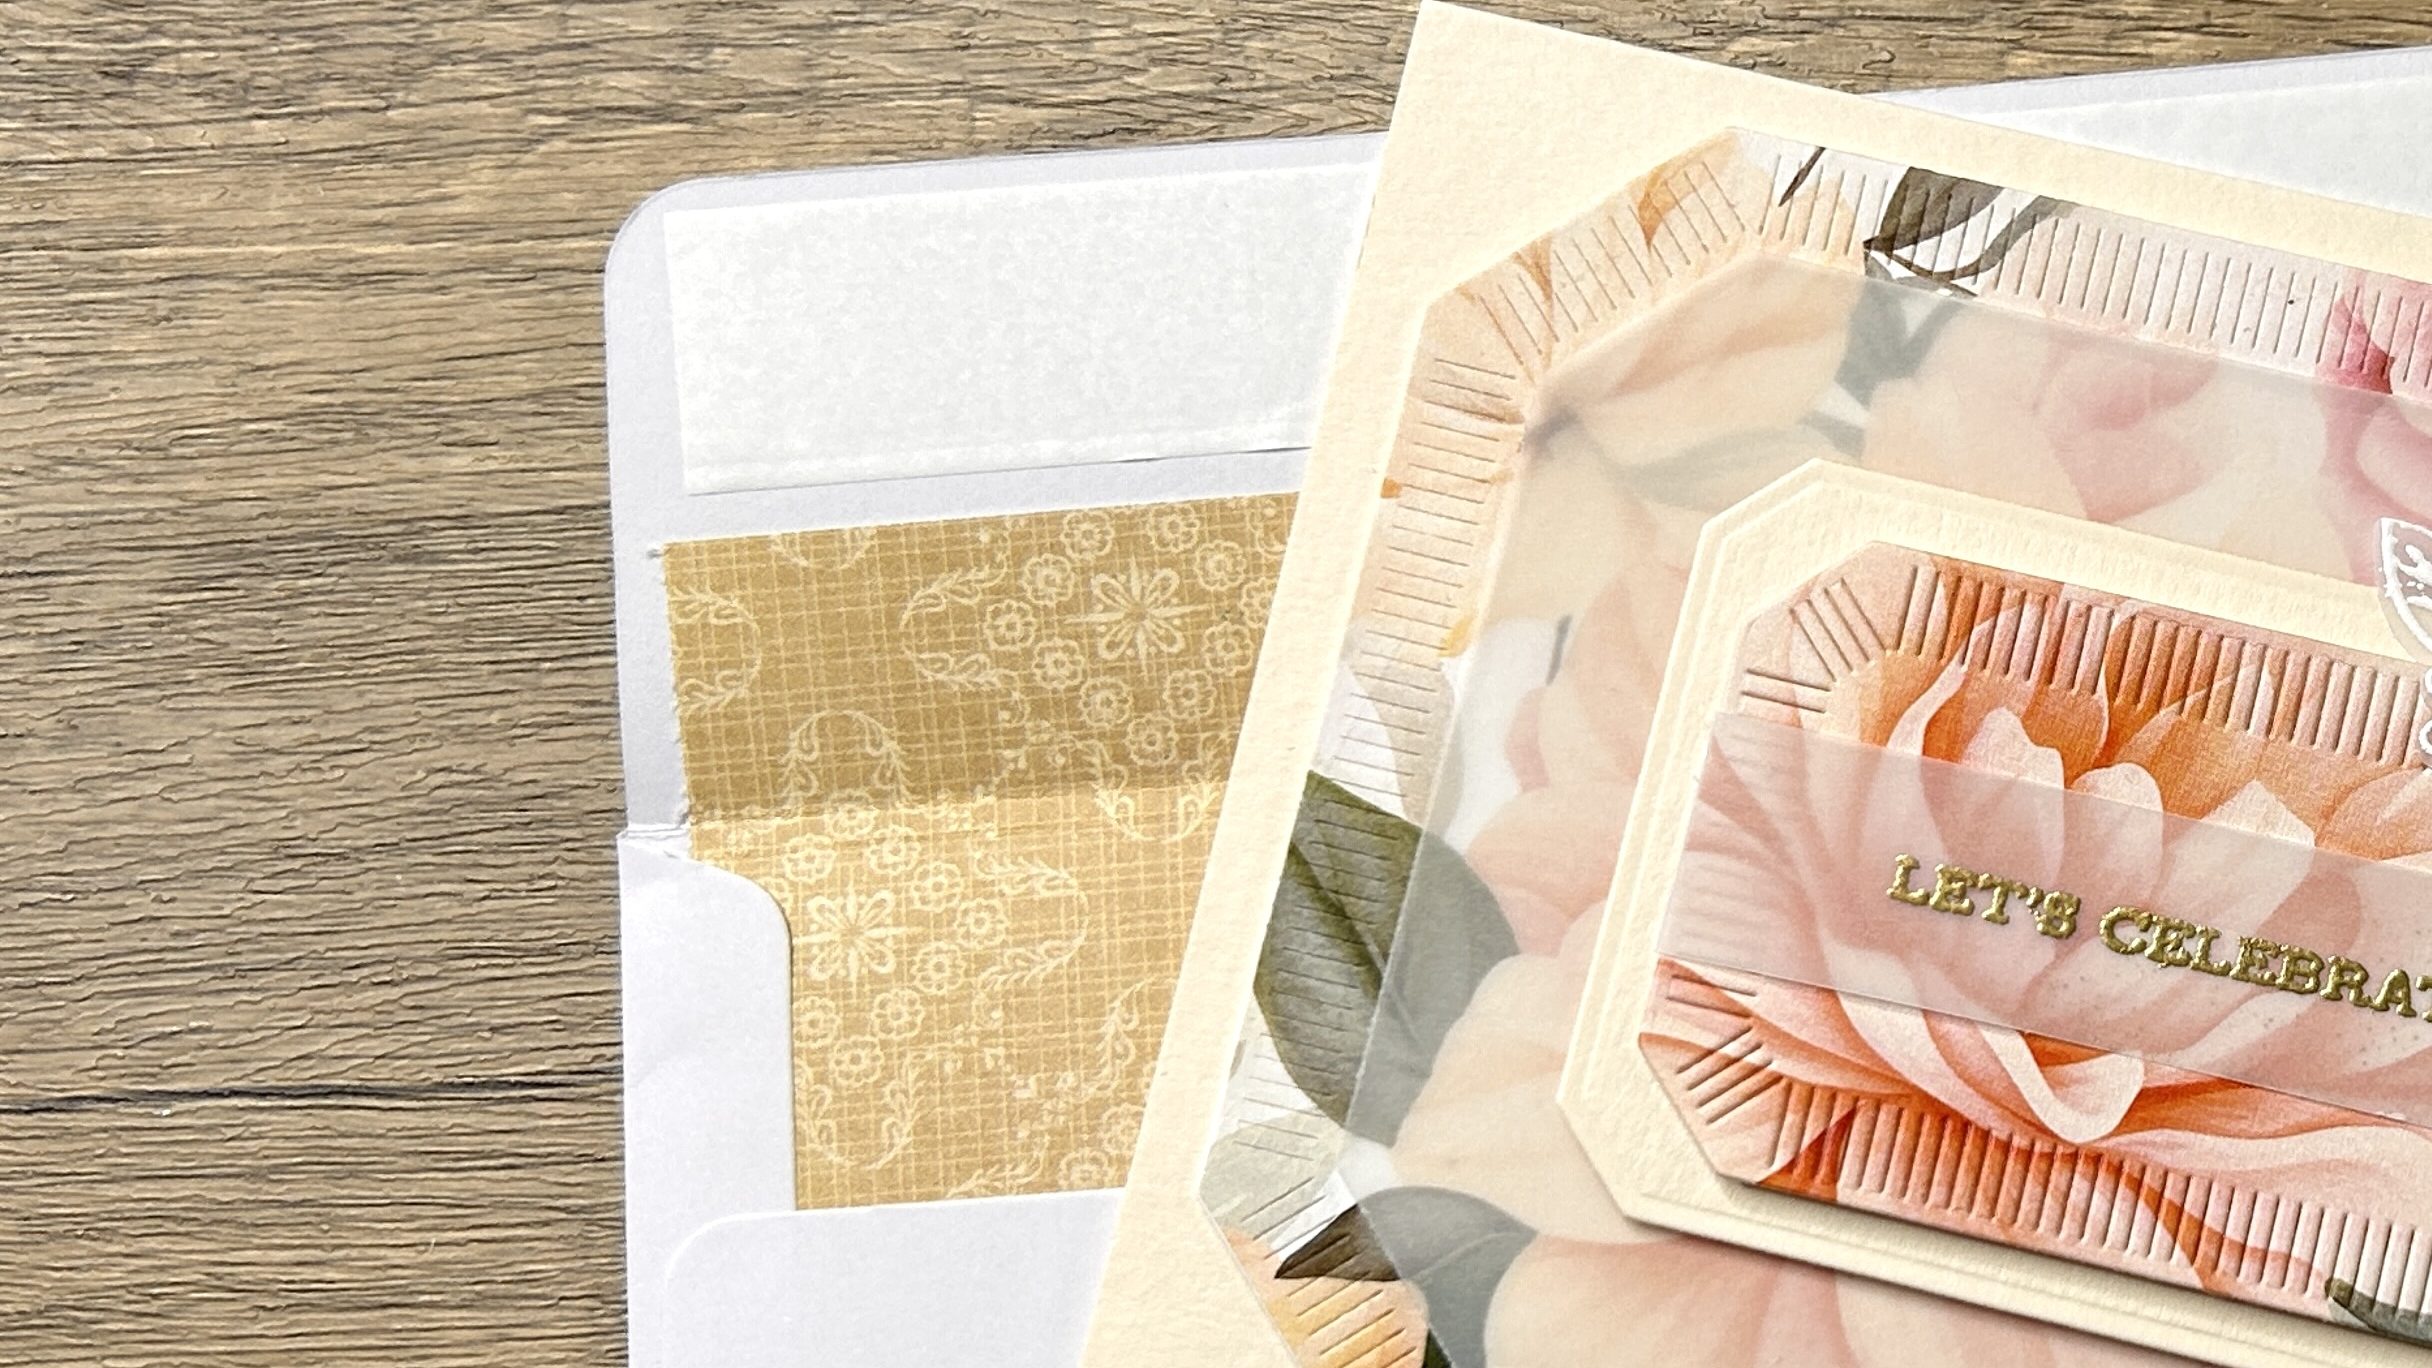
Bonus Idea for Using Up Busy Patterned Paper: Custom Envelope Liner
Supplies Used:
- 5 x 7 Envelope
- Thin Patterned Paper
- Tape Runner
- Bearly Art Liquid Glue
Step-by-Step Instructions
Step 1: Choosing the Liner Paper
This idea is great for using bold, busy and ugly patterned papers. Since the liner is mostly hidden inside the envelope, it won’t be that noticeable while creating a custom look for any plain-looking envelope.
To enhance the envelope’s interior, use a thin sheet of patterned paper. This adds interest without making the envelope too bulky, which is especially important if the card will be mailed.
Step 2: Measuring the Liner
- If precise measurements are tricky, use a pencil to mark the areas that need trimming. The liner should sit just beneath the adhesive strip on the envelope flap to ensure it doesn’t interfere with sealing.
- Cut the paper a little bit narrower than the width of the envelope since it needs to slide inside.
- The liner doesn’t need to cover the entire interior, so trim off the excess.
Step 3: Adhering the Liner
- If you’re using thin paper, liquid glue might warp the envelope. To avoid that, use a tape runner for a secure but smooth application.
- Apply the adhesive only on the portion that will be attached to the envelope flap. Applying adhesive over the entire liner can get very messy when trying to insert it into the envelope.
- Ensure the corners of the liner are well adhered to keep them in place and prevent them from catching on anything.
And that’s it! This simple liner instantly transforms a plain envelope into a custom, elegant presentation for any handmade card.
Here is a list of my absolute must-have tools that really help me with making better cards:


Leave a comment