Have you ever wondered how to create different card designs with just one die to stretch your supplies?
In this tutorial, I’ll show you how to take one background die and use it in three completely different ways to create both masculine and feminine card designs. In the third card, I’ll share a cool twist on using this die to create something totally unexpected!
I also have a bonus fun fold card idea that doesn’t require you to make complicated scorelines.
For a visual list of supplies and my favourite tools, please check the end of this blog post.
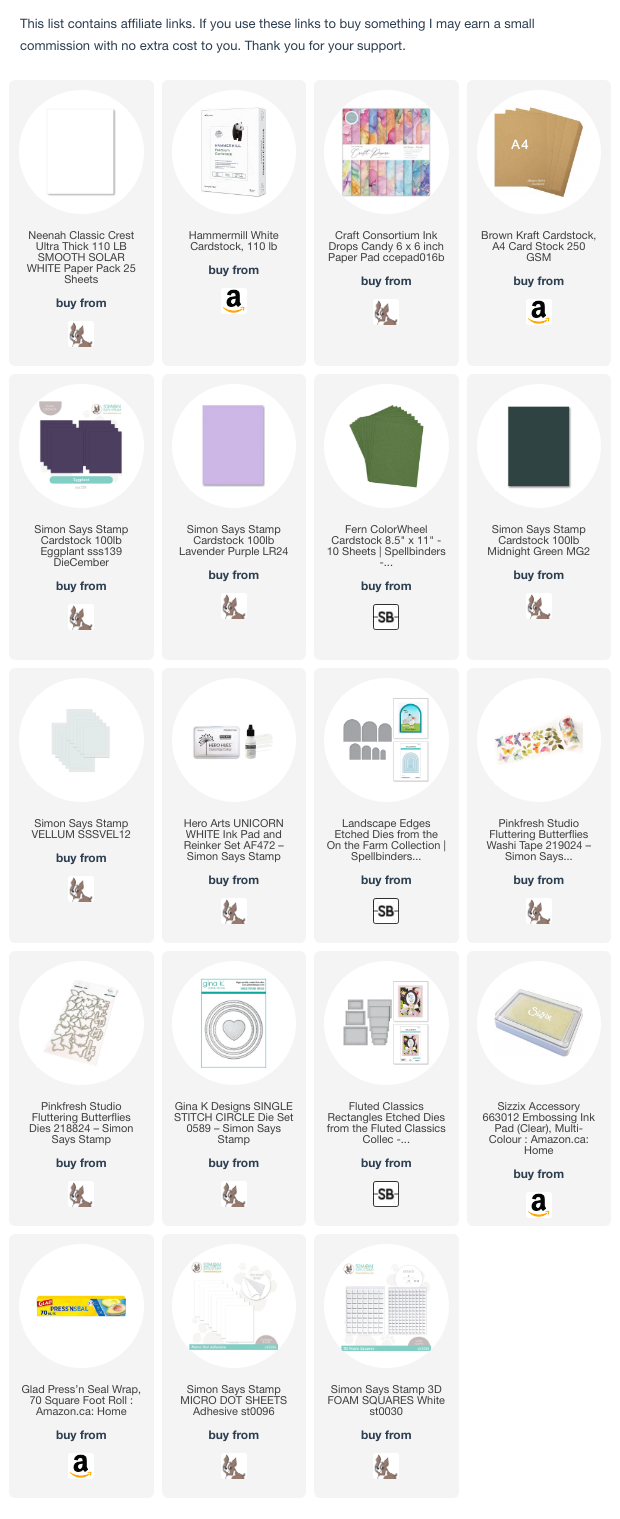
Complete List of Supplies:
- Dies from Kokorosa Studio
- Pinkfresh Studio Washi Tape + Die – Fluttering Butterflies
- Spellbinders Nesting Arch Dies
- Spellbinders Fluted Classics Rectangle Die (currently unavailable)
- Gina K Designs Nested Circle Dies
- Sentiment Stamps of your choice
- Card Stock:
- Neenah Solar White – 11 in. x 4 ¼ in. scored at 5 ½ in. – 2 pieces
- Neenah Solar White – 8 ½ in. x 11 in.
- Lightweight Cardstock – White – 4 ¼ in. x 5 ½ in. – 2 pieces
- Simon Says Stamp – Midnight Green – 4 ¼ in. x 5 ½ in.
- Simon Says Stamp – Lavender –
- Spellbinders – Fern – 4 ¼ in. x 5 ½ in. and 2 ½ in. square
- Craft Card Stock – 8 ½ in x 5 ½ in. scored at 4 ¼ in.
- Craft Card Stock – 3 ¾ in. x 5 in. and 2 in. squar
- Michaels Recollections Metallic Paper Pad – 4 ¼ in. x 5 ½ in. – 2 pieces
- Patterned Paper with Alcohol Ink Design – 4 ¼ in. x 5 ½ in.
- Simon Says Stamp Microdot Sheets
- Bearly Art Liquid Glue
- Simon Says Stamp Foam Squares
- Ohuhu Alcohol Markers (R12, YR3, G1, R2, G4, Y2)
- Paper Pouncer
- White Pigment Ink – Unicorn
- Vellum scrap
- Heat Embossing Supplies
- “Card Bling” Embellishments
- Pops of Color (or any embellishment of your choice)
- Spellbinders Tool-in-One
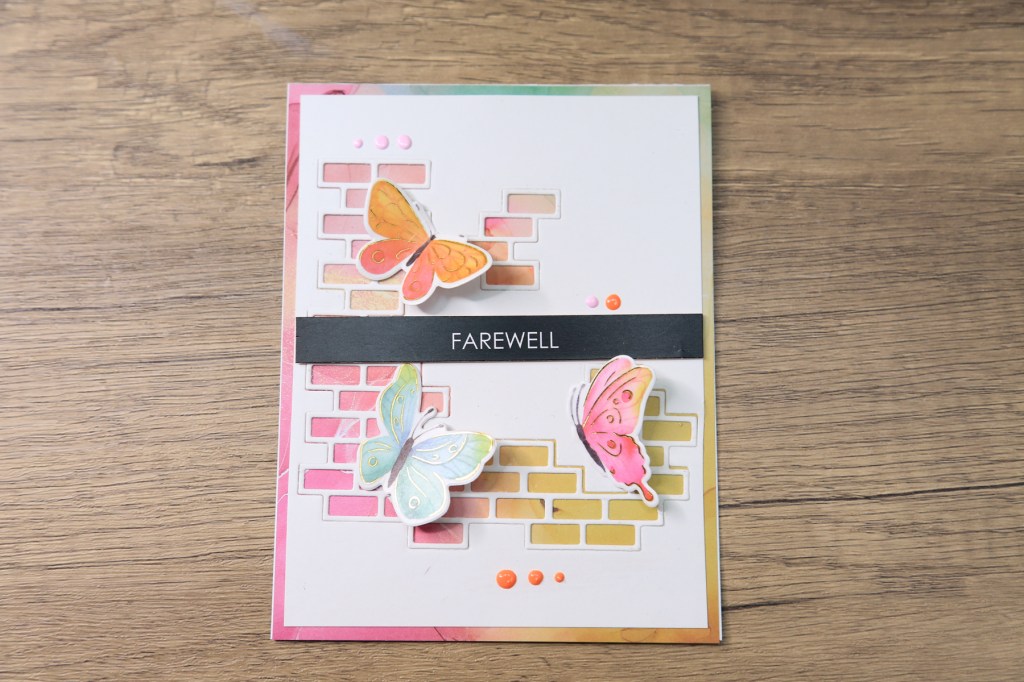
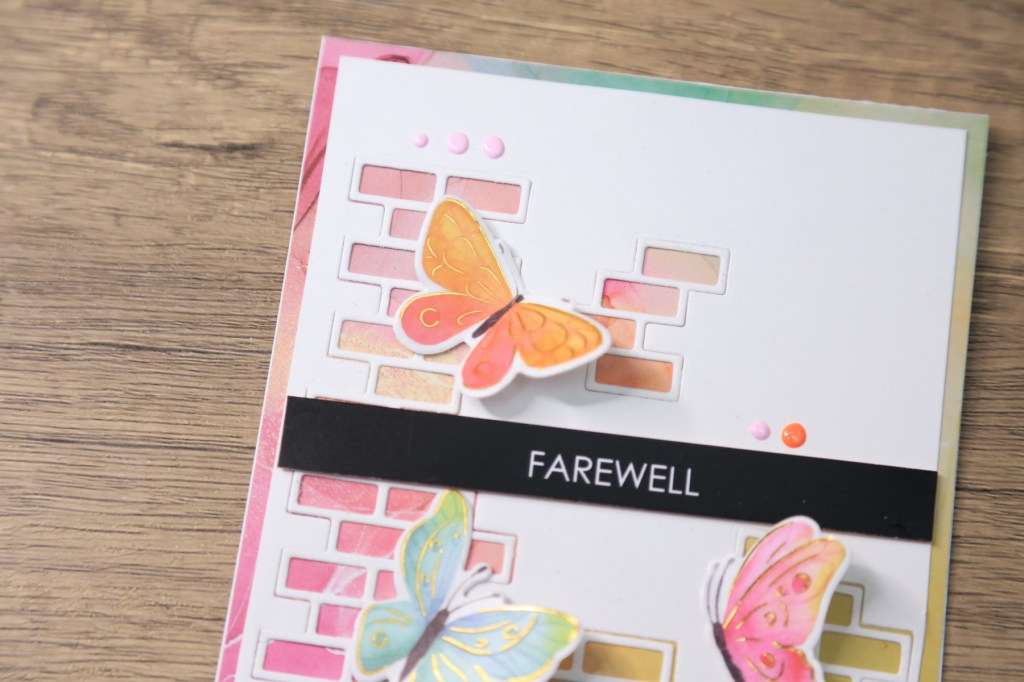
Card #1: Inlaid Die-Cut
- Begin by applying Pinkfresh Studio washi tape onto a piece of lightweight cardstock. Trim the edges and die-cut the designs. Reserve three butterflies for the card front.
- Use a brick wall-style background die to cut an A2-sized card panel.
- Remove the die-cut using the Spellbinders Tool-in-One to cleanly extract the design.
- Choose a patterned paper background with a bright, cheerful design.
- Trim the patterned paper slightly smaller than A2 size to create a mat for the card front.
- Adhere the patterned paper to the card card base and then adhere the card front without the die-cut piece on to the patterned paper.
- Place the die-cut back into it’s negative space using microdot adhesive or liquid glue.
- Select a sentiment strip and give it some dimension using scrap paper strips or foam strips.
- Adhere the butterflies; lift one wing slightly with a tiny bit of foam underneath it for dimension.
- Add embellishments using Pops of Color, and gently tap the card to flatten them.
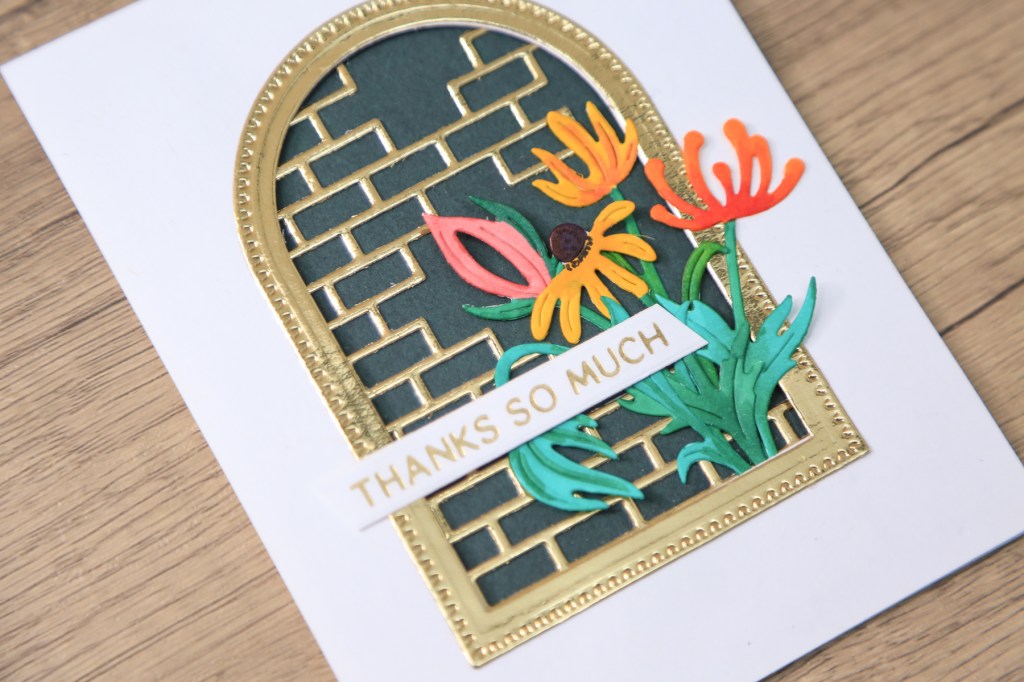
Card #2: Inlaid Window
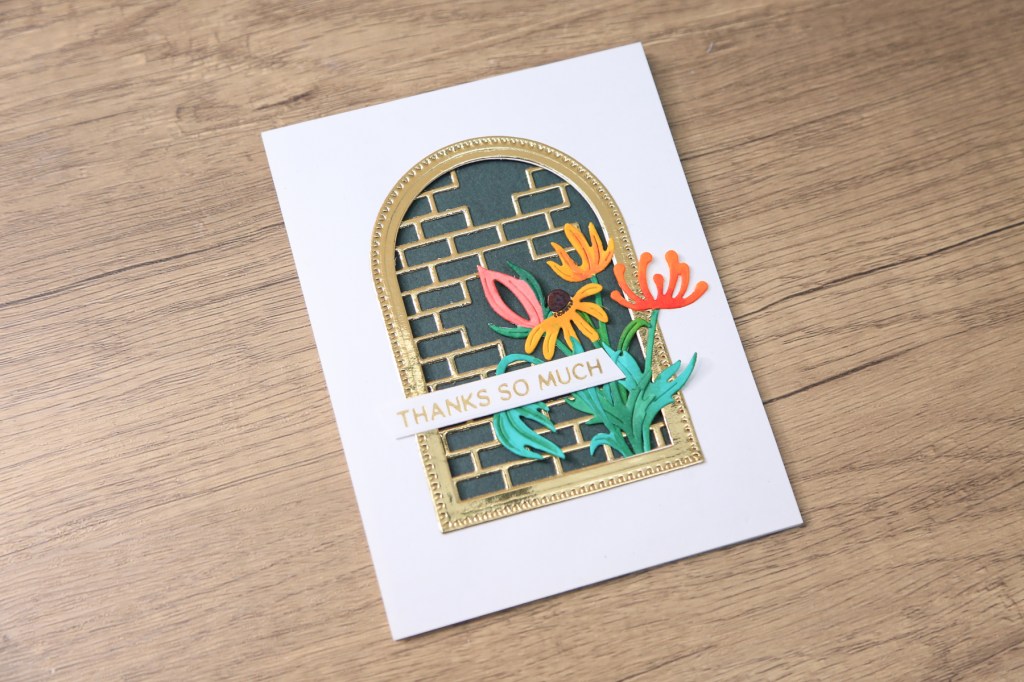
- Create an A2-sized card front and use a small die from the Spellbinders nesting arch die set to cut a window in the centre.
- Trim a dark green card panel slightly smaller than the card front.
- Die-cut the brick wall design from gold Recollections metallic paper and back it with a lightweight white cardstock for dimension and reinforcement.
- Use the nesting arch die you used for the window, and another die that’s a size larger than the window to cut out a gold arch from the metallic foil paper.
- Attach the green panel to the card base and frame the arched window with a gold die-cut border.
- Position the gold brick wall die-cut behind the window and adhere it securely to the background.
- Colour the die-cut floral elements with Ohuhu alcohol markers and arrange them inside the window, in front of the gold brick wall.
- Use a small piece of Press ‘n’ Seal to lift the floral arrangement and apply liquid glue behind the flowers and before place the arrangement back in the window.
- Create a sentiment banner, add some dimension by using paper scraps or foam tape and adhere it to the card front.
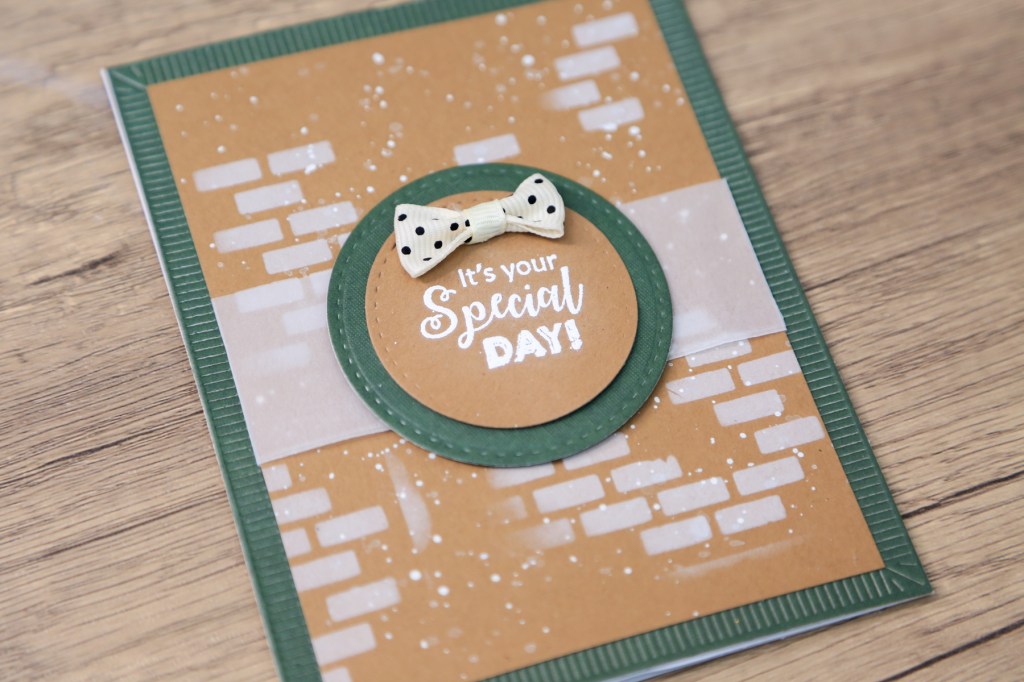
Card #3: Die-Cut as Stencil
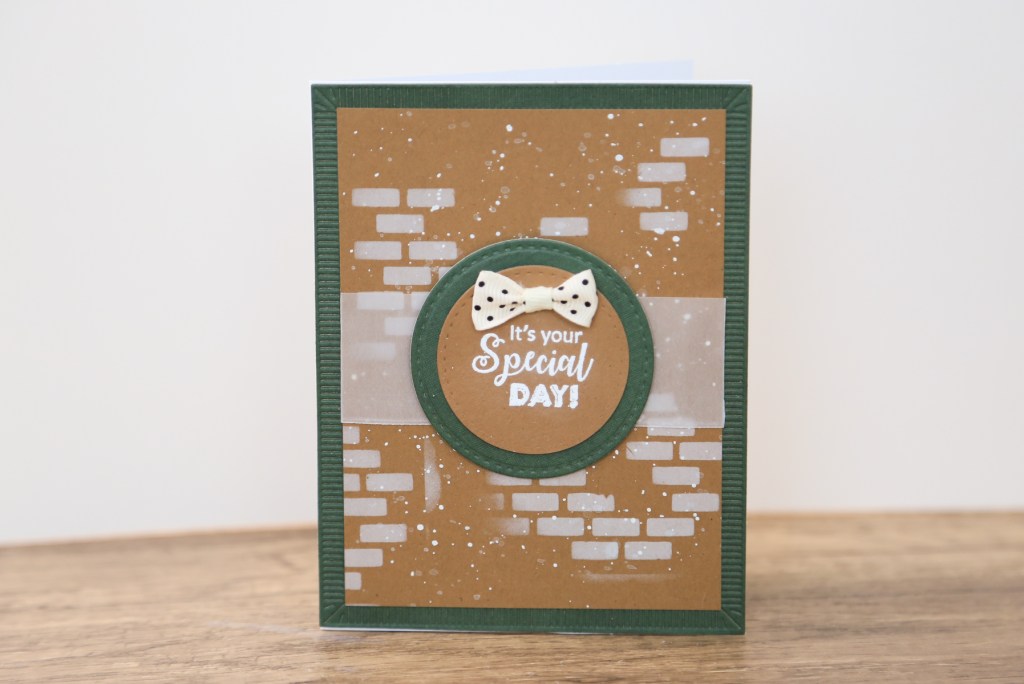
- Create an A2-sized side-folding card base with craft paper.
- Use thick watercolour paper to cut out the brick wall pattern.
- Remove the negative pieces and place the die-cut back into the panel to use as a stencil. You can use a small piece of washi tape to hold the die cut in place while ensuring the pattern isn’t covered up by the tape.
- On a craft paper card panel, apply white pigment ink through the die cut “stencil” to create your background. It’s recommended to use a paper pouncer to avoid the die-cut from moving around.
- Add white paint spatters to the background for additional texture.
- Create a vellum belly band and wrap it around the card panel. Attach the belly band with some glue behind the panel.
- Die-cut two circles using the Gina K Designs nesting circles dies – the larger circle with Fern card stock and the smaller one with craft card stock.
- Heat emboss the sentiment on the smaller circle, and adhere it to the vellum.
- Use the A2-sized Fern card stock and the Spellbinders Fluted Classics Rectangle (or another frame die of your choice) to cut a matting layer and adhere it to the card base.
- Centre and attach the completed craft card panel to the Fern mat.
- Attach a decorative bow with a glue dot to the sentiment layer to complete the card.
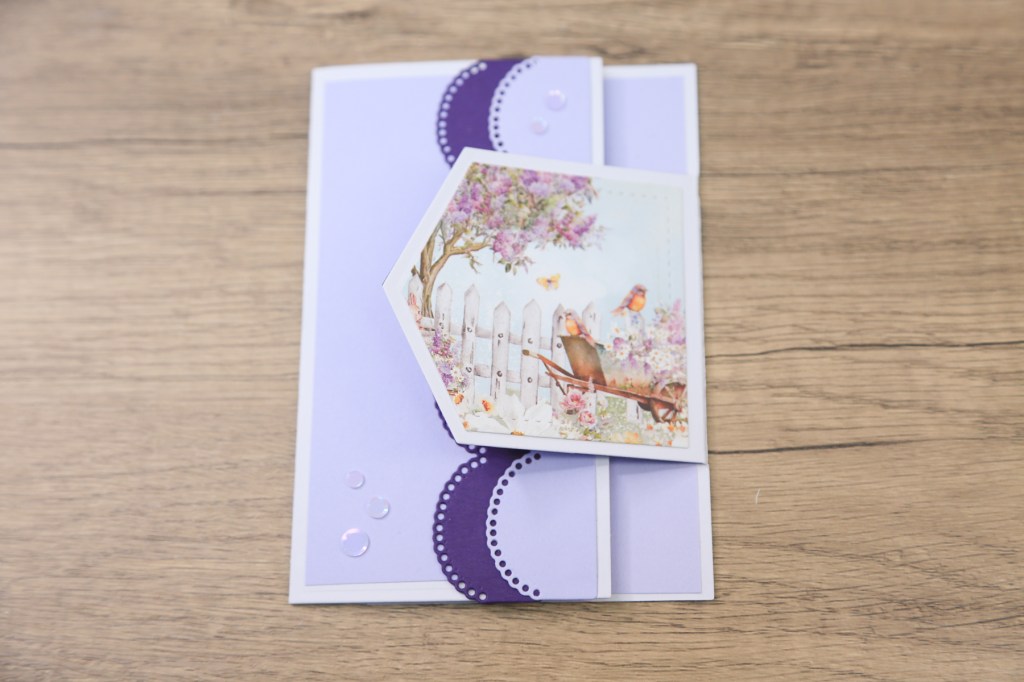
Card #4: Quick & Easy Fun Fold
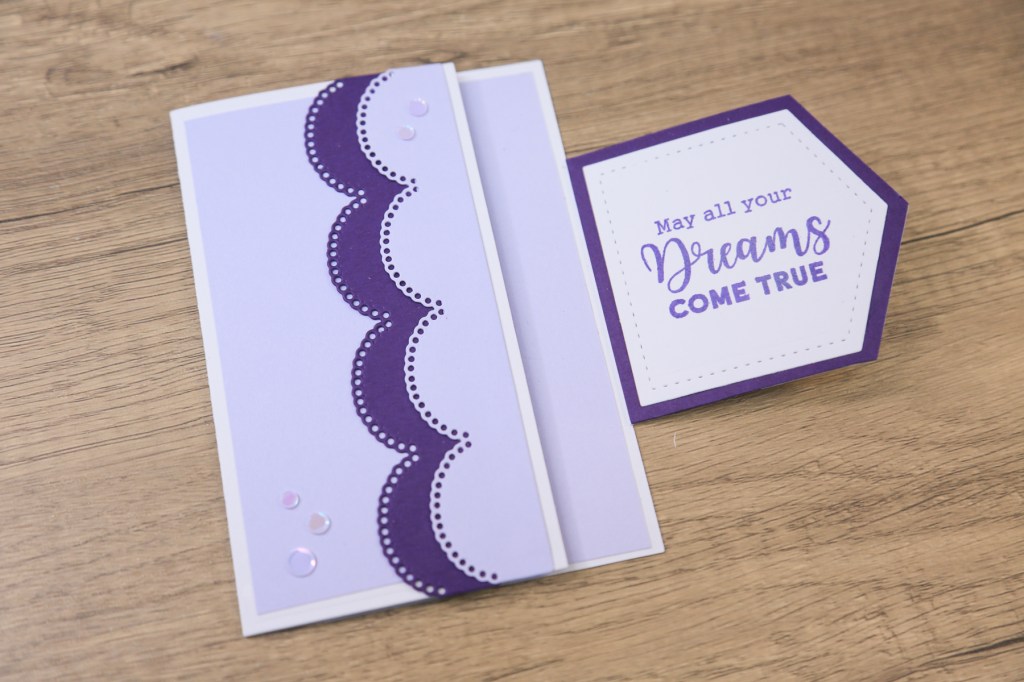
- Use heavyweight white card stock and the Kokorosa Studio fun fold die to create a shaped card base.
- You may need to run the die through the die-cutting machine a couple of times after rotating the ends since the die may not fit your cutting plates.
- Adhere the Lavender card stock panel on the inside of the card base and the smaller one on the card front.
- Use the Kokorosa Studio Wave Lave Border die to cut out two borders using the Eggplant and Lavender card stock strips.
- Stagger the lace borders on the card front and adhere them using liquid glue.
- Adhere the Eggplant piece on the inside flap of the card front and trim the excess.
- Use the small stitched pocket die to cut out a coordinating piece of pattern paper and adhere it to the front of the flap.
- Use the small stitched pocket die to cut out a lightweight white card stock for the inside of the flap.
- Heat emboss a sentiment on the small white pocket you cut out in the previous step, and adhere it to the inside of the flap.
- Add some “Card Bling” for a subtle shine.
And that’s it!
Check out Kokorosa Studio’s collection of crafty goodies and their YouTube channel.
Which technique is your favourite? Let me know in the comments!
https://linkdeli.com/widget.js?id=f5e8378456858c916708

https://linkdeli.com/widget.js?id=f5e8378456858c916708


Leave a comment