Hey there, fellow crafters! If you’re anything like me, you’ve probably got a wee bit of a washi tape obsession. I mean, who can resist those pretty patterns? But sometimes, it’s hard to figure out how to actually use them, eh?
Well, I decided to take on a challenge and use my new washi tapes to create some cards and tags. And let me tell you, I’m absolutely smitten with the results!
In this post, I’ll walk you through how to make unique and eye-catching cards using different styles of washi tape.
If you’d like to jump straight to the video tutorial, you can watch it here:
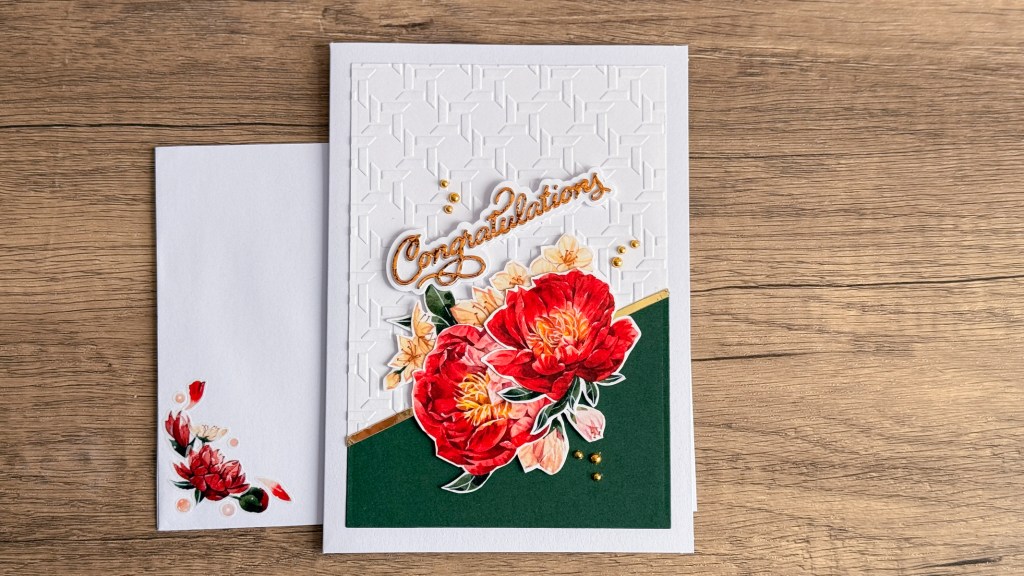
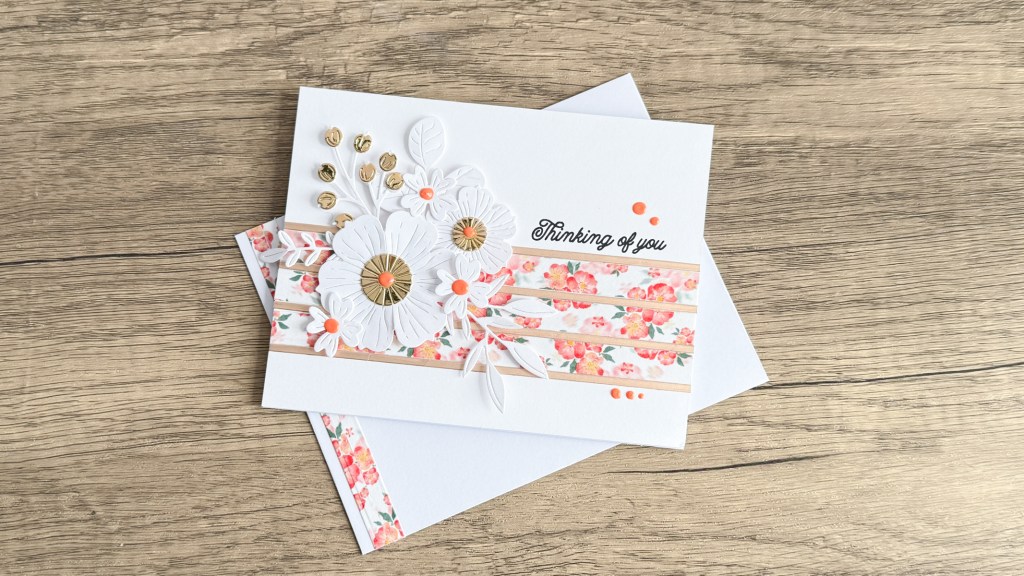
Card #1: Washi Die Cuts
Supplies Used:
- Washi stickers – Peony Reverie
- Cardstock:
- Hammermill White card stock – 5 ½ in. x 7 ½ in.
- Emerald card stock – 5 ½ in. x 7 ½ in.
- 5 x 7 card base
- ⅛ in. gold foil strip
- Dies:
- Spellbinders 5×7 matting die
- 3D Embossing Folder – Stylized Lattice
- Sentiment (Congratulations) (Discontinued)
- Adhesives
- Bearly Art Liquid glue
- Foam strips
- Press n seal
- Simon Says Stamp Foam squares
- Gold pearls
Step-by-Step Instructions:
Step 1: Prepare Focal Elements
- Stick some of the peony stickers on a sheet of lightweight white card stock and fussy cut them out.
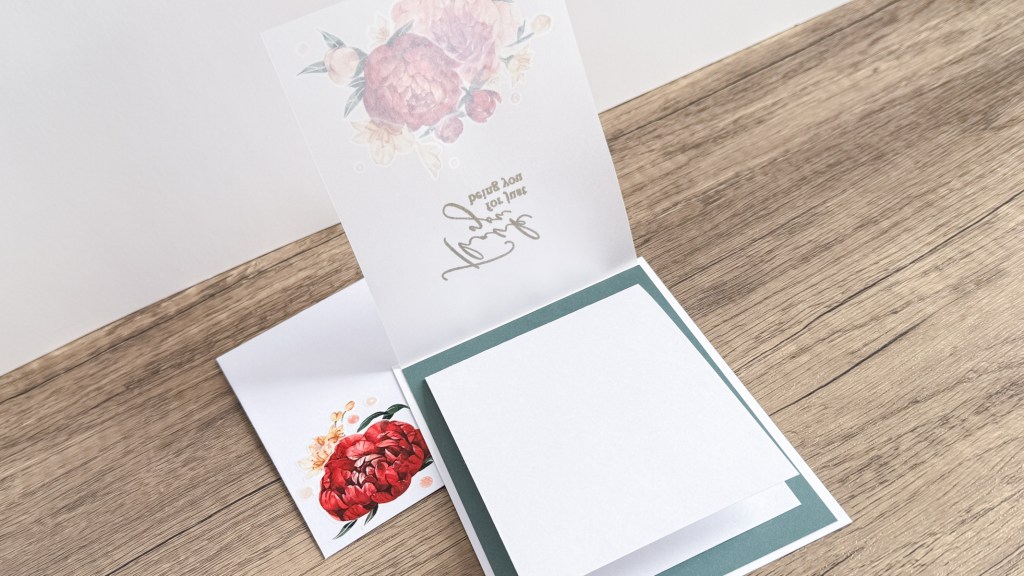
Step 2: Prepare & Assemble the Card Base
- Cut out two card panels, one from White Hammermill and one from the Emerald card stocks, using the Spellbinders 5×7 matting die.
- Emboss the white panel with the 3D Embossing Folder – Stylized Lattice to add texture to the background.
- Trim both card panels at an angle, stacking and cutting them at the same time so the angle is exactly the same on both.
- Use a piece from each of the panels and arrange them on a 5 x 7 card base.
- Apply a generous amount of liquid glue behind the embossed panel to ensure it sticks well to the card base.
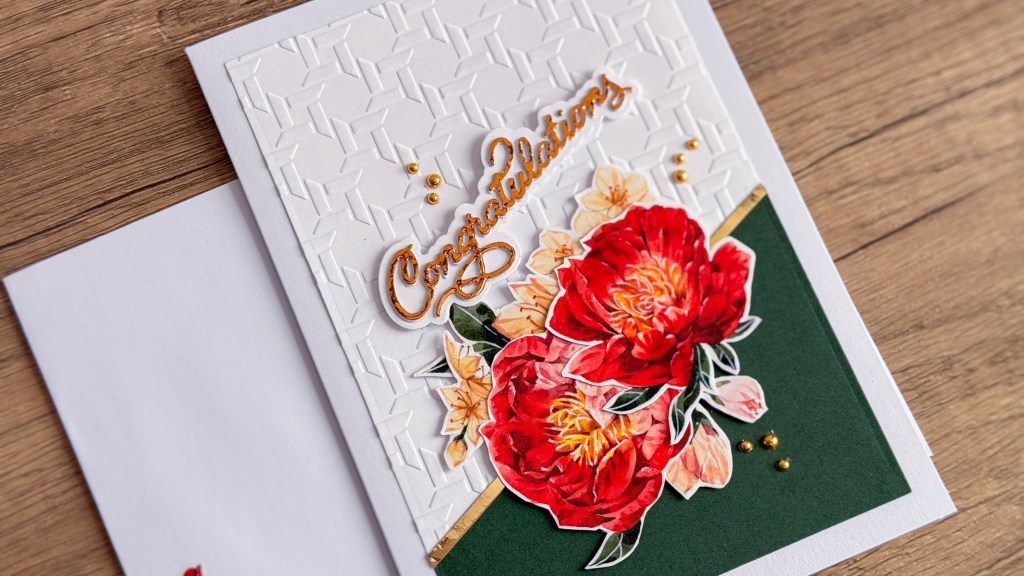
- Add a thin strip of gold foil across the seam to hide it.
- Use your craft knife to remove any excess gold foil strip hanging over the side.
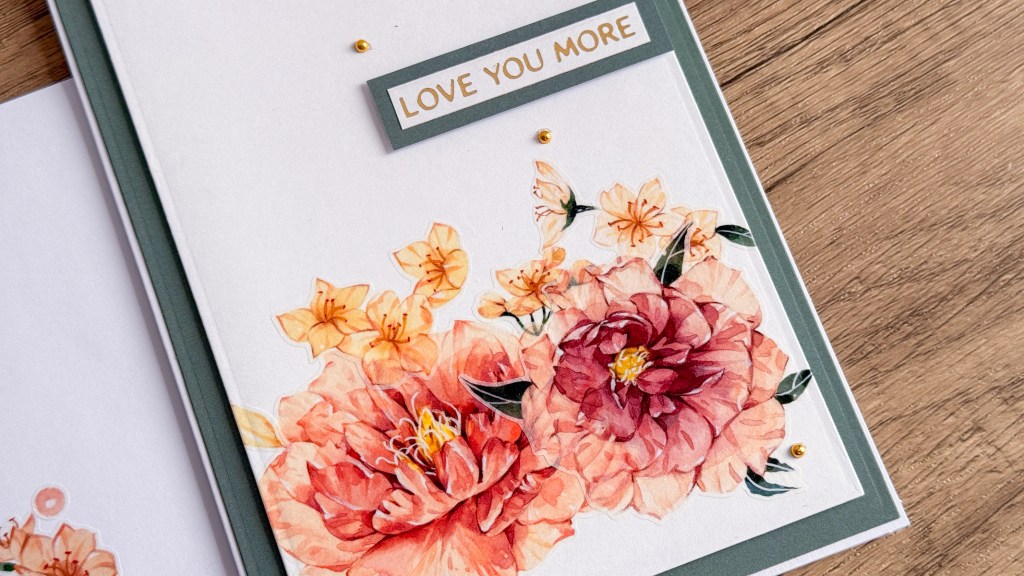
Step 3: Prepare & Assemble the Floral Die Cuts
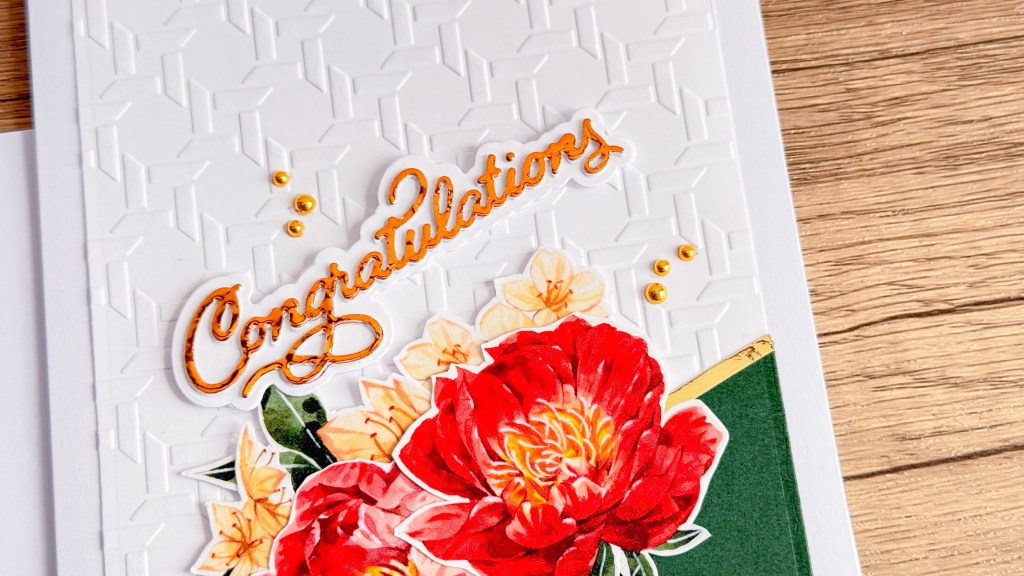
- Work on the floral arrangement and decide where to place the sentiment.
- Use a narrow piece of foam strip to adhere the sentiment before you adhere the flowers, so you don’t run out of room later.
- Arrange the flowers until you have the perfect composition.
- Trim or cut down any elements to make the arrangement just right.
- Now, use a piece of press n seal to keep the arrangement in place while you apply glue, so you don’t have to recreate it.
- Use liquid glue to secure the overlapping pieces, ensuring they don’t come loose.
- Since you’ll add some foam squares to add dimension to the die cuts, also add them where the die cuts overlap to secure them even more.
- Carefully place the press n seal with the floral arrangement on the card front, aligning it perfectly, and press it down firmly.
- Once the die cuts have adhered, carefully remove the press n seal. By the way, you can usually use the same piece of press n seal several times before discarding it.
Step 4: Prepare & Assemble the Floral Die Cuts
- Use a mix of large and small gold pearls for this. It’s best to use odd numbers of embellishments because it creates visual interest.
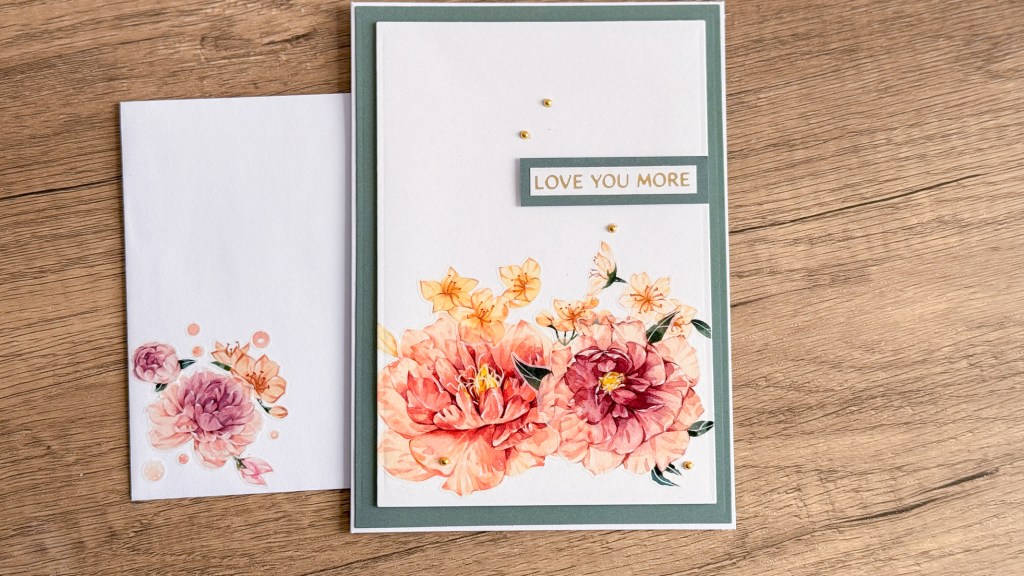
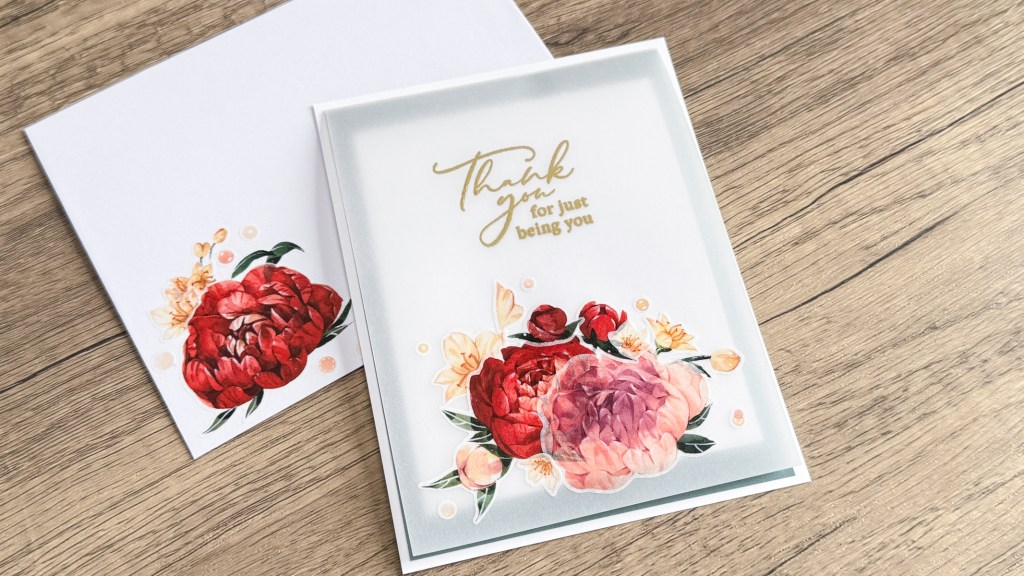
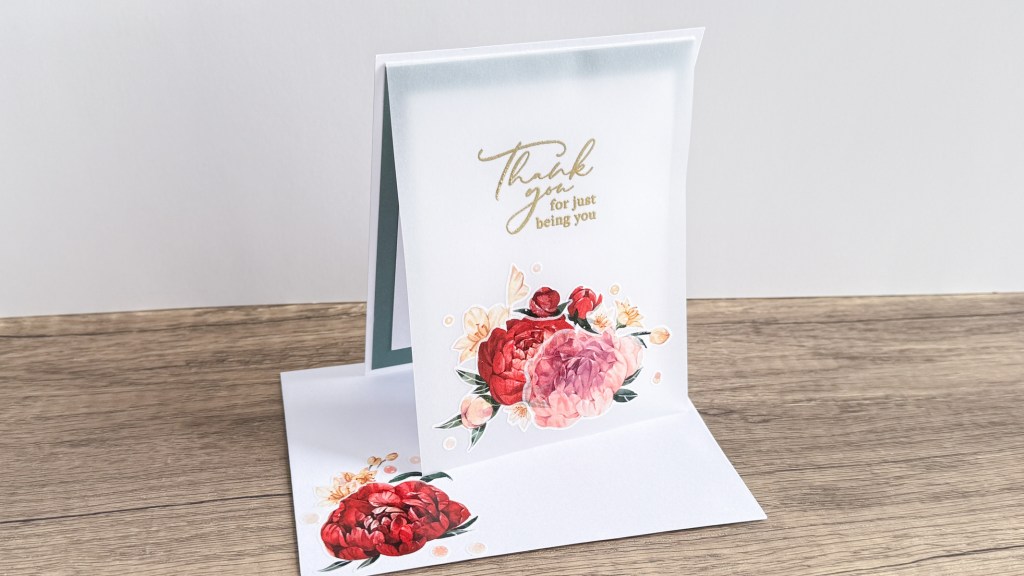
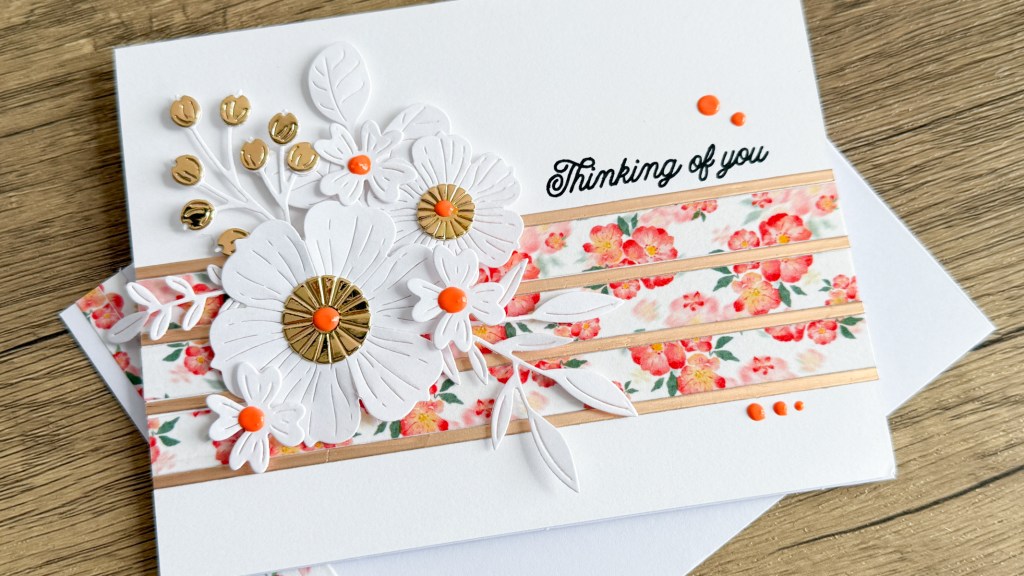
The card is done, and I love how it turned out. So simple, yet so stunning. I created a total of three cards using these washi stickers. Here are the photos:
https://linkdeli.com/widget.js?id=f5e8378456858c916708
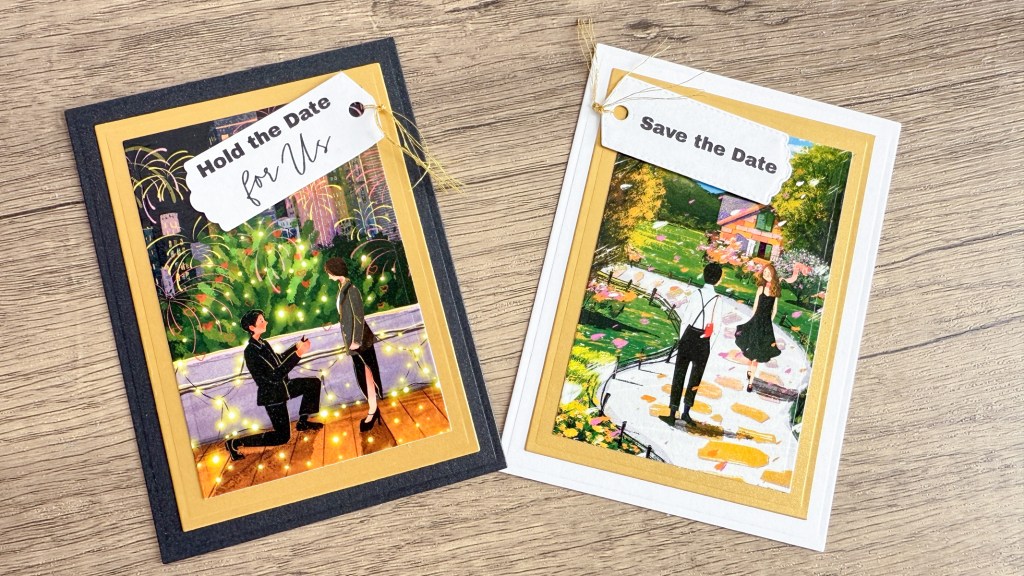
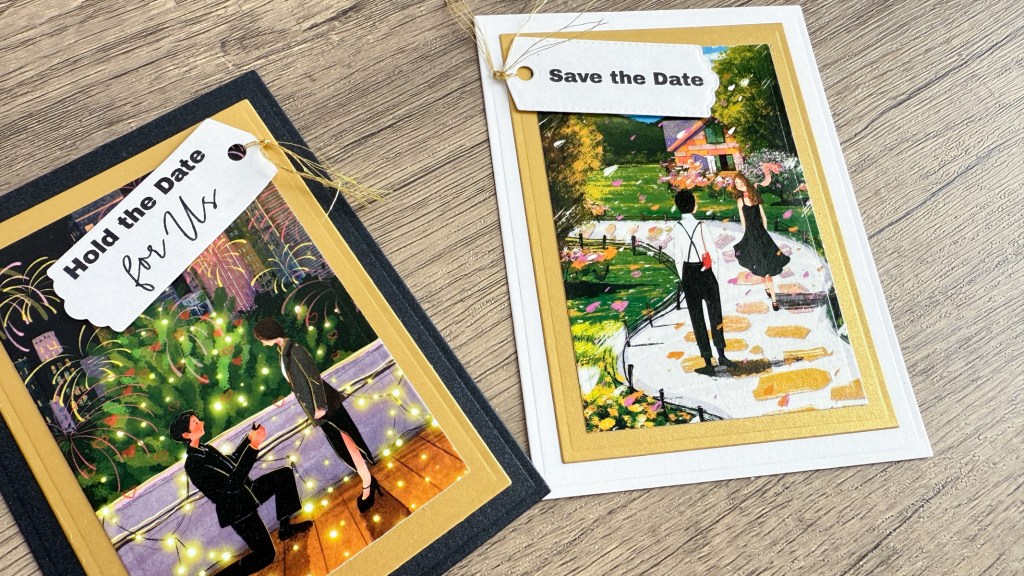
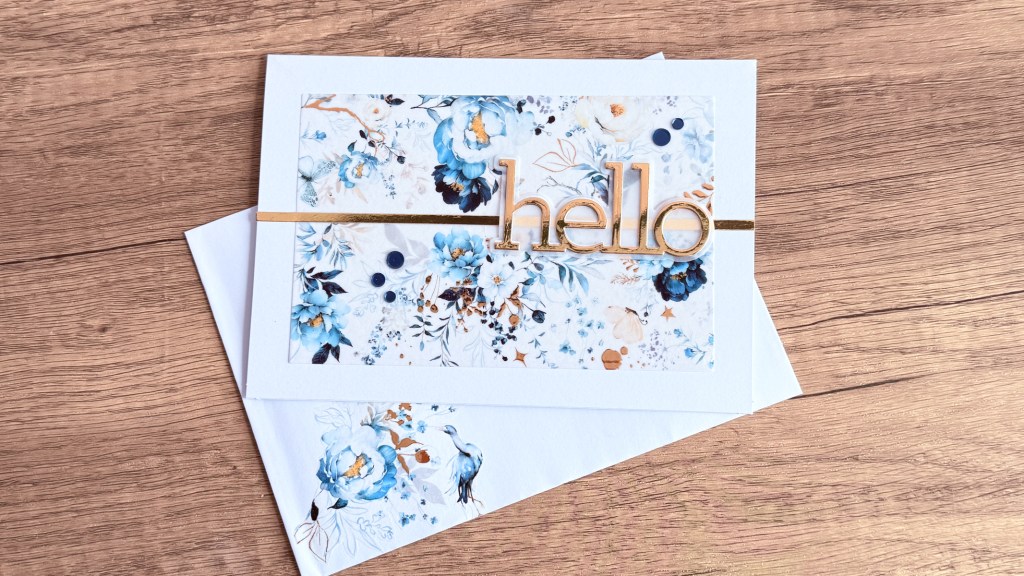
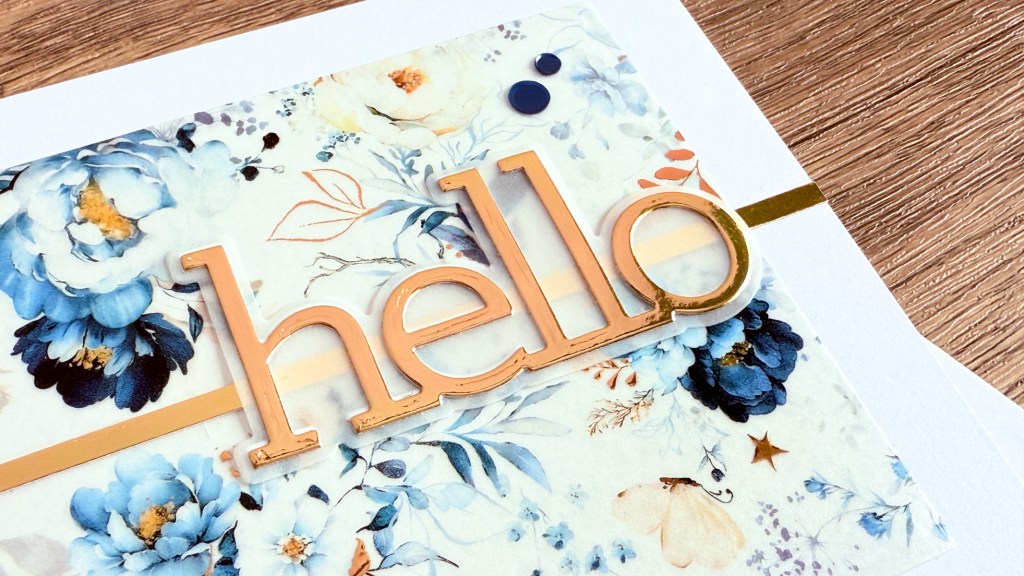
Card #2: Washi Panel Save-the-Date Cards
Supplies Used:
- Cupid’s Muse Wide Washi
- Cardstock:
- Hammermill Lightweight Card Stock – 4 ½ in. x 5
- White Neenah Classic Crest Cardstock
- Spellbinders Brushed Black Card Stock
- Spellbinders Brushed Gold Card Stock
- Save-the-Date Sentiments (I created my own with lightweight card stock and inkjet printer)
- Dies:
- Small Tag Dies
- Spellbinder A2 Matting Basics Die Set
- Adhesives
- Bearly Art Liquid Glue
- Foam Strips
- Glue Dots
- Gold Thread
Step-by-Step Instructions:
Step 1: Prepare Focal Elements
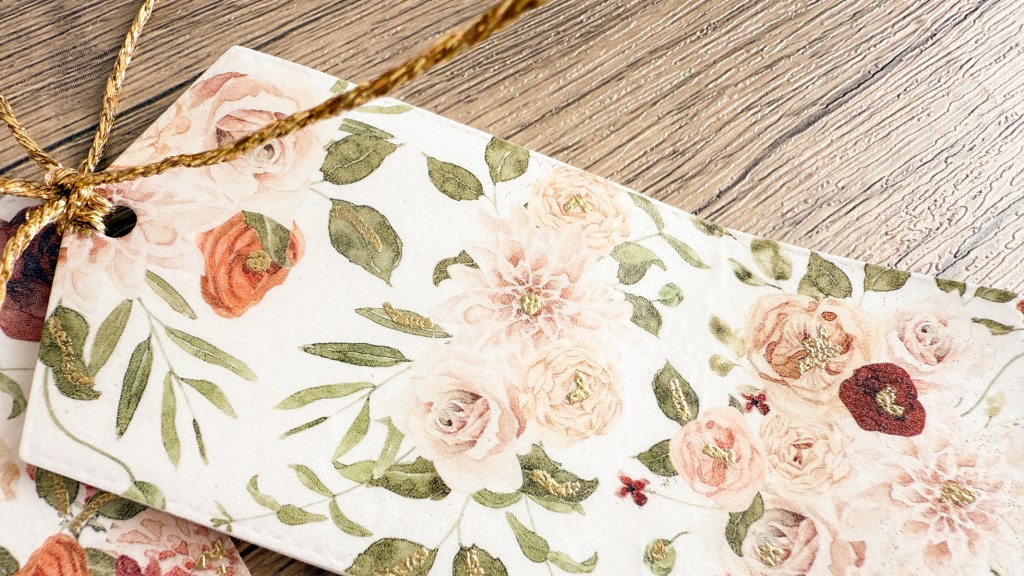
- First, adhere a few panels of this gorgeous washi tape to Hammermill white lightweight card stock and cut up the individual panels.
- Use an appropriate size from the Spellbinder A2 Matting Basics Die Set to cut out the washi tape panels.
Step 2: Prepare & Assemble the Card Base
- Use the the white Neenah Classic Crest card stock and the Spellbinders Brushed Black shimmer cardstock as the base layers. Use the Spellbinder A2 Matting Basics Die Set to cut out the base layers.
- For a gold mat, use a matting die that’s one size smaller than the base layer and cut out frames from the Spellbinders Brushed Gold Card Stock.
- Adhere the gold mat to the base layer and then adhere the washi tape panel with Bearly Art liquid glue.
- For the black card base, you’ll need to adhere a lightweight white card stock on the reverse side to be able to write a message.
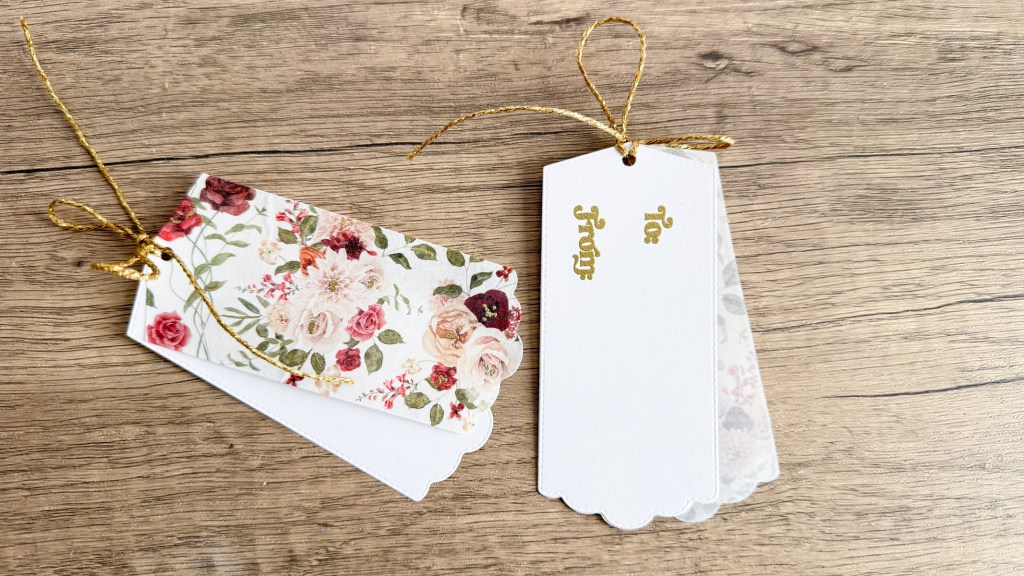
Step 3: Prepare the Sentiment Tags
- If you don’t have any save-the-date sentiments, print some custom sentiments on your inkjet printer and cut them with tag dies. Create sentiments like “Save the Date” and “Hold the Date for Us.”
- Cut out the sentiments using small tag dies.Adhere the sentiment next.
- Use some gold thread on the tag and tie a knot or a bow.
- Use glue dots to adhere the tags at a slight angle to the card front.
https://linkdeli.com/widget.js?id=f5e8378456858c916708
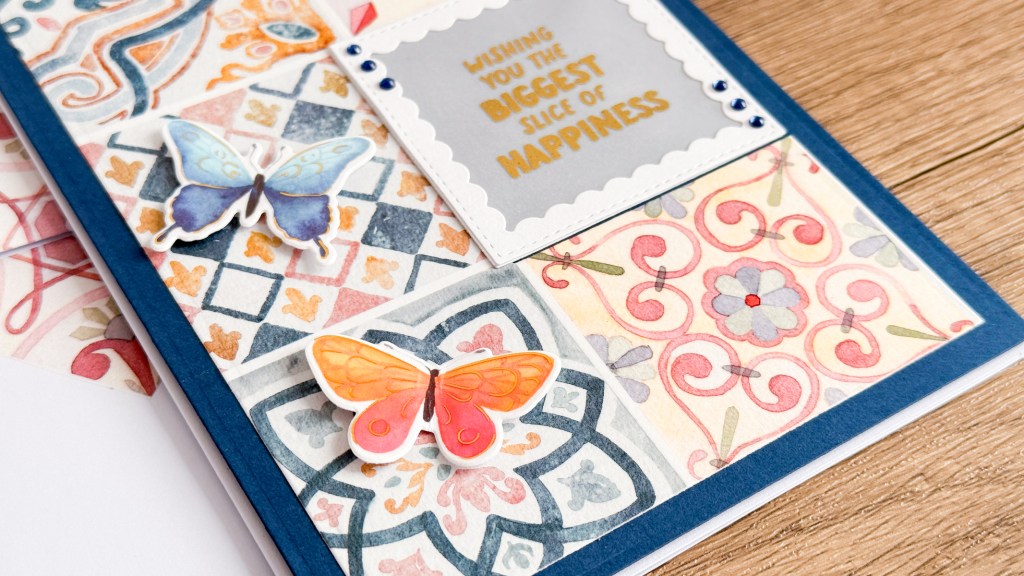
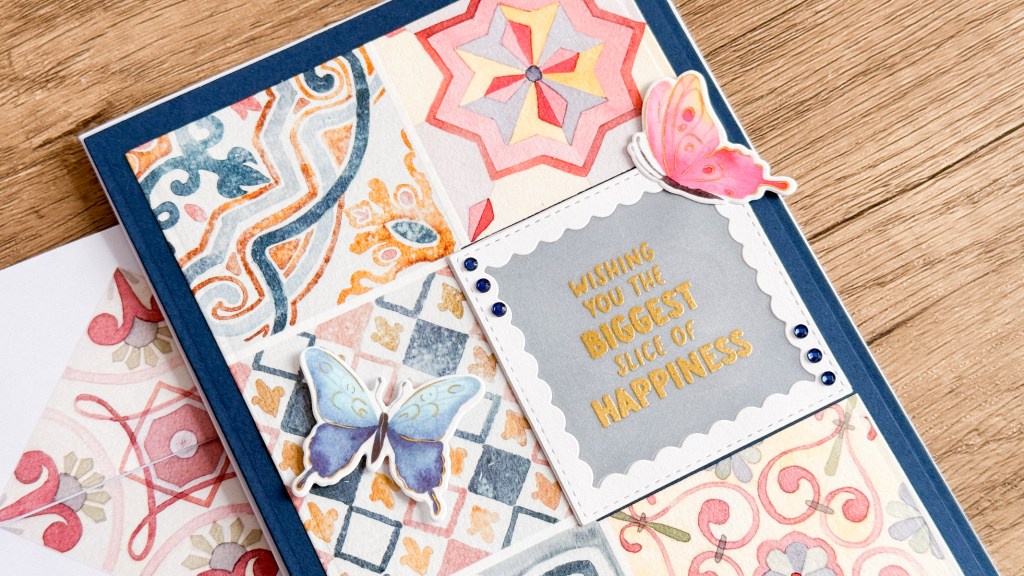
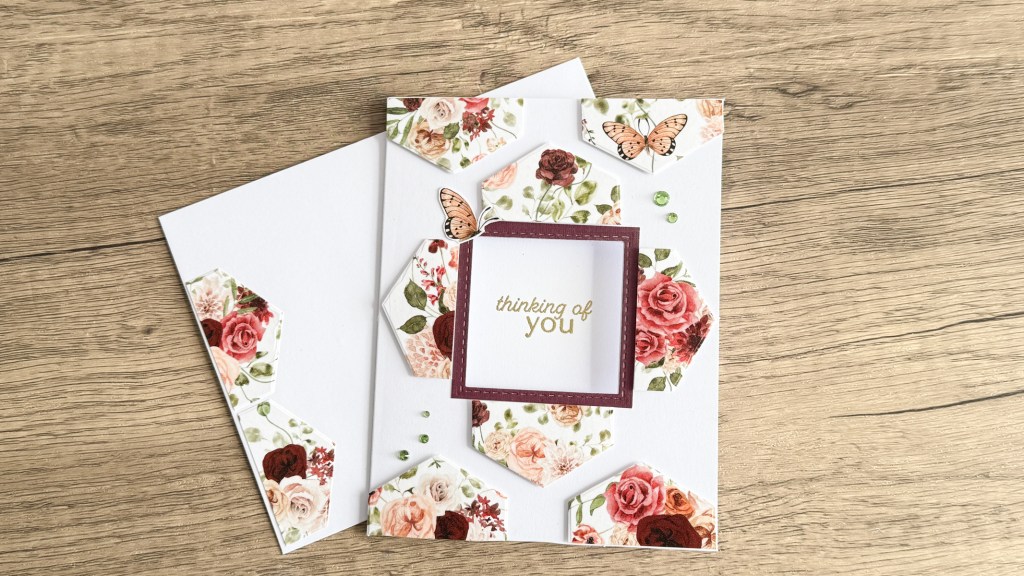
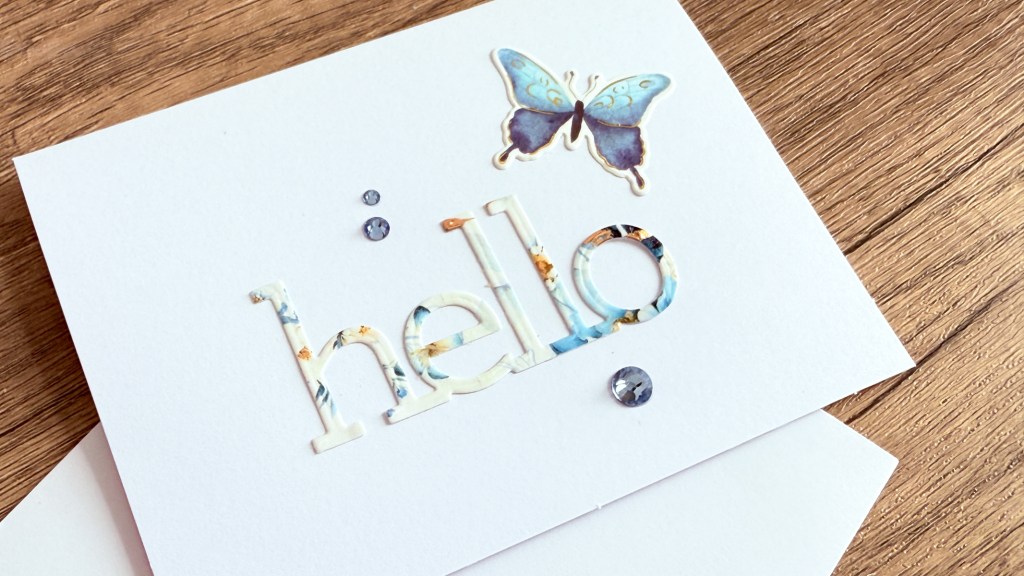
Card #3: Washi Tiles

Supplies Used:
- Mediterranean Tiles Wide Washi
- Cardstock:
- Hammermill Lightweight Card Stock – 8 ½ in. x 11 in.
- Spellbinders Cosmic Sky Card Stock – 5 x 7
- Simon Says Stamp Cardstock – Honey
- Simon Says Stamp Vellum
- 5 x 7 card base
- Dies:
- Heat Embossing Supplies
- Ultrafine Gold Embossing Powder
- Antistatic Powder
- Embossing Ink
- Concord & 9th Cut the Cake Stamp Set
- Adhesives
- Bearly Art Liquid Glue
- Foam Strips
- Embellishments
- Honey Bee North Pole Gem Stickers
- Pinkfresh Studio washi butterflies
Step-by-Step Instructions:
Step 1: Prepare Focal Elements
- Adhere selected portions of the Mediterranean Tiles Wide Washi to some lightweight Hammermill card stock.
- Use the second from the largest Spellbinders A7 Matting Dies to cut out the washi tape panel.
- Use the pierced die from the Postage Edge Squares Dies that is third from the smallest size, and cut out the middle tile on the right or left of the washi panel. Reserve the cut out tile for another project.
Step 2: Prepare & Assemble the Card
- Use the largest of the Spellbinders A7 Matting Dies to cut out the card panel from Cosmic Blue card stock.
- Centre the blue card panel on the 5×7 card base and adhere it to the card base using foam strips.
- Centre and adhere the washi tape panel on the blue card panel with either foam strips if you’d like to add more dimension or liquid glue if you’d like to keep it flat.
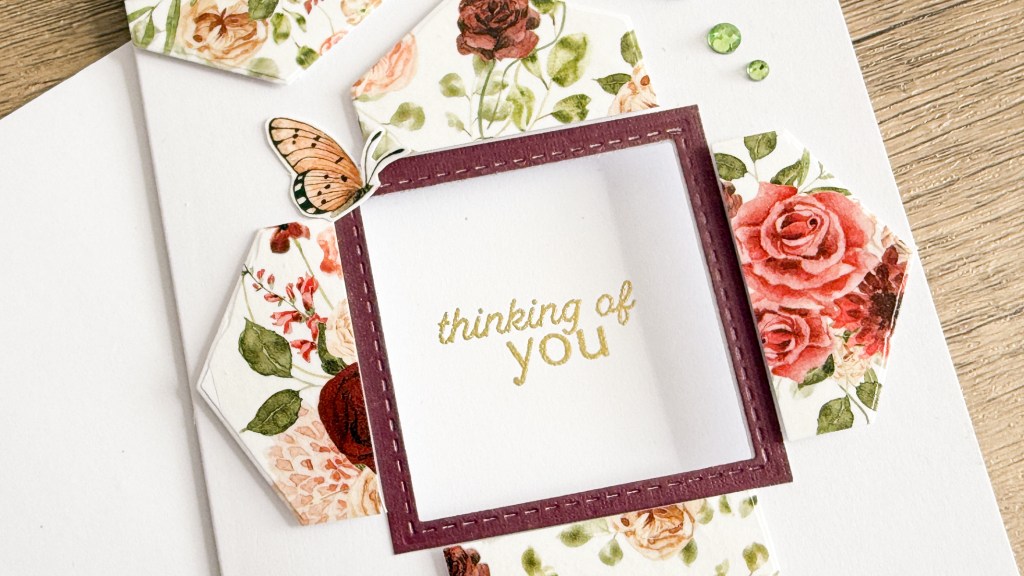
- Use liquid glue to adhere the framed sentiment in the space of the missing washi tile.
Step 3: Embellish
- Use some Honey Bee gems in dark blue. They’re perfect!
- You can also add butterflies using the Pinkfresh Studio Fluttering Butterflies Washi Tape.
- Add tiny bits of foam tape under the wings to give them a little lift.
The card is done, and it’s beautiful!
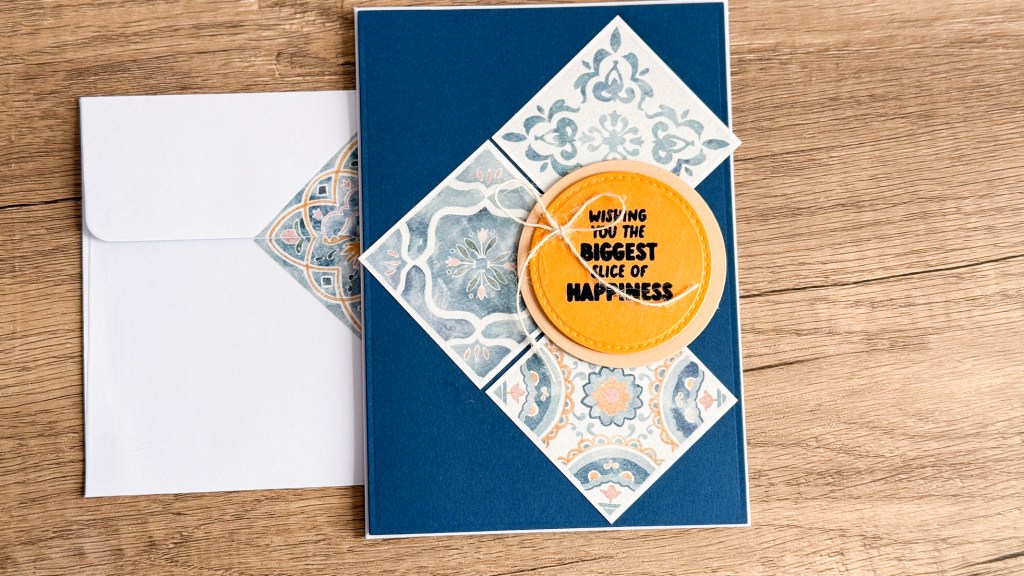
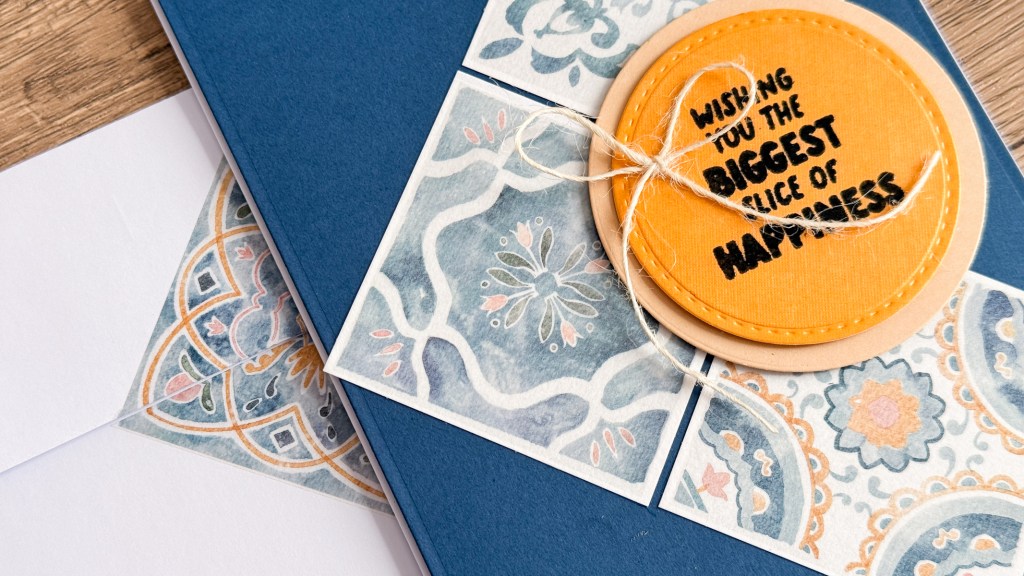
I also made a masculine card using the Mediterranean Tiles Washi Tape:
https://linkdeli.com/widget.js?id=f5e8378456858c916708
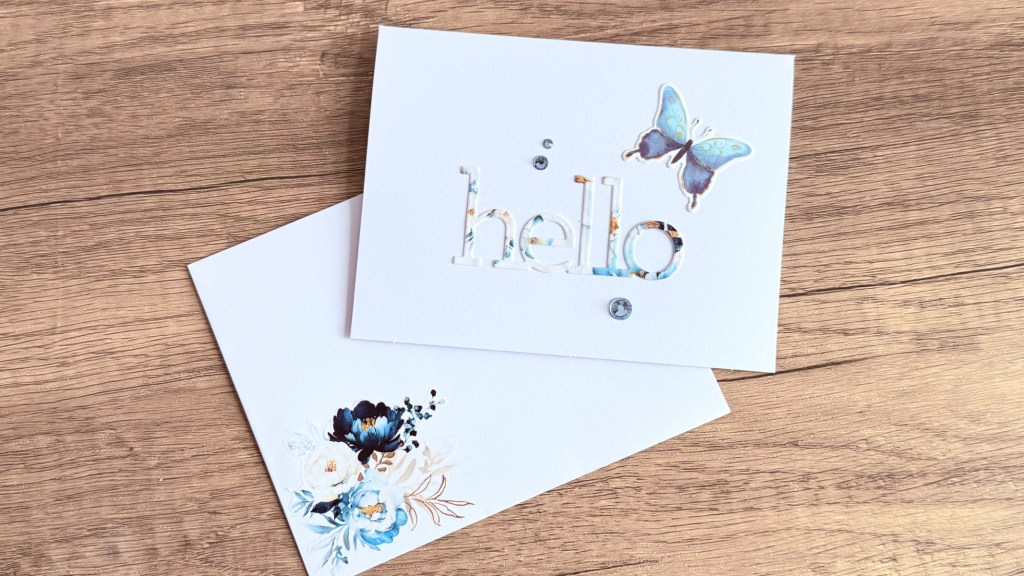
Here are the other cards I made using some other washi tapes:
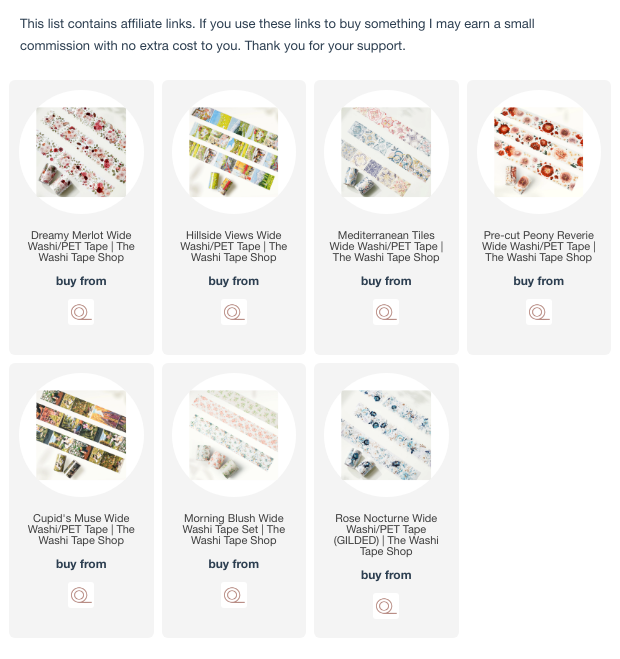
Here’s the list of all the washi tapes I used for my cards:


Leave a comment