A laminator is a versatile tool that can elevate your crafting projects beyond typical office tasks, offering a range of possibilities from custom embellishments to clever organization hacks. This blog post will guide you through 11 exciting laminator hacks, transforming your craft room and helping you create stunning handmade cards and gifts.
You can watch the detailed YouTube tutorial here. I’ve included a list of supplies for individual hacks, but visual lists of supplies and tools are also included at the end of the blog post for your convenience.
Laminator Unboxing and First Impressions
Before diving into the hacks, let’s unbox the Q-Fun laminator (United States) (Canada) and explore its features. This laminator comes with thermal laminating sheets in various sizes (3 mm thickness), including handy smaller sizes for tags or labels, and the standard A4 size. While these are glossy, matte sheets are also available separately.
The Q-Fun laminator also includes several useful tools:
- A trimmer for neat edges
- Three sizes of binder rings, perfect for organizing swatches
- A corner rounder
- A compact single hole punch
- A spare blade for the trimmer
All these tools can be conveniently stored inside the laminator itself, keeping your workspace tidy and tools easily accessible. Be cautious when handling the sharp trimmer blade. The spare blade should be stored with the hole puncher.
This laminator offers a cold lamination option, which doesn’t use heat and is typically used for smooth photo or coated paper with a single-sided adhesive laminating film. To operate, simply press the power button and select your desired mode: cold, 3 mil, or 5 mil. The light will flash until it’s ready, which takes about a minute.
Organization & Storage Hacks
Hack #1: Storage Dividers
Laminating can be a game-changer for craft room organization, especially if you have a smaller space.
Supplies:
- Coloured copy paper
- Mid-sized laminating sheet
- Laminator
- Paper trimmer
Instructions:
- Fold a piece of coloured copy paper in half.
- Add your label to the copy paper, or add it to the laminated surface later.
- Place the folded paper into a mid-sized laminating sheet, aligning it to create an even border.
- Feed the sheet into the laminator. You might notice a bit of smoke during the first use, which is usually normal.
- Once laminated and cooled, use the included trimmer to trim the edges, maintaining an even border. The laminated strip will feel like acetate and can even be repurposed for other craft projects.
- Use these sturdy, laminated dividers to organize patterned papers, card stock, or other craft supplies in your storage bins.
Hack #2: Laminated Pockets
Create durable storage folders for your old stamp and die sets, or to organize thousands of paper scraps, making them more accessible. You can make these folders in two ways: using two laminating sheets or using cellophane bags as a budget-friendly alternative.
Supplies:
- 12×12 inch sheet of patterned paper (single-sided recommended for easier labelling)
- Laminating sheets (11.5 x 9 inches) OR Cellophane bags (e.g., 5×7 inches)
- All-purpose glue stick
- Guillotine trimmer
- Half-inch circle punch
- Bone folder
- Velcro dots
- Corner rounder
Instructions (Using Cellophane Bags):
- Cut your patterned paper to 11 x 8.5 inches to allow for a quarter-inch margin for the laminating sheets to fuse. Place the paper inside the laminating sheets with any frayed edges at the top, as this edge will be trimmed later.
- Trim a sliver off the sealed edge of the laminating sheet with a guillotine trimmer for a tidier look.
- Apply a bit of all-purpose glue to hold the paper in place within the laminating sheets to prevent shifting.
- Cut off the adhesive flaps from your cellophane bags, leaving just the clear pockets.
- Peel the adhesive strip from one bag and stick it to the edge of your paper, aligning it neatly. Repeat for the second bag. This method will result in a folder with less of a spine.
- Gently fold the paper over once both bags are attached.
- Ensure your laminator is set to 3 mil (or the appropriate thickness for your sheets) and the indicator light is solid green. Feed the “sandwich” into the laminator sealed side first, holding it steady to prevent shifting.
- Once laminated, use the trimmer to cut along the top edge of the sandwich to create the opening for the pockets.
- Use a half-inch circle punch to create finger notches, centering it on the edge where the bag ends.
- Burnish the creases with a bone folder for a neat fold.
- Add Velcro dots to keep the folder closed, placing one in the middle.
- Round off the sharp corners using the corner rounder.
Instructions (Using Two Laminating Sheets):
- Cut your patterned paper to 11 inches by 8.5 inches. If your pattern is directional, ensure the longer side is cut sideways for correct orientation.
- Take one laminating sheet and cut it twice to 5 inches wide, creating two 5-inch pieces and a leftover 1-inch strip that will form the folder’s spine. Save the sealed edge of the leftover strip for other projects.
- Before cutting, trim off the rounded corners of the laminating sheet.
- Once cut, you will have two 5-inch pockets. Flip one over so that the sticky, glossy sides are facing each other, allowing them to fuse when heat is applied. Ensure the seams line up properly.
- Inspect the sheets for any debris before laminating. Line up the pockets with the edges of the laminating sheets to ensure proper sealing.
- Close the folder partially to hold the first pocket in place. Take the second pocket, flip it so the glossy sides are touching, and line it up on the opposite side, along the bottom and side edges of the patterned / liner paper.
- Trim off any overhang to prevent jamming in the laminator.
- Carefully feed the “sandwich” into the laminator sealed side first, holding it steady.
- After laminating, trim open the top edge of the pockets using your trimmer.
- If the folder doesn’t fold easily, score along each edge of the 1-inch spine.
- Round off the top corners with a corner rounder.
- Create finger notches with a hole punch.
- Add Velcro fasteners to keep the folder closed.
- Label the inside, spine, or front of the folder.
Hack #3: Laminated Swatches
Laminate your ink and card stock swatches to prevent colours from fading over time.
Supplies:
- Card stock samples for swatching
- Laminating sheet scraps
- Paper trimmer (e.g., Sizzix trimmer)
- Sticky note (optional, for trimming narrow strips)
- Single hole punch
- Binder rings
Instructions:
- Cut your card stock into swatch strips. If working with narrow strips, stick them onto a sticky note to make trimming easier and achieve cleaner cuts.
- Slide the swatch strip into a laminating sheet, aligning it carefully due to static. You can laminate multiple swatches at once to maximize the sheet.
- Pass the sheet through the laminator.
- Once laminated, use your paper trimmer to create even borders around each swatch.
- Use a single hole punch (or the one that came with your laminator) to punch a hole in each swatch.
- Add the laminated swatches to a binder ring.
- Label each swatch with the brand and name of the ink or card stock.
Card Making Hacks
Hack #4: Creating DIY Stencils
Create durable and reusable stencils from your background dies, especially those that don’t come with coordinating stencils or masks.
Supplies:
- Background die (e.g., Pinkfresh Studio background die)
- Regular card stock
- Smaller laminating sheet
- Die-cutting machine
- Craft knife (optional)
- Ink blending tools and inks/mixed media
- Water and rag (for cleaning)
Instructions:
- Place a piece of regular card stock inside a laminating sheet, ensuring enough edge for proper sealing.
- Run the card stock through the laminator.
- Once the laminated sheet has cooled, trim it down to the appropriate size.
- Tape your background die onto the laminated panel and run it through your die-cutting machine. It may need a second pass for a clean cut.
- Carefully remove any cut pieces using a craft knife if needed. The laminated stencil will be waterproof and sturdy, suitable for use with sprays and mixed media.
- Use your new DIY stencil for ink blending or with shimmer paste.
- To clean, simply spray with water and wipe with a rag on a flat surface like a glass mat.
Hack #5: Creating DIY Masks
Laminate card stock to create reusable masks for ink blending and other crafting techniques.
Supplies:
- Lightweight card stock
- Medium-sized laminating sheet
- Journal card dies (or other preferred dies)
- Die-cutting machine
- Magnetic mat (optional, for stability)
- Tape runner (for adhering masks)
- Embossing powder OR alcohol (for removing stickiness)
Instructions:
- Laminate a piece of lightweight card stock using a medium-sized laminating sheet.
- Die-cut the laminated piece using your chosen dies (e.g., journal card dies). This will create reusable masks.
- To use the masks, apply them to your card stock with a tape runner and use a magnetic mat for stability.
- You can use both the negative and positive pieces of the die-cut as masks to create different effects or background patterns.
- To remove any stickiness from the back of the masks (from the tape runner), dab a little embossing powder on the sticky area or spritz with alcohol and wipe away.
- Store your custom masks in a folder or label them for easy access.
Hack #6: Floating Vellum Panel
Create sturdy, floating vellum panels for your cards that maintain their delicate design without flopping around.
Supplies:
- Small laminating sheets (approx. A2 size)
- Foiled vellum (e.g., 6×6 design)
- Paper trimmer
- Copy paper cover sheet
- Corner punch
- Matte gel (for adhering embellishments)
- Foam rounds or narrow foam strips
- Pearls or other embellishments
- Foiled sentiment
Instructions:
- Trim your vellum sheet, leaving a border around the edges. Do not place the vellum edge-to-edge in the laminating sheet, or it won’t seal properly. For a fully sealed panel, trim the vellum to ensure sealed edges even after the final panel is cut (e.g., trim to 5 1/4 inches if cutting to 5 1/2 inches later).
- Place the trimmed vellum inside the laminating sheet, pushing it towards the sealed edge.
- Sandwich the vellum inside the laminating sheet and place it within a copy paper cover for protection. Feed this sandwich folded end first into the laminator to prevent snagging.
- Once laminated, cut the panel to your desired size (e.g., 5×7 for a 5×7 card). Round the corners with a corner punch if desired.
- Adhere embellishments like a butterfly using matte gel, which dries clear and is strong. Trim and adhere any lace or other decorative elements.
- Use foam rounds or narrow foam strips behind the laminated panel to give it structure and create a floating effect on your card base.
- Centre the panel on your card base and add any additional embellishments or sentiments.
Hack #7: Stained Glass Effect
Create a stunning stained glass effect on your die-cut cards by laminating just the back of a die-cut design.
Supplies:
- Die-cut background design
- Laminating sheet (only need one half of the inside layer)
- Alcohol markers (e.g., Ohuhu alcohol markers in PB1, V150, BG4, G110, Y3, GY172, R11, R5)
Instructions:
- Take one half of a laminating sheet (the inside, glue layer) and trim it down as needed.
- Brush off any fibres from the laminating sheet and the die-cut.
- Position the die-cut design onto the sticky, inside (glue) side of the laminating sheet, ensuring the glossy side of the sheet is facing outwards.
- Trim down any overhanging edges of the laminating film to prevent it from curling into the laminator rollers.
- Feed the die-cut with the single laminated back directly through the laminator without a copy paper folder. Using paper or card stock on the front would ruin the die-cut.
- Once laminated, trim off any extra overhanging film.
- Turn the laminated die-cut to the back (glossy, laminated side).
- Use alcohol markers to colour in the design on the glossy laminated side. Important: Colour on the laminated side, not the front of the die-cut, to prevent bleeding. If colours appear patchy, go over them a second time.
- You can reuse negative die-cut pieces for sentiments or other elements.
Hack #8: Foiling with a Laminator
Use your laminator to create beautiful foiled designs with Poly-Glaze sheets and Deco Foil.
Supplies:
- Gina K’s Poly-Glaze sheets
- Deco Foil transfer sheet (different from hot foil)
- Craft knife
- Copy paper folder
- Double-sided adhesive (for repurposing negative pieces)
- Alcohol markers (optional, for colouring foiled images)
- Card base, die-cut background panel, sentiments, embellishments (for card assembly)
Instructions:
- Cut a section of Deco Foil slightly larger than the design on your Poly-Glaze sheet.
- Place the Poly-Glaze sheet with the foil on top (ensuring the foil covers the toner design edge to edge) inside a copy paper folder to protect the laminator.
- Feed the folder through the heated laminator.
- After it passes through, carefully peel back the foil to reveal the foiled design. Note that results may vary depending on foil quality.
- Fussy cut the foiled designs for use on cards.
- Bonus Tip: To repurpose the negative foiled piece, apply double-sided adhesive to a scrap of paper and press the negative foil piece onto it to pick up any remaining foil.
- Optionally, colour in the foiled images with alcohol markers.
- Assemble your card using the foiled elements, a card base, background panels, and sentiments.
Hack #9: Creating a Shaker Element
Use one-sided lamination to create unique and flat shaker elements for your cards.
Supplies:
- Background panel with an open design
- Laminating sheet
- Pencil (for marking)
- Craft knife
- Shaker bits (e.g., Hero Arts Ombre Blue)
- Bearly Art Liquid glue
- Happy Birthday sentiment (or desired sentiment)
- Thin foam strips
- Anti-static embossing powder
- Brush
Instructions:
- Determine the size of the laminating sheet needed by marking your background panel with a pencil. Cut the laminating sheet so that only one side of your background will be laminated.
- Carefully align your background panel with the cut laminating sheet, ensuring full coverage with no gaps to prevent shaker bits from escaping. Use a craft knife to trim if needed.
- Run the background panel with the attached laminating sheet through the laminator.
- Once laminated, trim off the edges. This will result in a flat shaker element.
- Spread your chosen shaker bits evenly on the laminated background.
- Apply liquid glue around the edges of the laminated area, ensuring no glue gets onto the shaker bits. Carefully position and adhere the top layer (e.g., a Happy Birthday sentiment). Check for any unsealed edges and add more glue if necessary.
- For a second, traditional shaker layer on top, use thin foam strips around the edges of a die-cut sentiment or frame. Remove the backing from the foam strip when working with curves for easier bending. Ensure there are no gaps in the foam.
- Brush a bit of anti-static embossing powder around the inside edge of the foam to prevent sequins from sticking.
- Place your chosen shaker bits inside the foam frame.
- Adhere the top layer of your second shaker, using glue to ensure good adhesion, especially if you’ve touched the foam strips.
Gift Idea Hacks
Hack #10: Vellum Bookmarks with Glitter & Washi Tape
Create beautiful and durable vellum bookmarks using your laminator, perfect for gifting to book lovers.
Supplies:
- Vellum sheet
- Laminator
- Paper trimmer
- Washi tape
- Glitter
- Scrap copy paper (carrier sheet)
- Corner rounder
- Single-hole punch
- Ribbon
Instructions:
- Trim your vellum sheet to the desired bookmark size. For two equal bookmarks, measure and trim at 1½ inches and then at 3 inches from a wider sheet, leaving a clear gap in the middle for trimming after lamination.
- Decorate the vellum pieces with washi tape and other small decorative elements. Ensure the tape doesn’t hang off the edges.
- Place both vellum pieces into a laminating sheet, spacing them out to allow for a good border around each for clean trimming.
- Sprinkle glitter onto the vellum pieces inside the laminating sheet. Be aware of static cling.
- Close the laminating sheets and place the “sandwich” inside a scrap copy paper carrier sheet to catch any stray glitter and protect the laminator.
- Feed the carrier sheet through the laminator. You might hear a crackling sound from the glitter.
- Once laminated, trim around each bookmark, leaving a thin border.
- Use the corner rounder to round off all the corners.
- Use the single-hole punch to create a hole at the top of each bookmark.
- Thread ribbon through the hole and tie into a bow or leave loose.
Hack #11: Custom Tags or Toppers
Turn leftover laminating sheet scraps into quick and easy custom gift tags or decorative toppers.
Supplies:
- Scrap piece of laminating sheet
- Small stamp (e.g., from a Christmas set)
- Vellum
- Heat embossing supplies (optional)
- Paper trimmer
- Copy paper carrier sheet
- Corner rounder
- Single-hole punch
Instructions:
- Stamp a design onto vellum (heat embossing is an option).
- Trim the vellum piece to your desired size.
- Slide the vellum piece into a leftover scrap of a laminating sheet. Ensure there’s a thin border of plastic around all edges of the vellum for a proper seal.
- Place the vellum and laminating scrap inside a copy paper carrier sheet.
- Feed the carrier sheet through the heated laminator.
- Once laminated, trim the bottom edge of the tag to make it straight.
- Round off the corners using a corner rounder.
- Use a single-hole punch to create a hole at the top of the tag.
With these creative hacks, your laminator will become an indispensable tool in your craft room, helping you organize, create, and gift with ease!
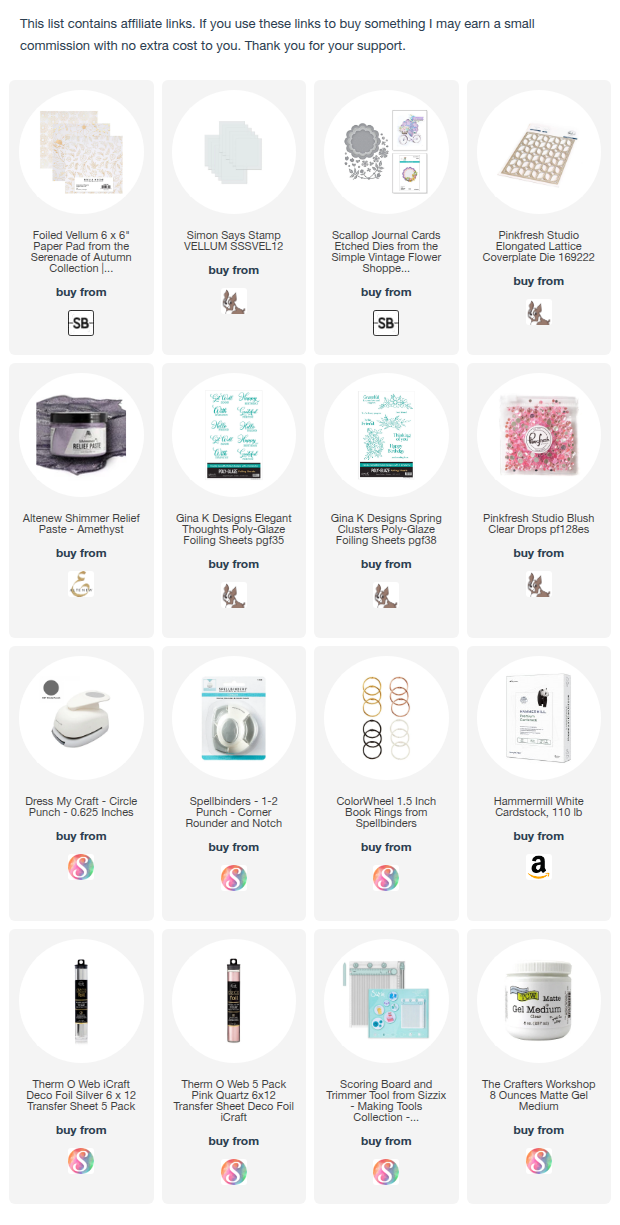
The following visual list of supplies includes most of the items mentioned in the blog post:
https://linkdeli.com/widget.js?id=f5e8378456858c916708
The following is a list of my favourite tools that I use regularly in my craft room:


Leave a comment