Looking to create a dimensional card that combines elegant design with a pop-up twist? This Kokeshi Doll Side Stepper Card is not only adorable but also folds flat to fit into an A2 envelope! In this post, I’ll walk you through all the steps—from cutting the base to assembling intricate die cuts—and share my tips for colouring and layering.
You can watch the detailed YouTube tutorial here. I’ve included a list of supplies for individual cards, but a complete visual list of supplies is also included at the end of the blog post for your convenience.
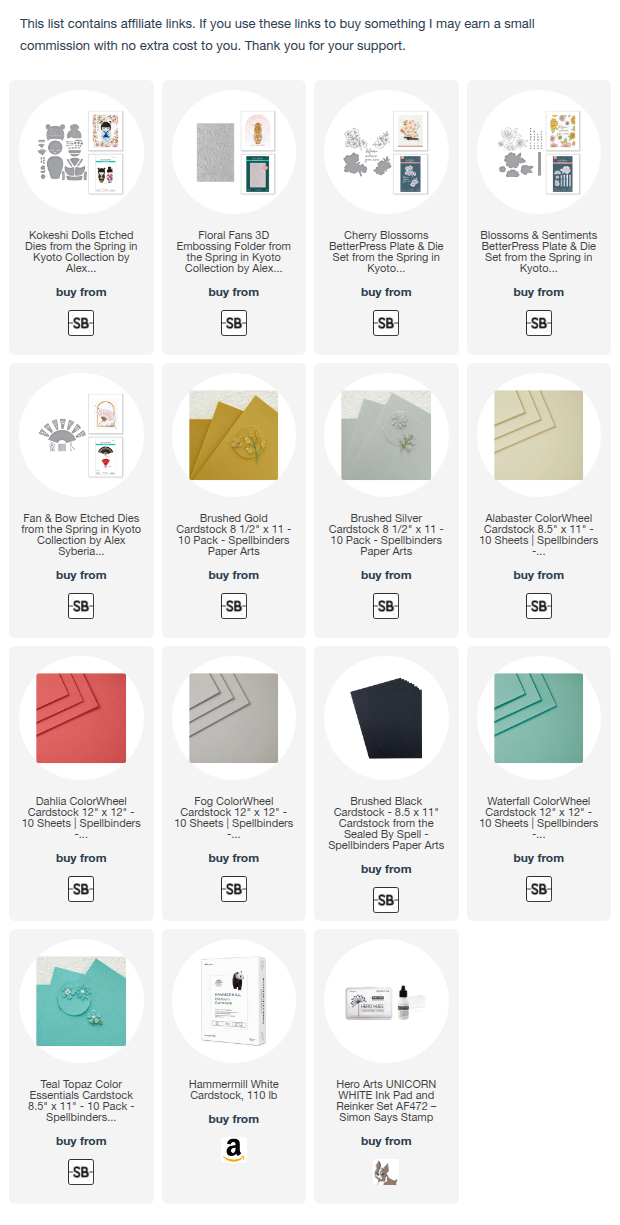
Supplies Used
Dies Used from the Spring in Kyoto Collection:
- Kokeshi Dolls Etched Die Set
- Blossoms & Sentiments BetterPress Plate & Die Set
- Cherry Blossoms BetterPress Plate & Die Set
- Fan & Bow Etched Dies
Spellbinders Card Stock for Card #1:
- Waterfall – 8 ½ in. x 5 ½ in.
- Brushed Gold (scraps)
- Teal Topaz (scraps)
- Alabaster Colorwheel Cardstock (scraps)
Spellbinders Card Stock for Card #2
- Fog Colorwheel Cardstock – 8 ½ in. x 5 ½ in.
- Dahlia Colorwheel Cardstock – 4 ¼ in. x 5 in. (used in Card #2)
- Brushed Black (scraps)
- Brushed Silver (scraps)
Other Card Stock:
- Hammermill White 110 lb – 3 ⅞ in. x 2 ¾ in.
- Canson Watercolour paper (for BetterPress flowers and sentiment)
- Skin-tone card stock (scraps)
Colouring Supplies:
- BetterPress Ink – Black
- Karin Brush Markers or any water-based markers (Suggested colours: peach, pink, greens)
- Water brush or fine paintbrush
- Unicorn
Basic Tools & Adhesives:
- Paper trimmer & scoring board
- Bone folder
- Bearly Art Liquid glue
- Foam tape (low profile)
Step 1: Create the Side Stepper Card Base
- Start with the 5.5” x 8.5” piece of Waterfall card stock.
- Place the panel at the 3 ½ in. mark on a wire trimmer and slide the cutting blade down the rail to the 1 in. mark.
- Make a vertical cut starting at 1 inch where the blade is now positioned and slide the blade down to 6 ½ inches.
- On your scoring board, place the panel with the narrower 2 ½ in. section at the top.
- Score only up to the cut line, not all the way down – I’m scoring at:
- 1 inch
- 2 inches
- 3¼ inches
- Score at 4¼ inches across the full width if the score line is a little flattened out after the embossing.
- After that, back to partial scores, again, stopping at the cut line:
- 4½ inches and
- 6½ inches
- Fold the card to create the side stepper shape as follows:
- Mountain fold at 1 inch,
- Valley fold at 2 inches,
- Mountain fold at 3¼ inches.
- Skip the 4¼ inch score then fold again:
- Valley fold at 4½ inches
- Mountain fold at 6½ inches
- Fold the broader part at the 4 ¼ in. scoreline.
- Reinforce all folds with a bone folder.
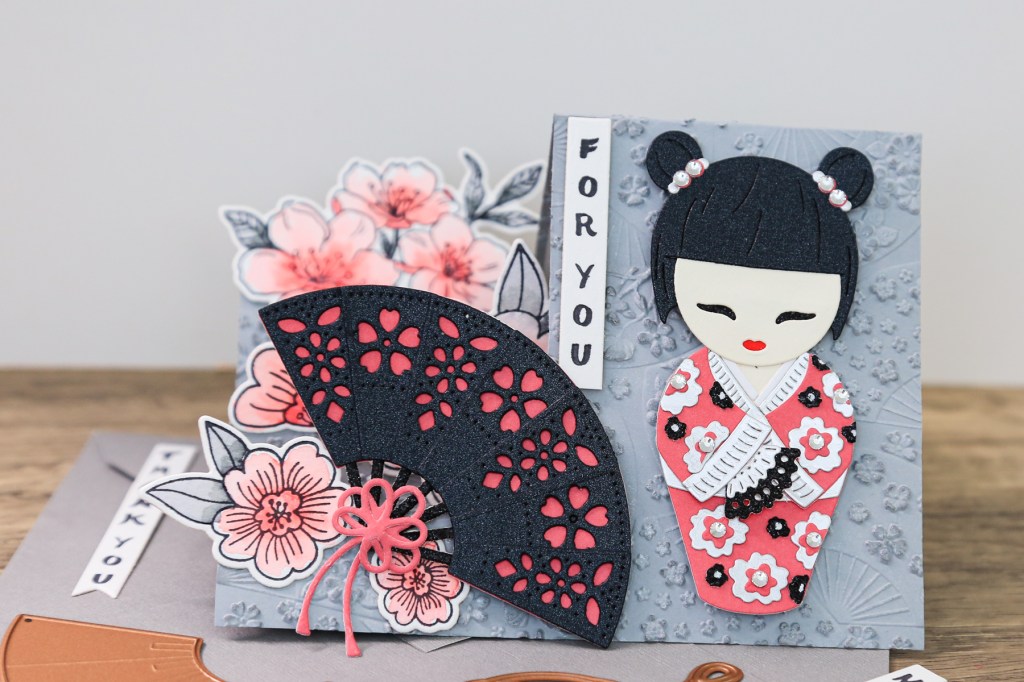
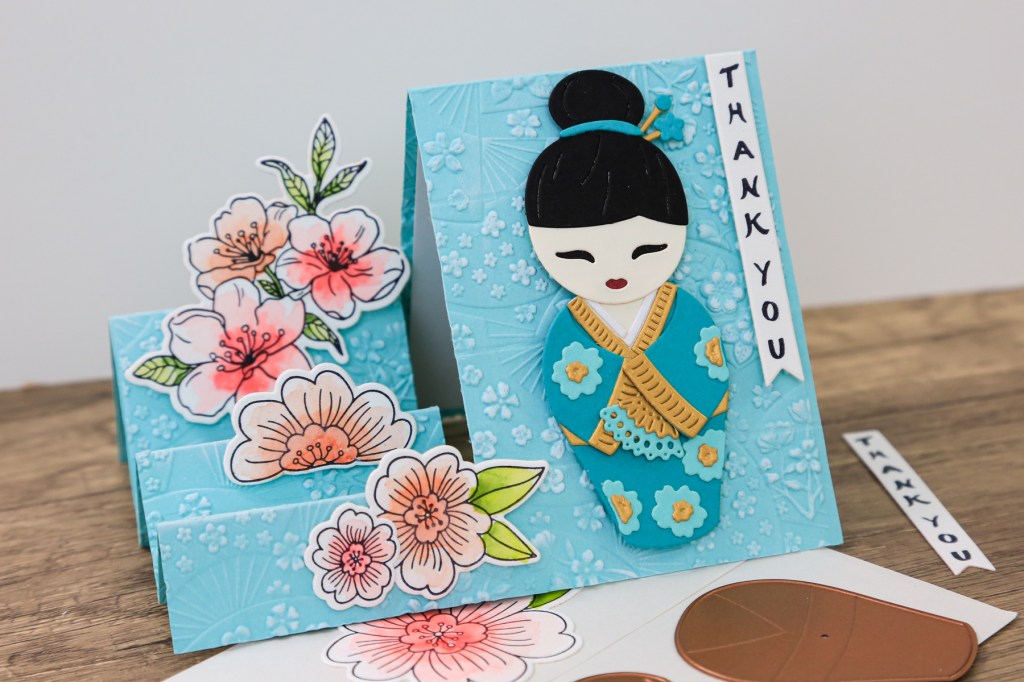
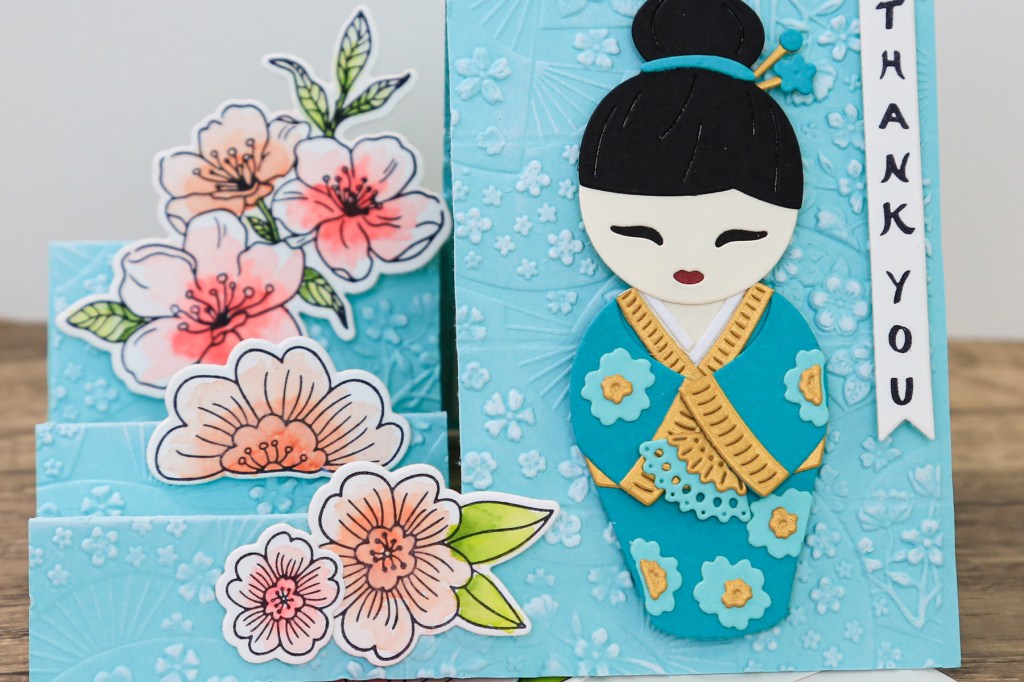
Step 2: Prepare the Kokeshi Doll Die Cuts
- Cut out all pieces from the Kokeshi Doll Die Set:
- Face, hair, hair accessories
- Kimono base, sleeves, collar, vest seam
- Fan, neck piece, and decorative elements
- Keep all small pieces organized in a tray or dish—you’ll need them later.
Step 3: Create and Colour the BetterPressed Flowers
- Use your BetterPress system to press the cherry blossoms and sentiments from the Blossoms & Sentiments BetterPress Plate & Die Set and Cherry Blossoms BetterPress Plate & Die Set.
- Use the watercolour paper and BetterPress Ink – Black to ink up the plates and run it through your Spellbinders Platinum 6 to complete pressing.
- Karin Brush Markers or water-based markers to add colour to the floral areas:
- Apply colour roughly in the center.
- Blend outward with a water brush for a soft water-coloured look.
- Let dry before cutting them out with the matching dies.
- Avoid colouring too close to the edges for a natural highlight effect.
🖌️ Unlike alcohol markers, water-based markers won’t bleed through your paper—no ugly backs!
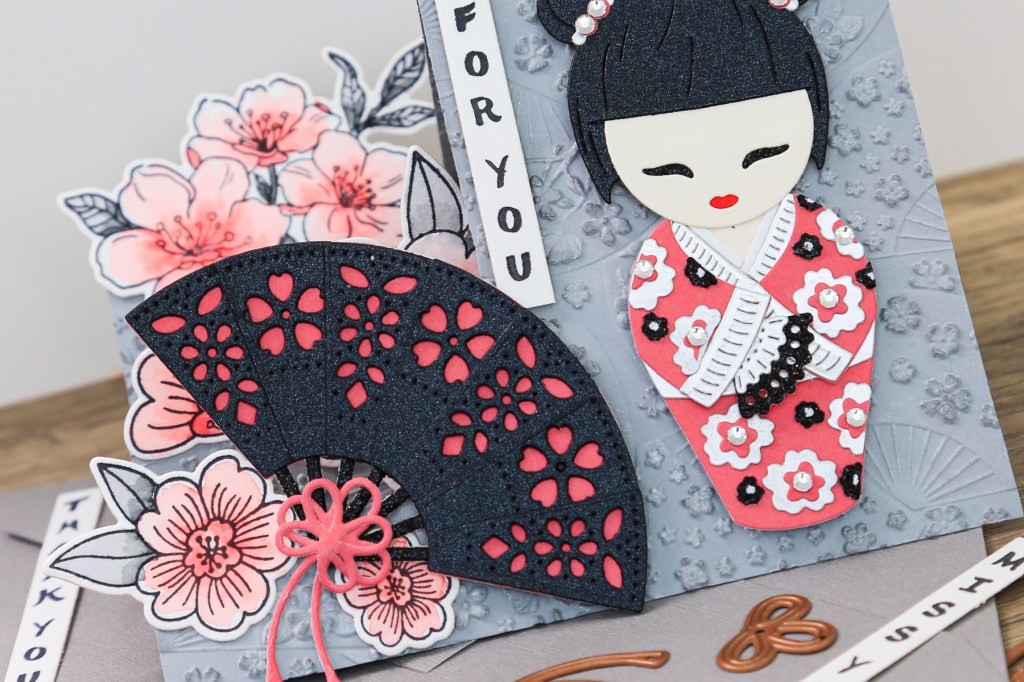
Step 4: Assemble the Kokeshi Doll
Face & Hair:
- Adhere the backing black piece behind the eye cutouts.
- Colour the small semicircle die-cut with a red Sharpie or marker.
- Attach the hair with liquid glue. Add the hair band once it’s dry.
Kimono:
- Follow etched lines to place collar, vest seam, and waistband.
- Attach sleeves after placing the waistband.
- Add trims on the sleeves before gluing them on.
- Leave sleeve edges loose for a subtle 3D lift.
Accessories:
- Assemble the fan using light blue and gold card stock so it doesn’t blend into the kimono.
- Add hair decorations using kanzashi hair pins, tiny flowers and gold circles.
- Use clear tape on the reverse side to hold tricky pieces in place.
Step 5: Add Dimension with Floral Clusters
- Use foam tape on the back of each flower for layered dimension.
- Tuck one flower slightly behind the side step panel.
- Add a smaller bloom to the top fold and another on the card front.
- Optional: Use white pigment ink to soften the background behind the doll.
Step 6: Add the Sentiment Panel
- Cut a white rectangle measuring 3 7/8” x 2 3/4”.
- Adhere it inside the stepper panel for your note or stamped sentiment.
- Optional: Decorate with a leftover flower or fan for extra flair.
Step 7: Envelope & Finishing Tips
- Your card folds flat and fits perfectly inside a standard A2 envelope.
- Add extra postage if you’re using foam tape or lots of embellishments.
- Want a wow moment? Stick a leftover flower to the outside of your envelope!
Here’s the detailed list of supplies I used for the cards:
https://linkdeli.com/widget.js?id=f5e8378456858c916708
If you’re looking for a list of tools, here’s my list of favourites:


Leave a comment