Have you ever found yourself with a drawer full of gorgeous patterned paper, but you’re too afraid to use it? You love the designs. But you’re not sure how to make the most of just a few sheets. You definitely don’t want to waste them. When you finally sit down to craft, feeling overwhelmed is common. It can be difficult to come up with fresh layouts. You want them to look good without spending hours cutting and second-guessing yourself.
You can watch the detailed YouTube tutorial here. I’ve also included a complete visual list of supplies at the end of the blog post for your convenience:
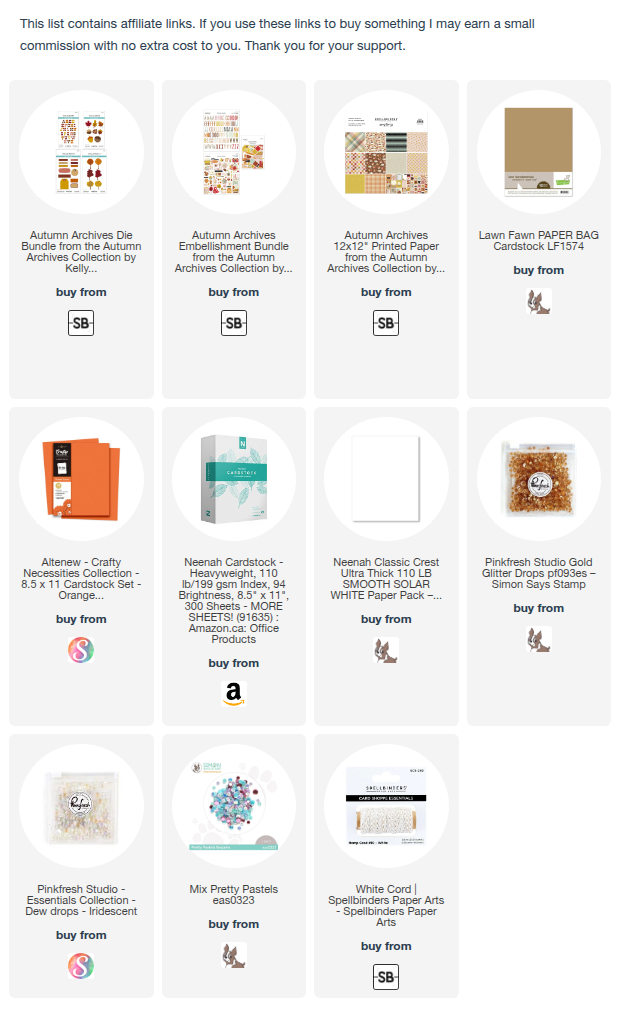
Supplies You’ll Need
To create these cards, I used a variety of products from one collection, which made coordinating everything a breeze. The layouts I used were based on copyrighted card sketches from Kendra’s Card Challenge #19. These sketches are available for purchase on her website here: https://sites.google.com/view/cardsbykendra/home (non-affiliated link).
Here is a list of the main supplies:
- Patterned Paper:
- I used Spellbinders 12×12 acid- and lignin-free patterned papers from the Autumn Archives Collection by Kelly Bangs
- Embellishments:
- Chipboard stickers and die-cut ephemera from the same collection
- Dies:
- Spellbinders dies from the same collection, including:
- Falling Leaves
- Changing Trees
- Alphabet dies
- Labels set
- Gina K’s Master Layouts 3 (for circles)
- Spellbinders dies from the same collection, including:
- Sentiments: BetterPress sentiments
The System: Cutting and Organizing
The key to this project is getting all your pieces cut and organized before you start assembling.
Since I was using 12×12 papers, I cut them down to 6×6 pieces, which is what the card sketches were designed for. I selected six different patterns, making sure to balance busy with more subtle, neutral designs like plaid and wood grain.
Since there are several pieces for each card, I prepared 15 numbered envelopes to keep all the cut pieces organized. This way, as soon as a piece was cut, I could slide it into the correct envelope, making the assembly process seamless.
Below, you will find a list of the specific pieces and dimensions for each of the 15 cards. Note that these are just the patterned paper pieces and do not include card bases or other embellishments.
Card Layouts
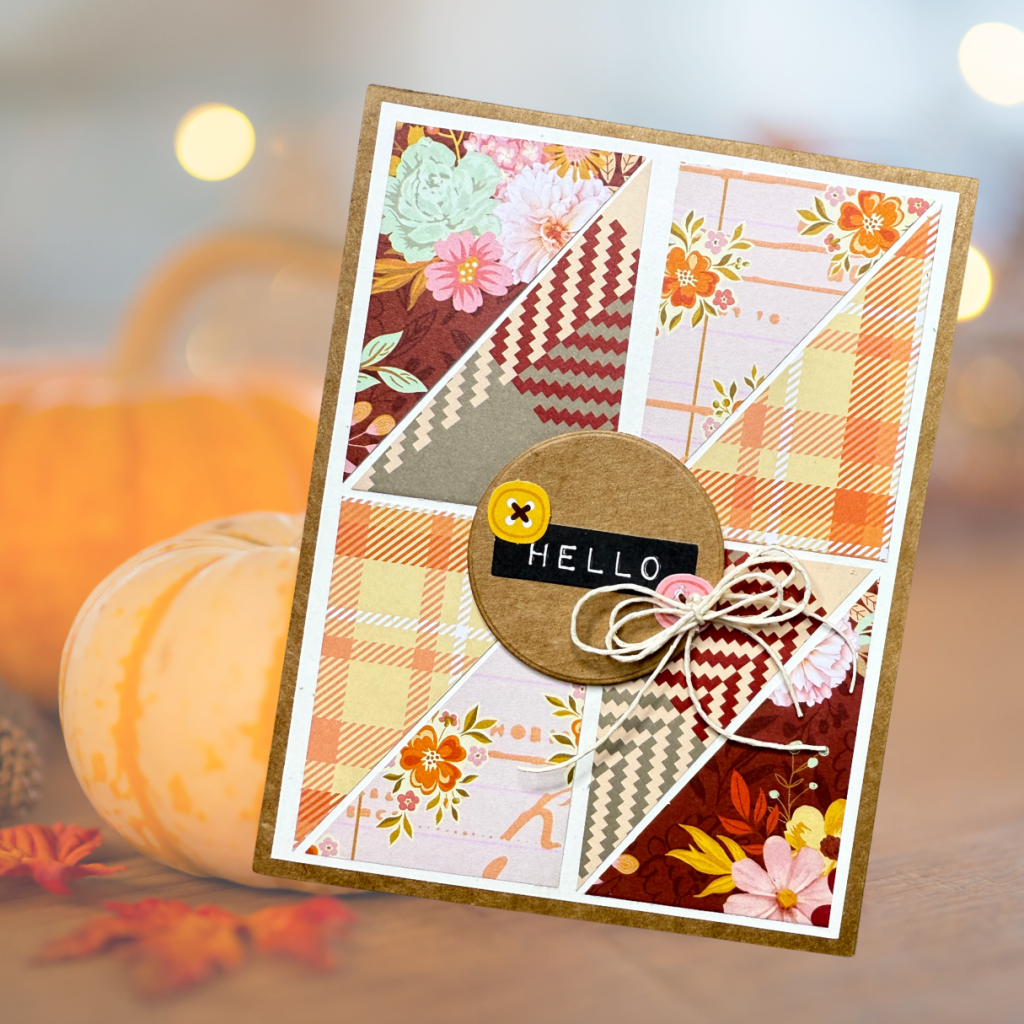
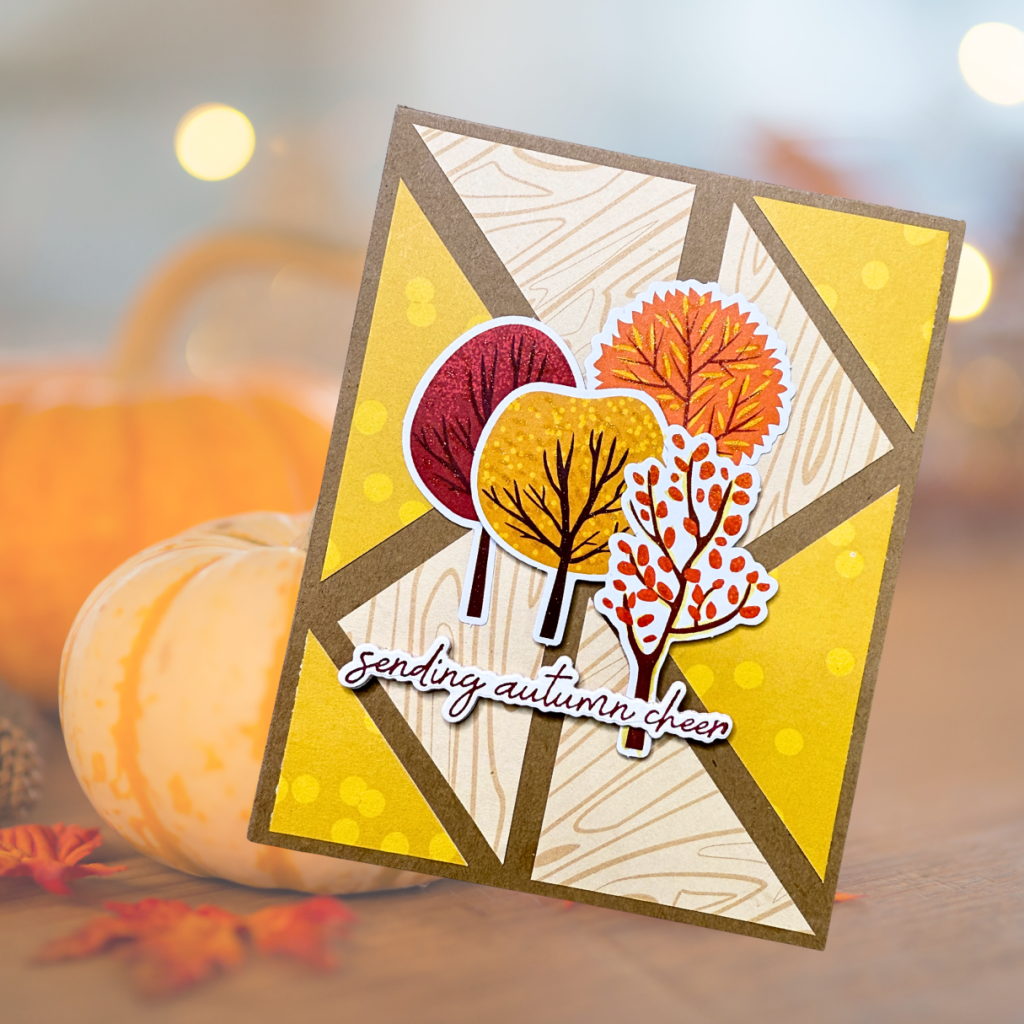
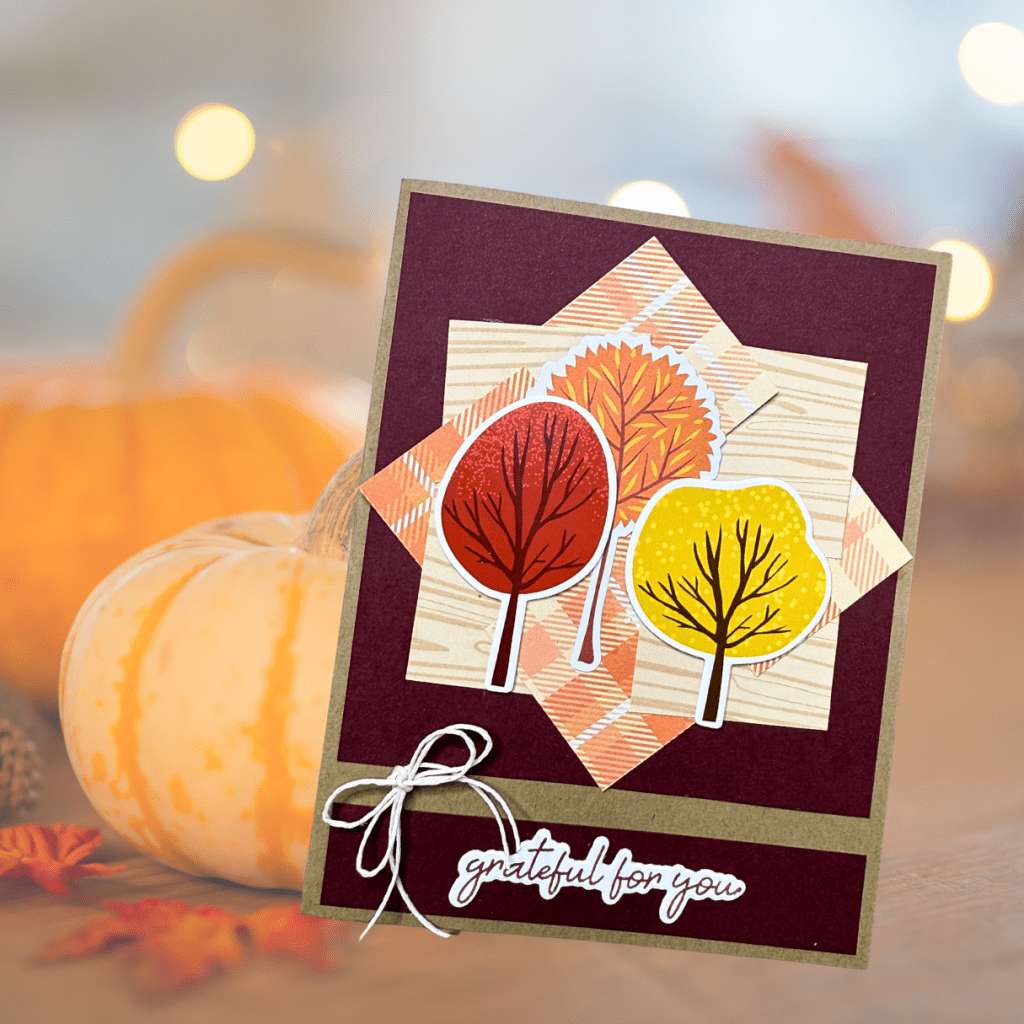
Card #1
This card uses eight triangles to create a pinwheel-like design, although with single-sided paper it ends up looking more rectangular. The design is decorated with ephemera and a twine bow.
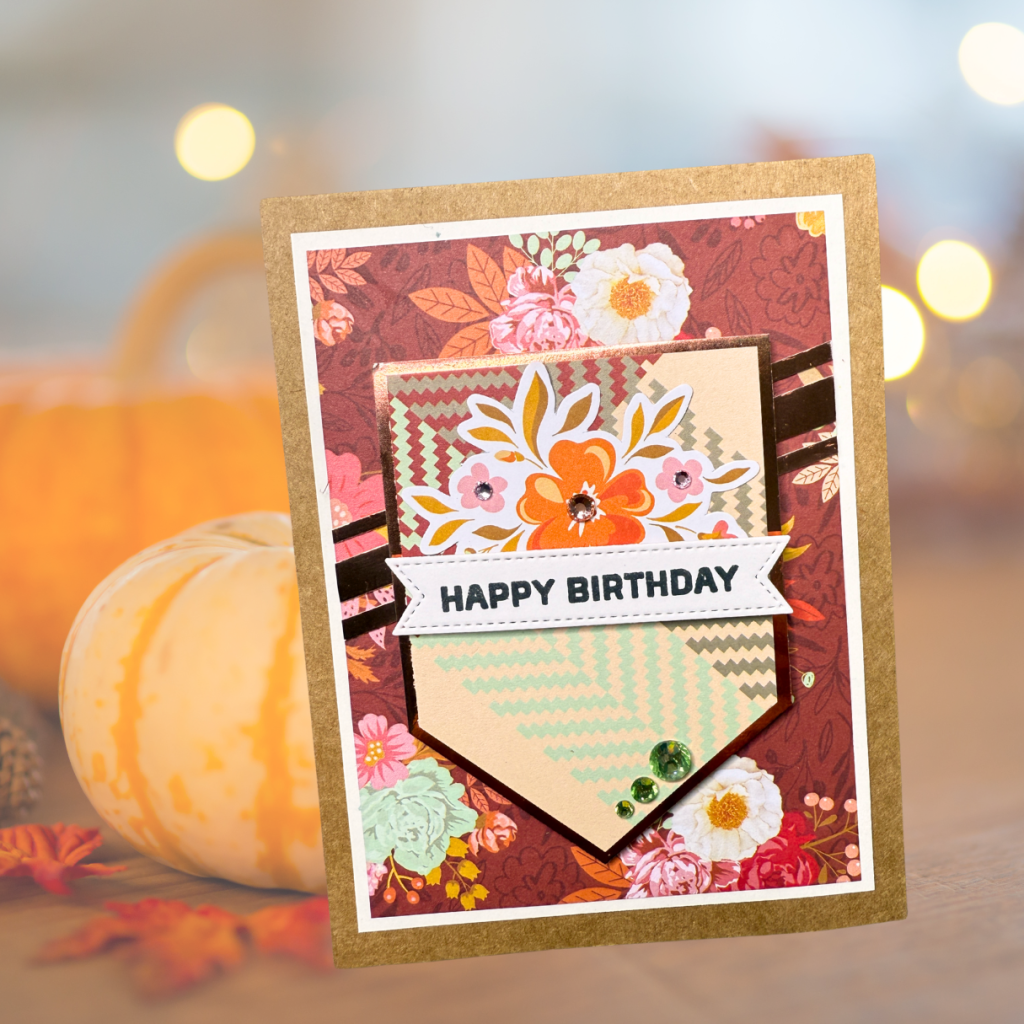
Card #2
This layout features a banner and some strips for a bit of sparkle. I added strips of mirror foil card stock and gems for extra shine.
Card #3
This card uses sentiments from my stash, a chipboard sticker, and various gems.
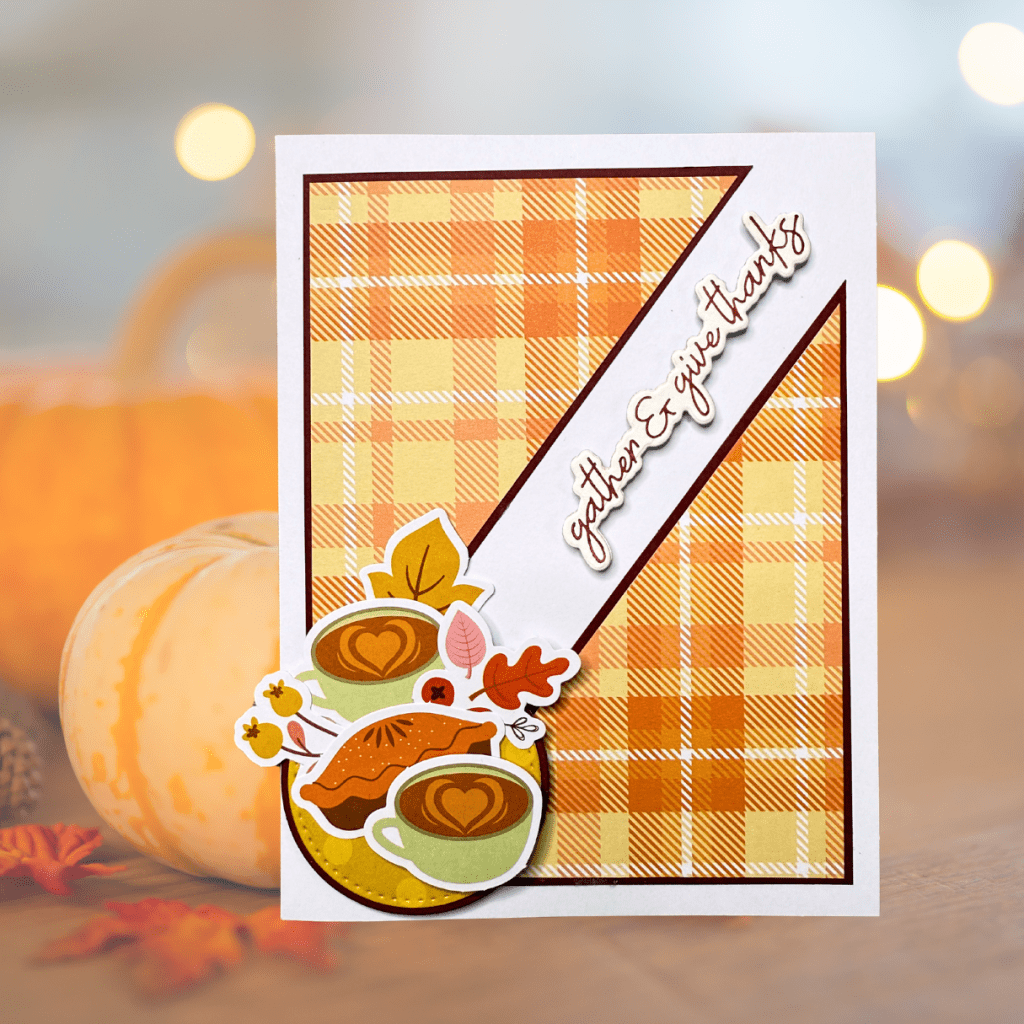
Card #4
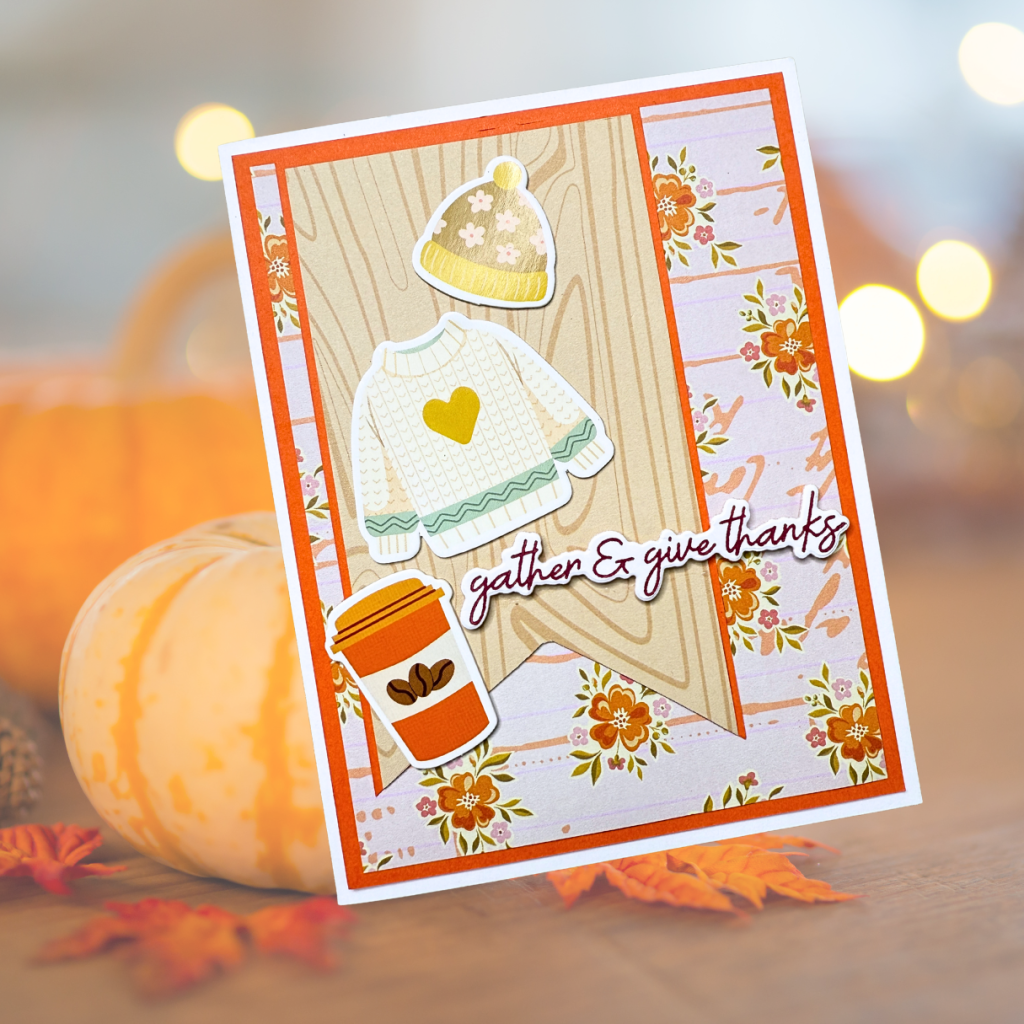
This layout highlights the cut-out triangles, a matted circle, and a BetterPress sentiment.
Card #5
The design of this card is grounded with an orange mat that highlights the orange tones in the patterned paper. I added a BetterPress sentiment and chipboard stickers.
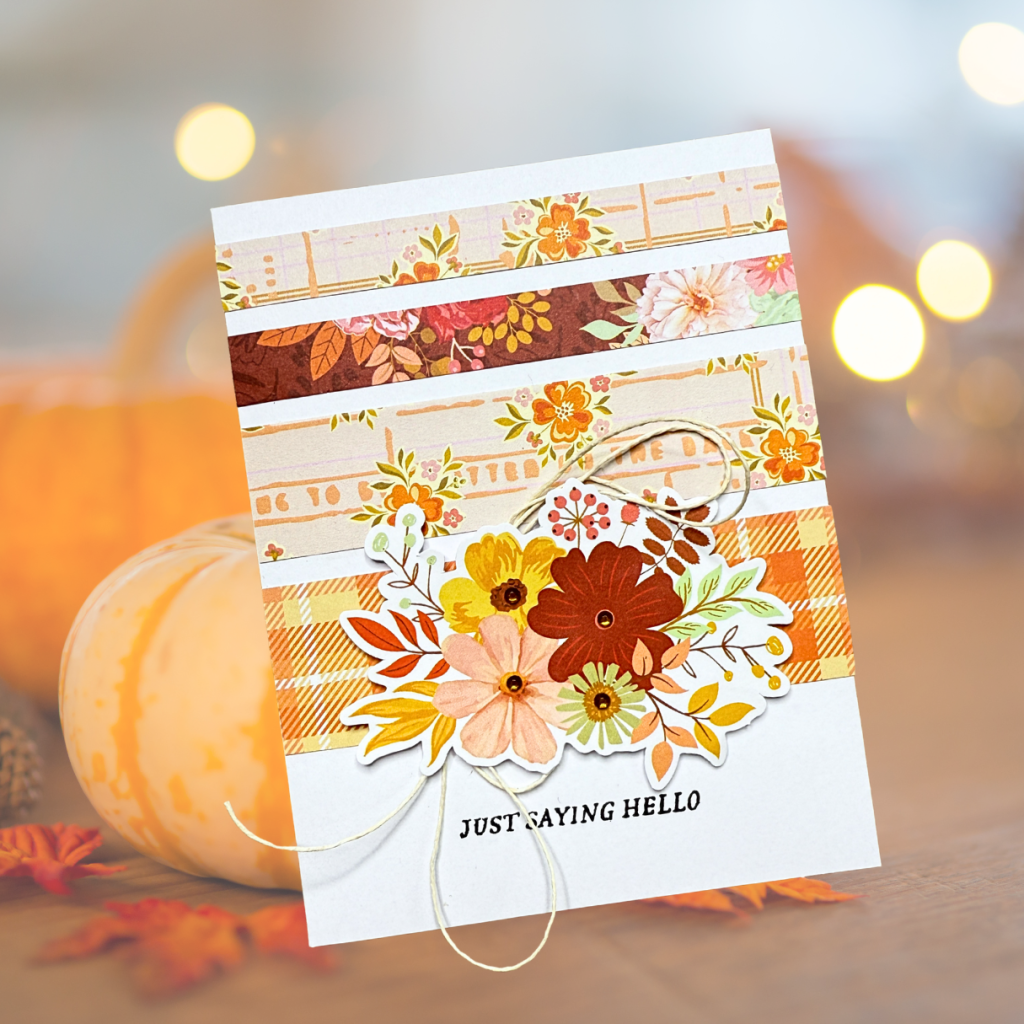
Card #6
This is a simple yet elegant layout with paper strips, a die-cut focal point, and twine.
Card #7
This card is all about triangles, with some adhered flat and others on foam tape for dimension. I added some shimmer with Wink of Stella.
Card #8
This is a simple, horizontal card. It features a fishtail sentiment, die-cut ephemera, and a layered “Fall” label for a focal point.
Card #9
This pinwheel design uses four small squares, layered with chipboard stickers for dimension.
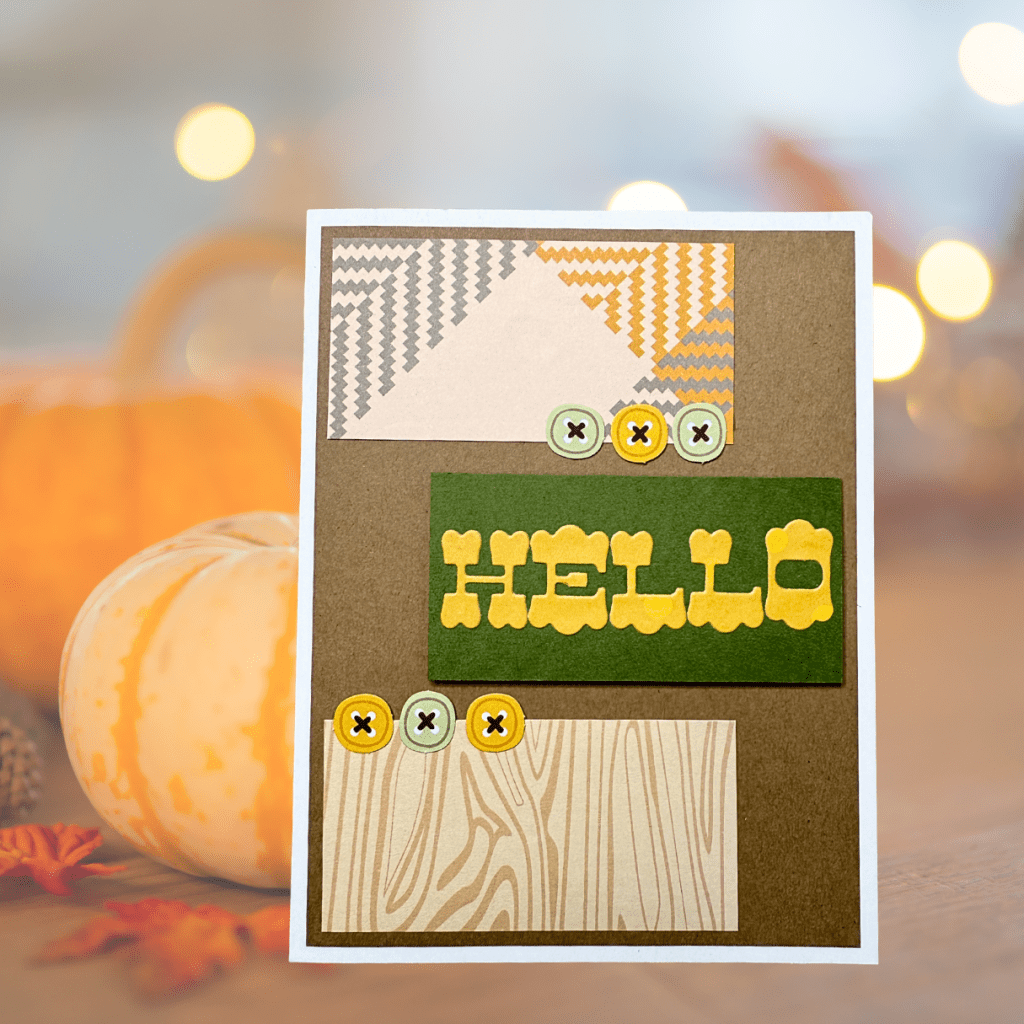
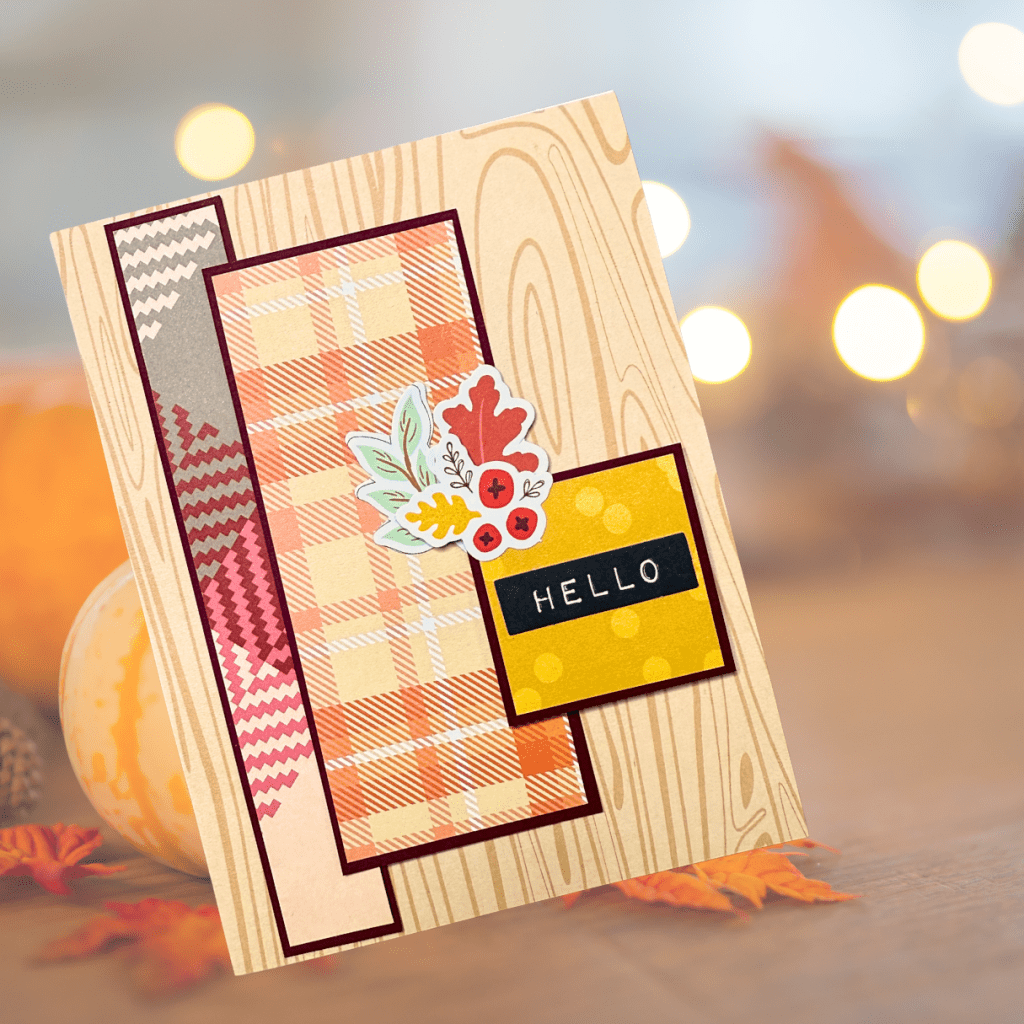
Card #10
A masculine card with a simple, flat design that you can easily add a secondary sentiment to. The “Hello” sentiment is cut using alphabet dies.
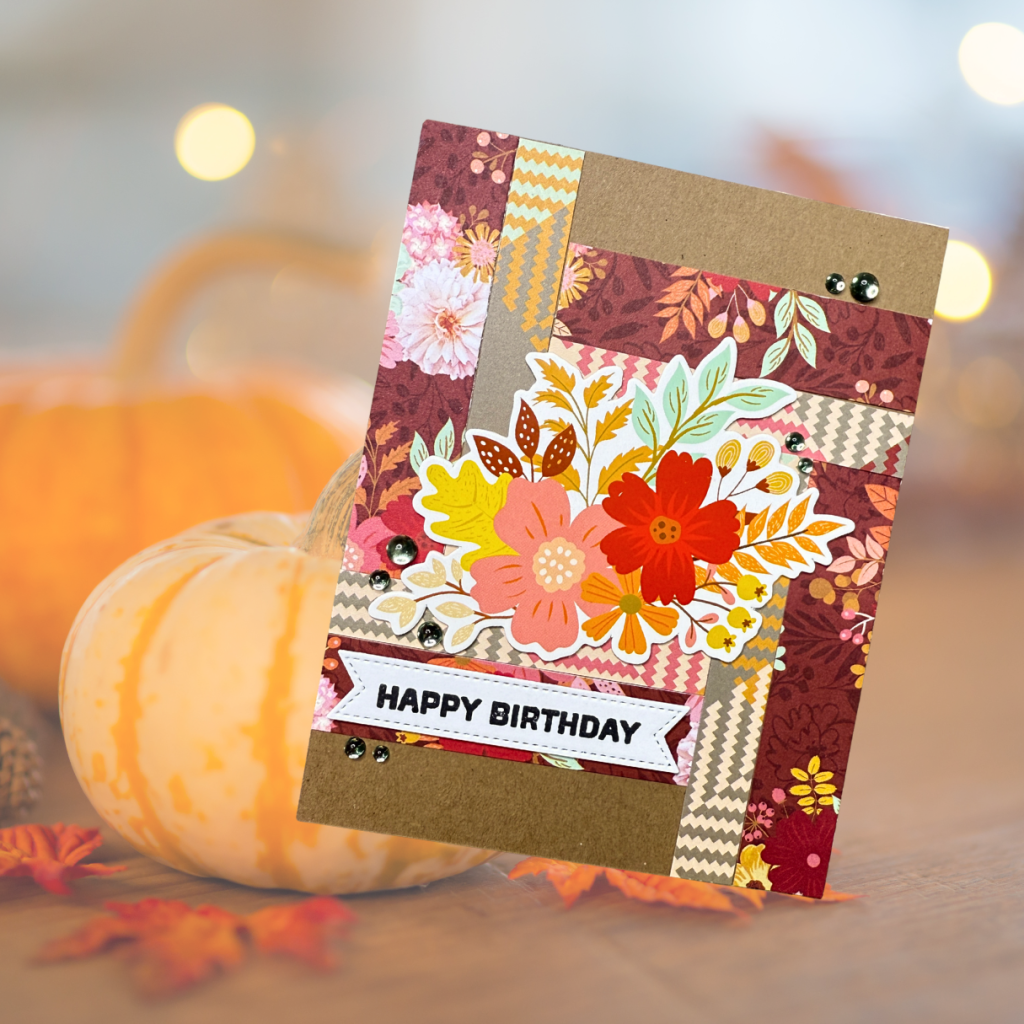
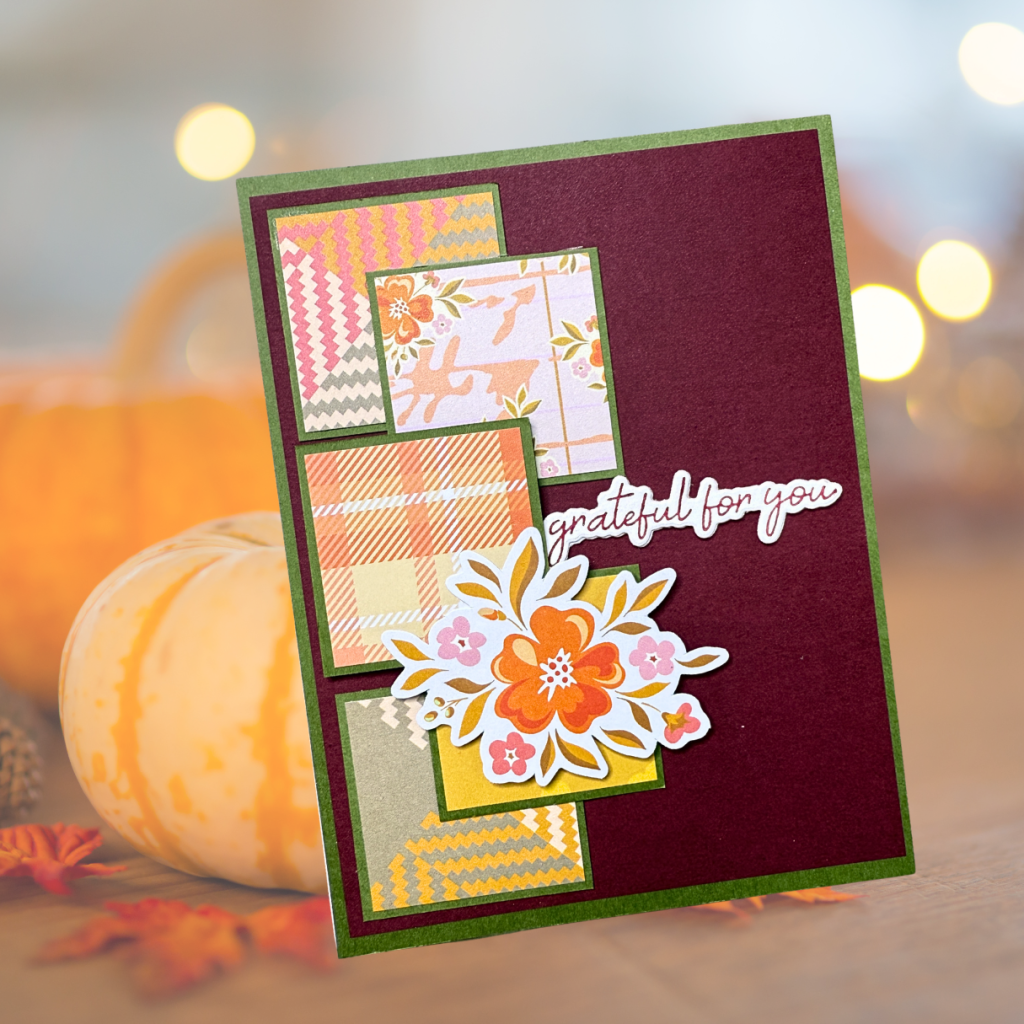
Card #11
This layout features squares, each with a mat, that are slightly crooked for a handmade touch. The sentiment and focal point are created with a BetterPress plate and die-cut ephemera.
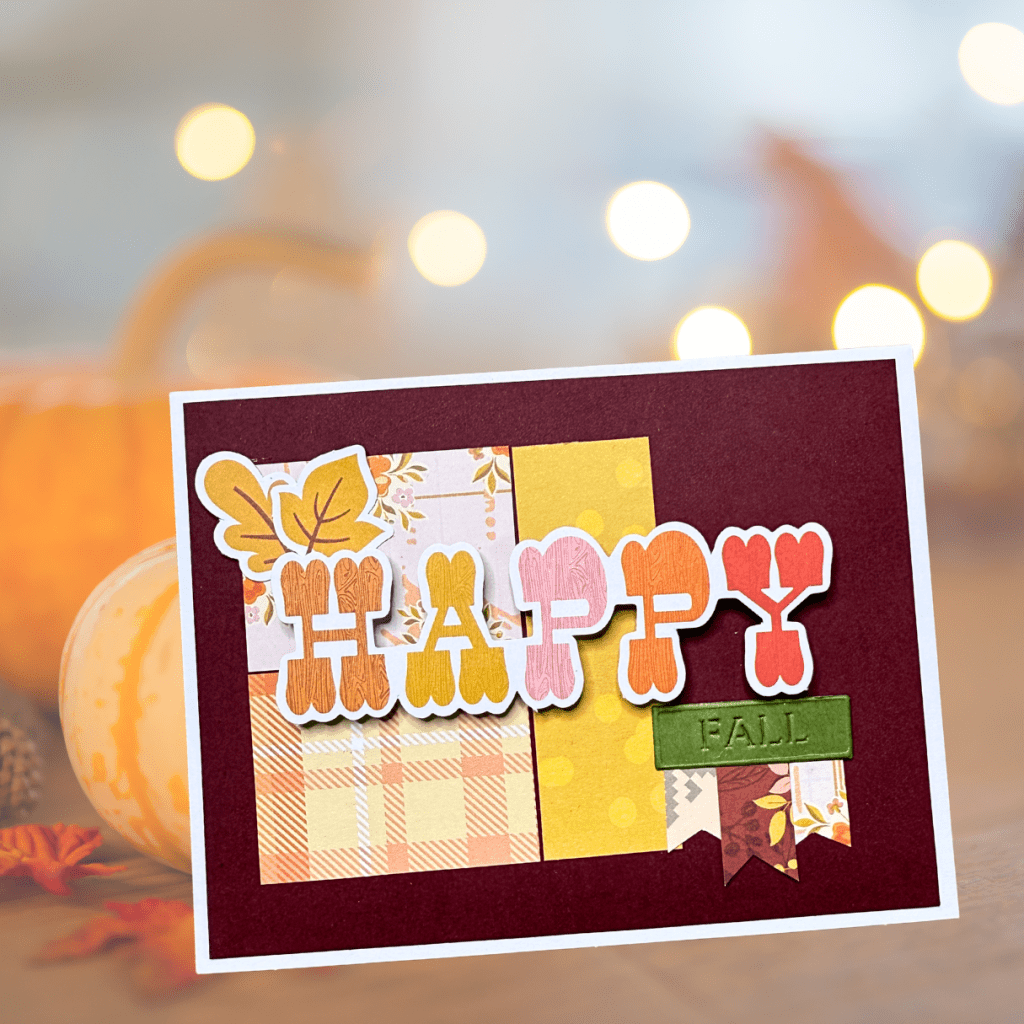
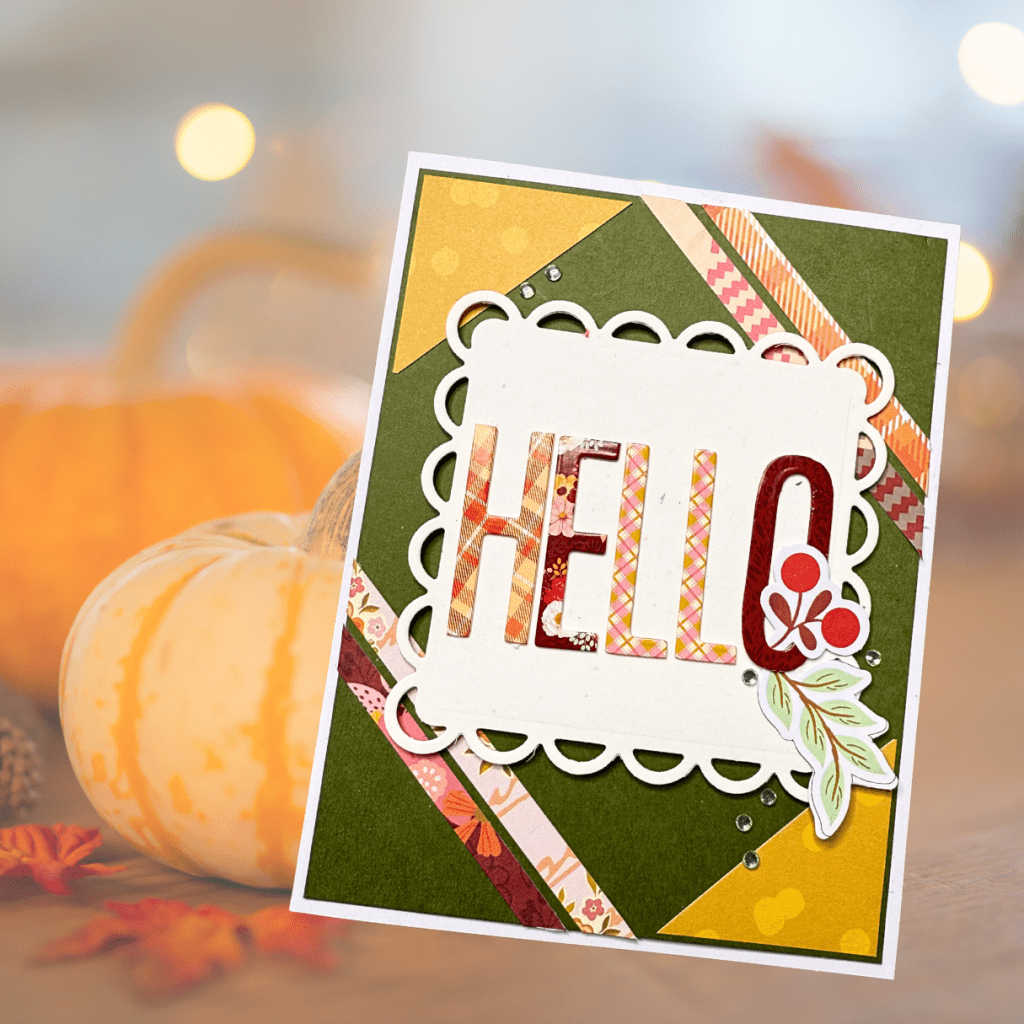
Card #12
A matted square grounds the sentiment. The card is decorated with chipboard letters. It also features sparkly gems and die-cut ephemera.
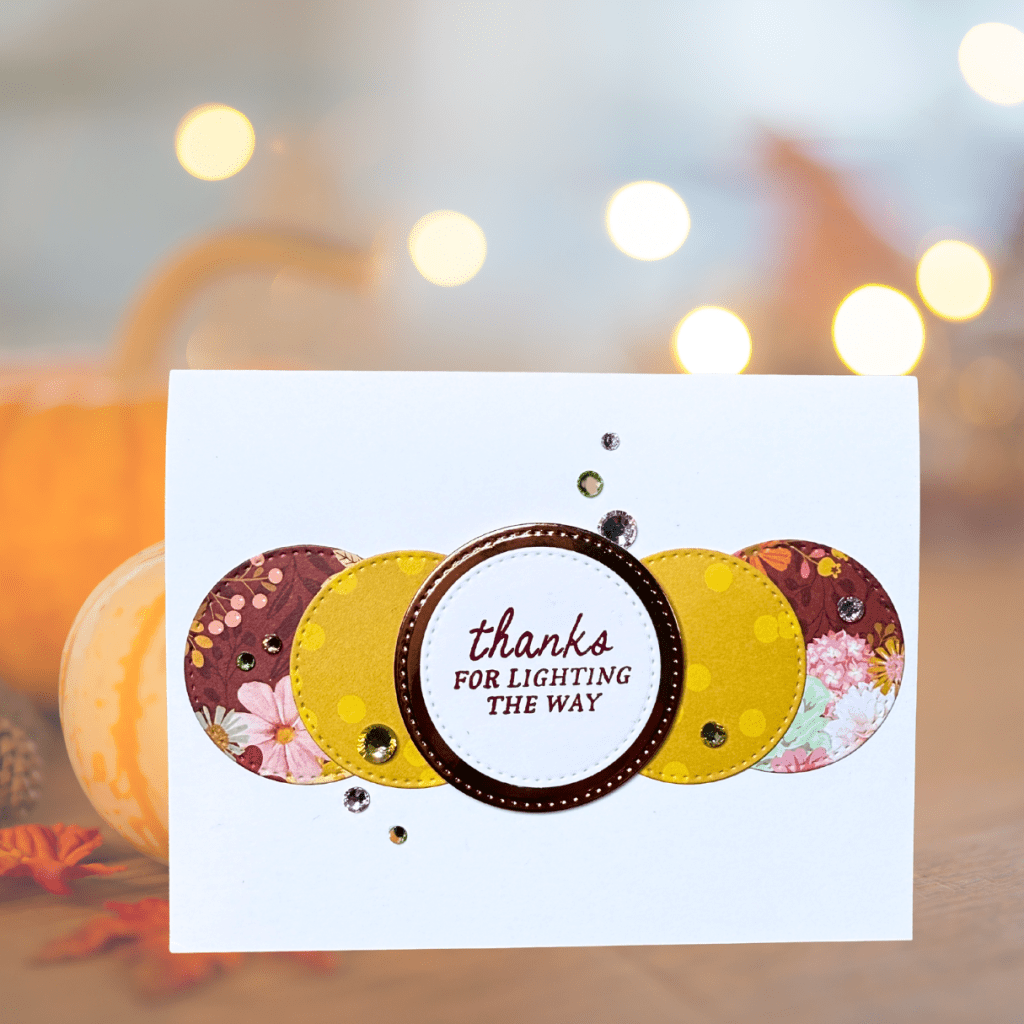
Card #13
This card is all about circles with stitched details. I added a stamped sentiment and some gems for a finished look.
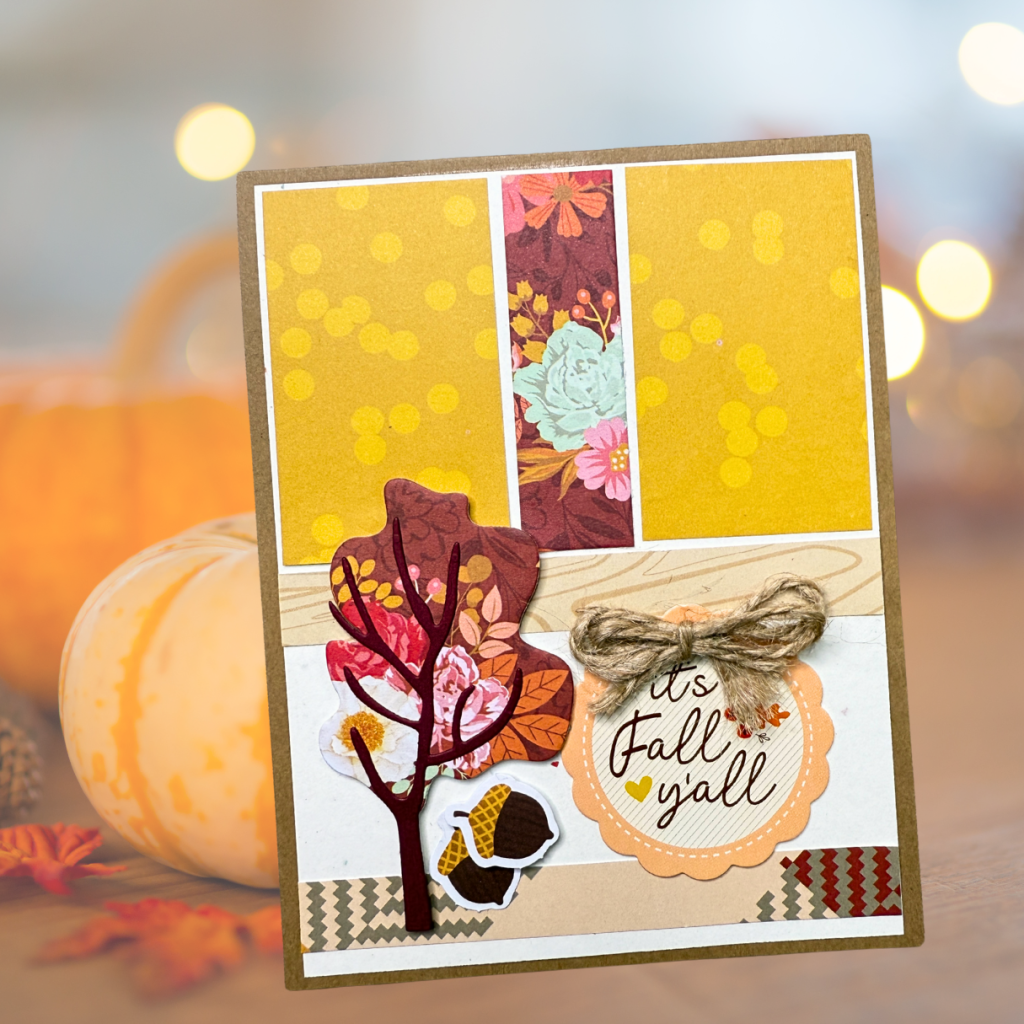
Card #14
A dimensional card featuring a tree from the Changing Trees die set. Acorns from the ephemera pack are layered for depth, with a chipboard sticker and twine bow completing the look.
Card #15
A masculine card with matted strips that can be adapted for any occasion by adding a secondary sentiment. The background is also a wood-grained patterned paper to maintain a coordinated look.
Let me know in the comments which card was your favourite. Are you excited to try these layouts for yourself?
Here’s the detailed list of supplies I used for the card:
https://linkdeli.com/widget.js?id=f5e8378456858c916708
Here is a list of all the crafting tools I use on a regular basis to create my card projects:


Leave a comment