Hello fellow crafters! Do you think you need a huge stash of supplies to make beautiful cards? Think again! This blog post will show you how to take just one die set and a few simple supplies to create five completely unique cards. Sometimes, having less can spark the most creativity. You’ll see how easy it is to stretch your supplies, mix and match techniques, and end up with cards that look like they came from different sets. The best part is that you can recreate these ideas with the supplies you already have on hand.
You can watch the detailed YouTube tutorial here. I’ve included a complete visual list of supplies at the end of the blog post for your convenience:
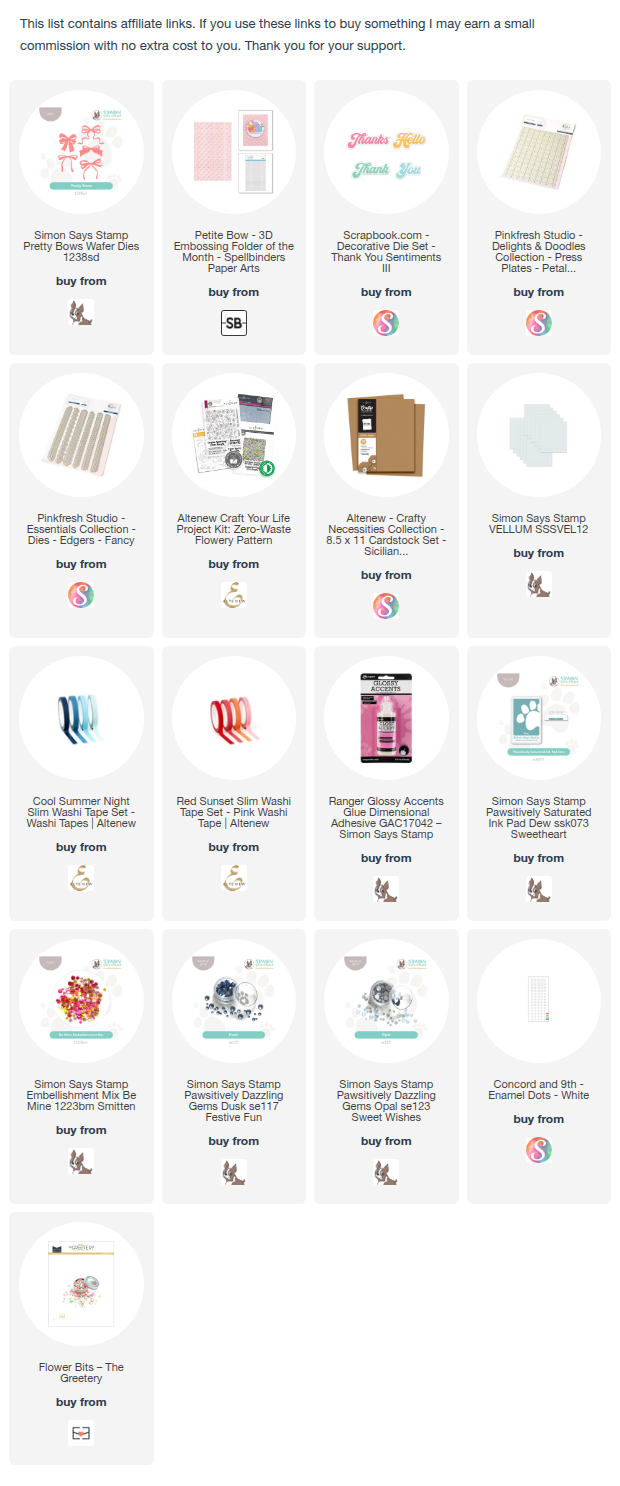
Supplies You’ll Need
Please check the visual supply list below:
The Looks: Creating the Sentiments
You will create five different sentiments to be used on your cards.
Look #1: Striped Sentiments
This technique works best with larger dies because it provides more surface area to cover.
- Use Washi Tape:
- Find a piece of thick scrap card stock, and adhere strips of washi tapes side-by-side onto it. You can line them up against each other or leave a small gap for a different look.
- Once the card stock is covered, use the “Hello” die from the Thank You Sentiments III set to cut out the sentiment.
- Repeat the process with different but coordinating washi tapes, to create a completely different look.
- Use Paper Strips:
- Cover your scrap card stock base with some tape runner or use double-sided adhesive or a tape runner. A tape runner is recommended for easier repositioning of the strips if needed.
- Cut out thin strips of coloured card stock and adhere them to the card stock base, aligning them to create a striped pattern. You can place the strips straight or at an angle.
- Trim any excess paper and cut out the sentiment with the “Thanks” die from the Thank You Sentiments III set to cut out the sentiment.
- You can also use strips of patterned papers to create sentiments with another look.
Look #2: The Faux Puffy Sticker Hack
- Cut a sentiment from any coloured card stock, using your “Thanks” die from the Thank You Sentiments III set to cut out the sentiment.
- Place the die-cut on a scrap piece of paper with a tiny bit of tape runner to prevent it from moving while you work and it becomes easier to handle when it’s covered in Glossy Accents.
- Cover the entire surface area of the die-cut with Glossy Accents, ensuring there are no bubbles or dents.
- Optionally, while the Glossy Accents is still wet, sprinkle a little glitter on top for a bit of sparkle.
- Use a craft knife to lift the die-cut off the scrap paper and set it aside to dry completely.
Assembling the Cards
Now that you have your sentiments, it’s time to assemble your cards.
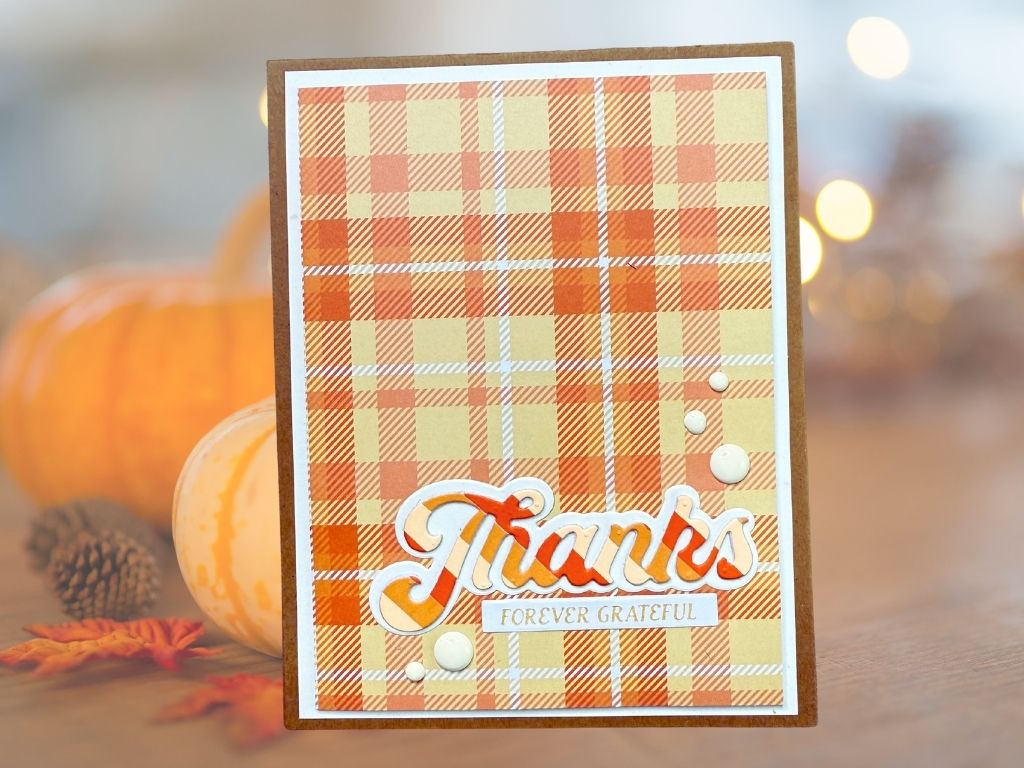
Card #1
This card has a masculine, minimalistic, and simple look.
- Create an top-folding A2 card base from craft card stock.
- Cut out another sentiment from a scrap piece of heavyweight white card stock for layering beneath the striped sentiment. Alternatively, you can use lightweight card stock and cut out two sentiments to provide reinforcement to the layers.
- Stick down all the sentiment layers together and adhere it to the shadow layer.
- Cut a matting layer from cream card stock measuring 4 in. x 5 ¼ in. and adhere it directly onto the card base.
- Cut out another panel measuring 3 ¾ in. x 5 in. from a sheet of patterned paper. I used the plaid design from the Autumn Archives Collection by Kelly Bangs.
- Add foam tape or squares behind the plaid panel to give it dimension and adhere it to the cream mat.
- Adhere the sentiment with the paper strips towards the bottom of the plaid panel.
- Add an optional secondary sentiment to the panel.
- Finish the card by adding a few white enamel dots.
Card #2
This card uses a striped sentiment and a de-bossed background for an elegant look.
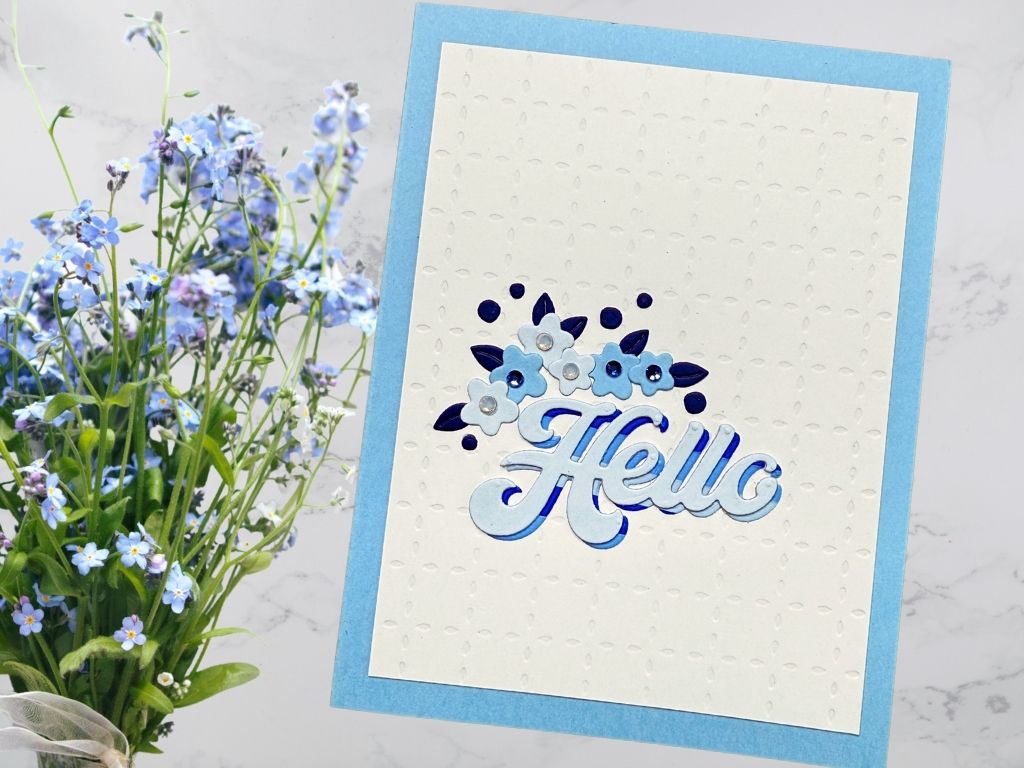
- Create the look of a de-bossed background on a panel of card stock measuring 3 ¾ in. x 5 in. using the Petal Grid BetterPress plate without ink.
- Layer the solid pale blue sentiment on top of the striped one you created earlier. Use tweezers to slightly offset the top layer so the striped layer peeks out from beneath.
- Adhere the de-bossed panel flat onto the card base.
- Place the sentiment towards the bottom of the panel.
- Arrange die-cut flowers and leaves around the sentiment to create a framed look.
- Use a piece of Press’n Seal to lift the entire arrangement at once and transfer it to the card.
- Add extra glue to ensure the pieces adhere to the bumpy, de-bossed surface.
- Embellish the card with gems in the flower centres for a sparkly finish.
Card #3
This card features a faux puffy sticker sentiment with a recessed effect.
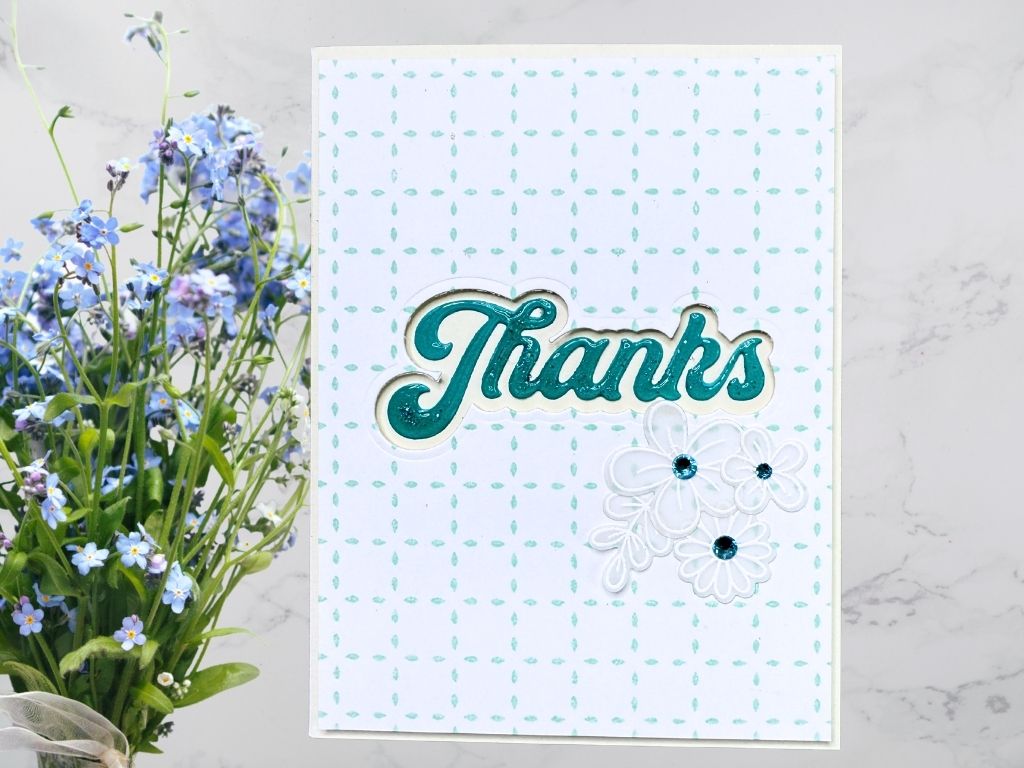
- Use the Petal Grid BetterPress plate with an ink colour that coordinates with your sentiment to create a letterpress background on a panel.
- Adhere an A2-sized cream or off-white mat onto the card base.
- Use the shadow die from the “Thanks” sentiment to cut out an opening on the top panel.
- Fit the glossy sentiment into the die-cut opening in of the BetterPressed top panel.
- Cut narrow foam strips and adhere them to the back of the BetterPressed panel. Apply glue to the foam strips for easy placement.
- If you misalign the panel, use a heat tool to release the foam tape so you can reposition it.
- Carefully place the panel onto the card base, ensuring the sentiment is recessed into the opening.
- Heat-emboss vellum flowers and foliage in white using the Altenew Zero Waste Flowery Pattern Stamp and Die Set.
- Adhere the vellum flowers to the card, hiding the glue behind the flower centres where gems will be placed.
- Finish the card with gems in the flower centres.
Card #4
This card uses vellum to diffuse the background pattern and bring attention to the sentiment.
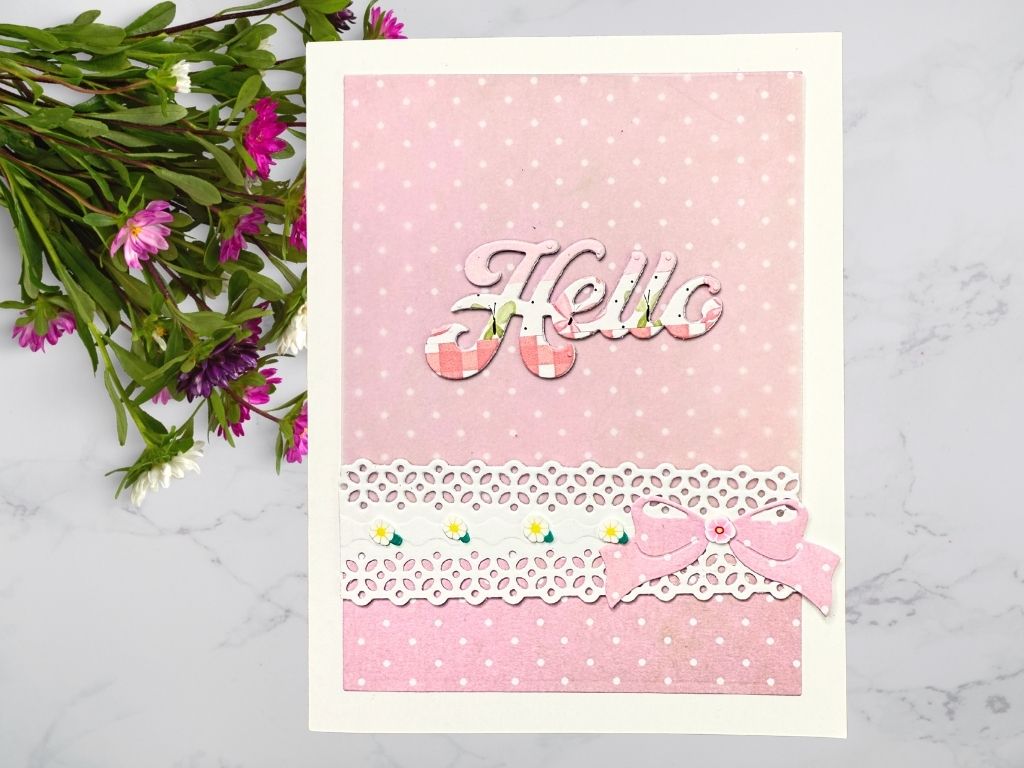
- Create a sentiment using two or three different strips of patterned papers.
- Adhere a polka dot or any other coordinating patterned paper panel measuring 3 ¾ in. x 5 in. directly to the card base.
- Cut a piece of heavyweight vellum measuring 2 ½ in. x 3 ¾ in.
- Use a 1 ½ in. x 3 ¾ in. white card stock and cut out a lace-patterned band using the Pinkfresh Studio Edgers Die.
- Adhere the die-cut lace band to the bottom edge of the vellum panel.
- Apply tiny dots of glue behind the sentiment and adhere it to the vellum. This will also help secure the vellum to the card base.
- Apply glue behind the area of the vellum covered by the lace band and the sentiment.
- Place the vellum and sentiment onto the polka dot paper, with the lace band now hiding the seam.
- Use the Simon Says Stamp Pretty Bows Wafer Dies and a scrap piece of the same background pattern (or a coordinating solid coloured card stock) to cut out a bow.
- Adhere the bow and a few flower embellishments to finish the card.
Card #5
This card is simple and uses an embossed background and a foiled shadow layer.
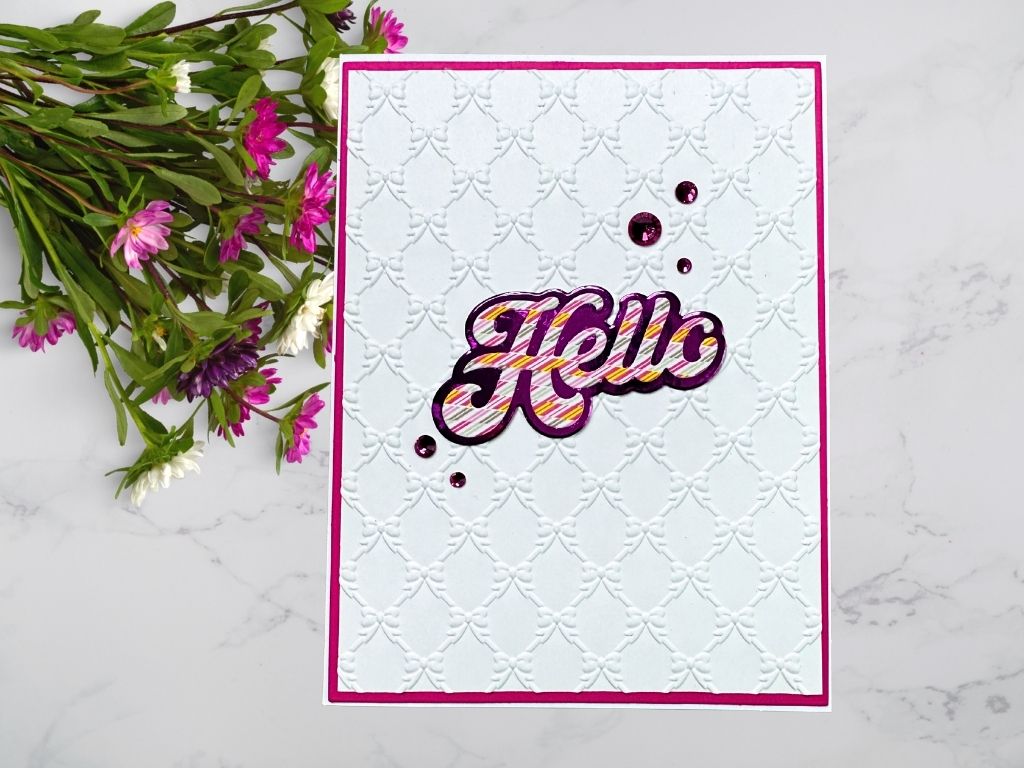
- Cut the shadow layer from mirror card stock for the the “Hello” die using the Thank You Sentiments III set .
- Adhere the sentiment made with narrow washi tape onto the mirror card stock shadow layer.
- Use an embossing folder to create a beautiful embossed background on a white or cream card stock panel measuring 4 in. x 5 ¼ in.
- Adhere the embossed panel onto a pink matting layer measuring 4 ⅛ in. x 5 ⅝ in. (optionally, you can cut this to an A2 size for convenience) using a generous amount of glue due to the bumpy surface.
- Adhere the layered sentiment in the center of the embossed panel, again using a generous amount of glue.
- Add a few sparkly gems as embellishments.
- Adhere the entire embellished panel onto the card base.
Here is a list of all the crafting tools I use on a regular basis to create my card projects:


Leave a comment