Using your hot foil plates for more than just foiling is a great way to get more value from your supplies. With just one hot foil plate, you can create four different card backgrounds—by foiling, debossing, letterpress, and stamping.
In this tutorial, I’ll show you how to stretch your supplies and get multiple looks with the same plate.
You can watch the detailed YouTube tutorial here. I’ve also included a complete visual list of supplies at the end of the blog post for your convenience:
Supplies You’ll Need
Paper & Card Stock
- Spellbinders card stock
- Neenah Solar Crest card stock
- Opera Red Mirror Card Stock
- Watercolour paper (optional)
- Patterned paper (Spellbinders Autumn Archives Collection by Kelly Bangs)
- White glitter card stock
- Heavy weight vellum
- A2 pre-made card bases
Foil Plates, Dies & Ink
- Gilded Weave Glimmer Hot Foil Plate
- Acorn Acres Large Die of the Month
- Autumn Magic Small Die of the Month
- Autumn Sentiments BetterPress plate
- Rose Gold pigment ink
- Simon Says Stamp Raindrop ink
- Copper Glimmer hot foil
Embellishments
- Simon Says Stamp Warm Tones Positively Dazzling Gems
Technique 1: Traditional Hot Foiling
- Plug in your hot foiling machine and let it heat up.
- Set the machine to the recommended level (Level 2 works well for solid plates like the Gilded Weave).
- While heating, trim your foil to A2 size (5 ½” × 4 ¼”).
- Place the hot foil plate on the heated platform with the design facing up.
- Position your card stock on top of the foil, smooth side down.
- Make sure the shiny side of the foil faces the plate’s design.
- Secure everything with painter’s tape.
- If the platform is warped, use a finger protector to hold the plate flat while the timer counts down.
- Once the timer beeps, add shims if needed and run it through your die-cutting machine.
- Peel back the foil to reveal a crisp, beautiful design.
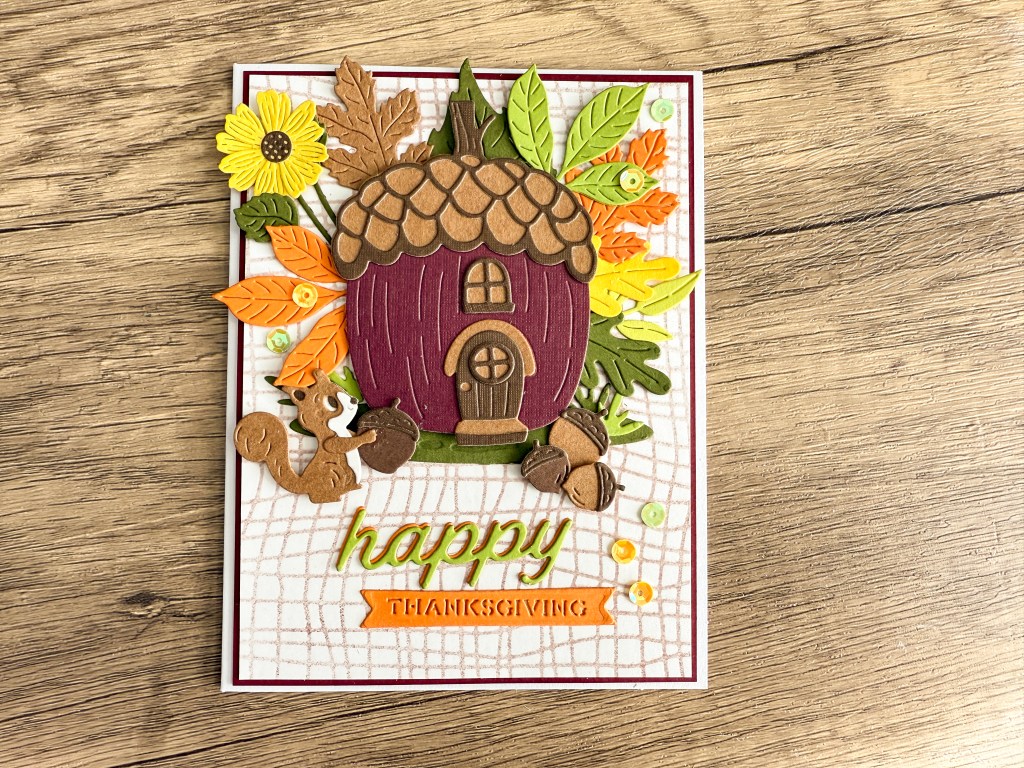
This is one of the two cards I made with the hot foiled panel:
Technique 2: Letterpress with a Hot Foil Plate
- Secure your card panel to a magnetic plate with a touch of temporary glue.
- Ink your hot foil plate directly with pigment ink, ensuring even coverage.
- Place the inked plate on your card stock and run it through your die-cutting machine.
- If the impression is too light, re-ink and repeat, but press lightly with the ink pad.
- The result will be a gorgeous, inked impression.
- Clean the plate with a mist of water, using a strong magnet to lift it off the platform.
This is the card I made with the letterpressed panel:
Technique 3: Debossed Effect without Ink
- Choose a thick card stock like watercolour paper or Neenah Solar Crest.
- Lightly mist your card stock with water to soften the fibres.
- Place the card stock on your hot foil plate and run it through the die-cutting machine with an embossing mat.
- For deeper impressions, mist again, add a shim, and run it through a second time.
- This creates a stunning debossed texture that looks different from foiled or inked versions.
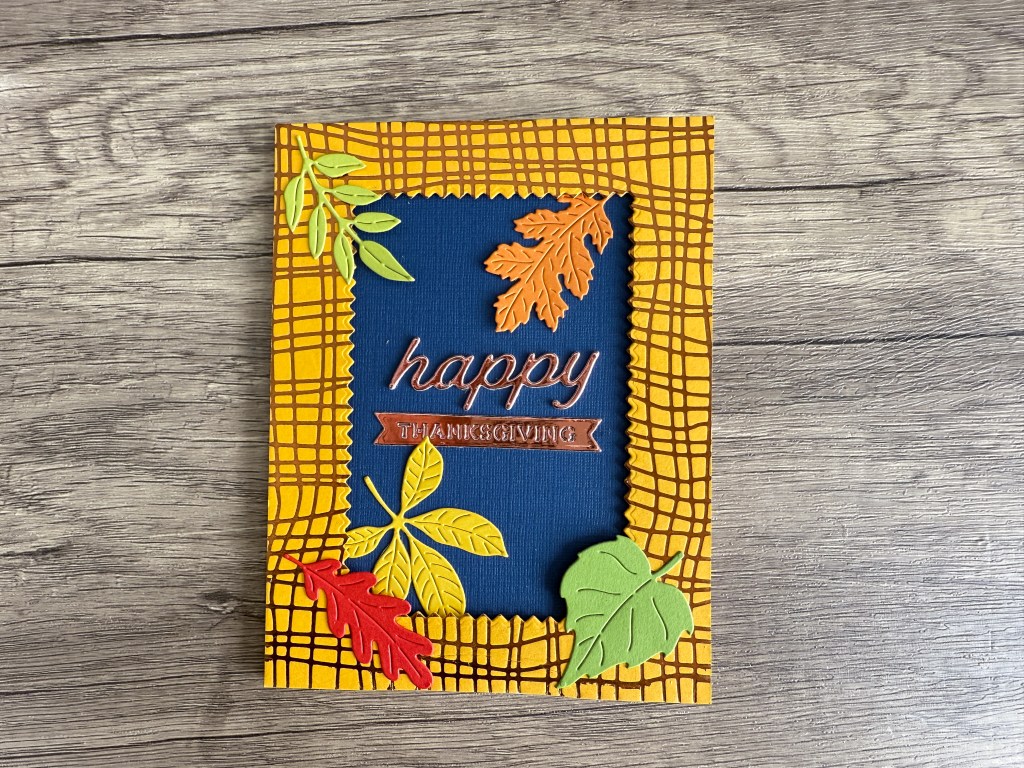
This is the card I made with the debossed panel:

Technique 4: Using the Plate as a Stamp
- Ink up the hot foil plate with a stamp pad, making sure to get full coverage.
- Place your card stock on a flat surface and press the plate onto it.
- Use a pressure tool to apply even pressure across the plate.
- Lift the plate to reveal a distressed, textured stamped image.
- For a bonus background, press the plate onto a second card stock before cleaning to get a lighter, diffused look.
- If the card stock warps, place it under something heavy to flatten.
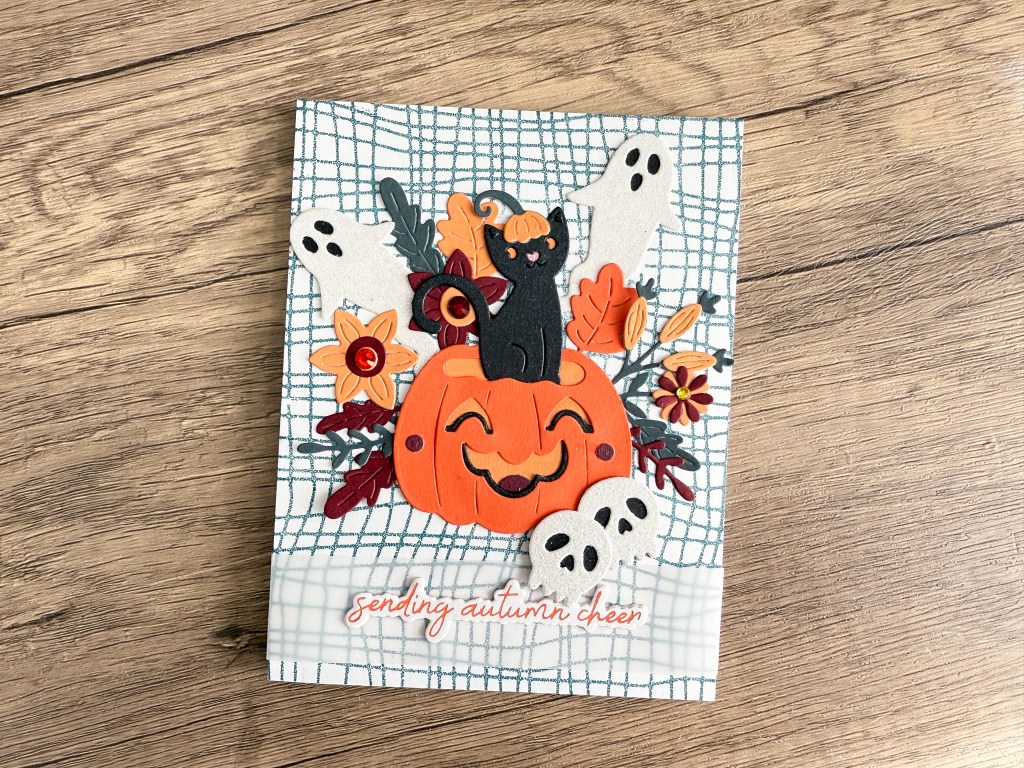
This is the card I made with the panel where I used the hot foil plate as a stamp:
Final Thoughts
With these four techniques, you can transform a single hot foil plate into multiple unique card backgrounds. Whether you want crisp foiling, soft debossing, elegant letterpress, or distressed stamping, this approach helps you get the most out of your supplies.
Please check the visual supply list below:
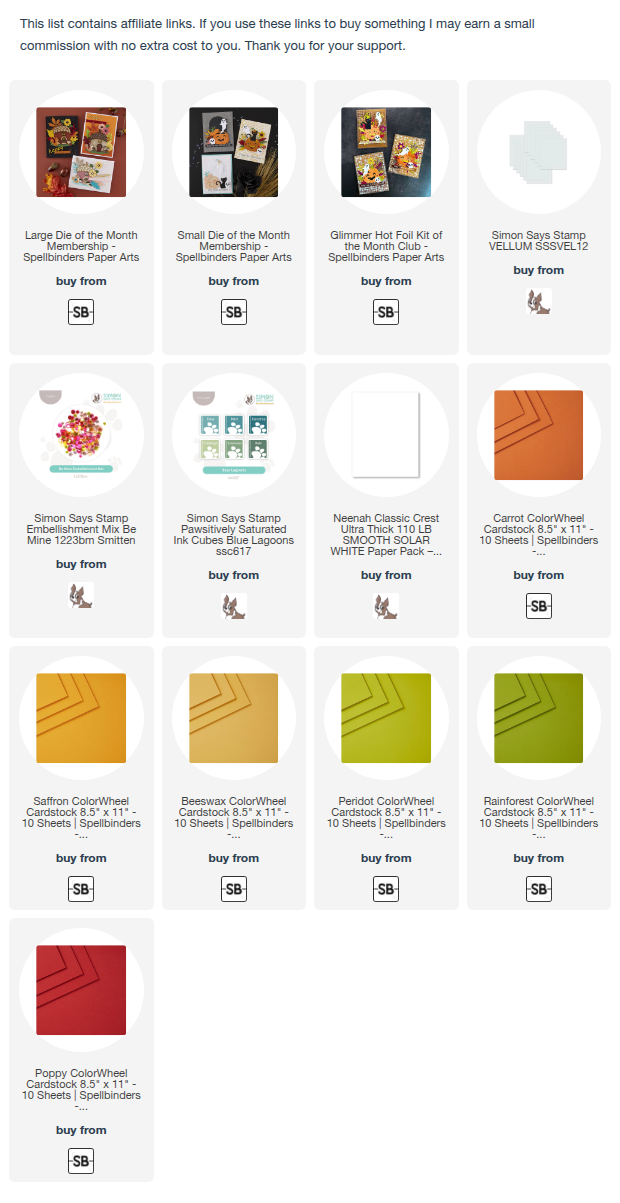
https://linkdeli.com/widget.js?id=f5e8378456858c916708
Here is a list of all the crafting tools I use on a regular basis to create my card projects:


Leave a comment